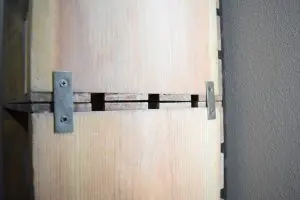
Check it out.

This is my crate shelf. I made it for about $25. It was easy, did not require staining (this was before I stained the vanity top, so I was still afraid of it), and gave me a little something to work on during my kid’s naps.
To make it, I used crates from a crafting store. With coupons and sales, I was able to get all three for about $20.
This post may contain affiliate links. If you have any questions, please see my disclaimer page.
Before you’re ready to start working with the crates though, you need to make solution of vinegar and steel wool. To do this, take a ball or two of steel wool, rip it up and put it in a glass jar that has a lid. An old spaghetti jar works great because you can pitch (or recycle it!) when you’re done. After putting the steel wool in, fill it with with vinegar and let it sit for several days. I know you’re anxious to get started, but give it several days!
If you want to use this technique on a table or something that you want to be really smooth, you’ll want to sand the first. Since I was making a rustic shelf, I skipped this step. I started by painting the wood with black tea that I had let steep for about an hour. Sounds crazy, but something about the tannins in tea cause the wood to react to the next step in a way that makes it look like weathered wood.
After the wood dried, I gave it a second coat, just in case. I let it completely dry again, and then painted it with my vinegar and steel wool solution.
While the crates dried, I spray painted my metal plates and screw in a nice bronze color. When everything was dry, I put all together. As a note, these crates are made of thin wood, so be sure to drill a pilot hole prior to trying to put the screws in or you will split the wood.

Thats it! It is a super easy, fast and cheap way to make a rustic looking shelf.
