

How to Make Perfect Bread
About two years ago, I started making my own bread. My first loaf was a disaster. Everything that could go wrong, did. I used way too much flour, and despite leaving it to rise ALL day, it never rose much. It turned out heavy, dense and crumbly when I was hoping for light, soft and edible.
After forcing my family to eat all three loaves of this brick-like bread, I decided to try again. I read a few different things on bread making technique and spent the next few weeks perfecting my technique.
Through trial and error, I have learned a few things. To start, use a good recipe. I tried several, but this one is my favorite. The bread turns out amazing every time I make it.
This post may contain affiliate links. If you have any questions, please see my disclaimer page.
Here are some of my tricks.
When I first started making bread, I had so many questions (What does it mean to punch down the dough? How hot should the water be?). To make my perfect bread, I use the Allrecipes link. The steps I have listed below here correlate with the steps listed on the recipe. To make your own perfect bread, I’d suggest having my tips page open along with the amazing recipe page.
Step 1
- Start making the bread in the morning on a day when you do not have to leave the house for long. It can take a while to rise, but if you leave, it will inevitably rise over your container and spill into your oven. It is like Murphy’s Law of Bread Making. I always start my bread (step 1 of the recipe) first thing and then head up to shower while it proves. By the time I come back down, it is ready for step 2.
- When adding the warm water, let your tap water run until it is hot. Pour it in your large bowl, then leisurely get the rest of your ingredients. I add the yeast last to allow time for the water to cool slightly. Who knows what 110 degrees feels like anyways?
- 2 packets of yeast works out to 4 1/2 tsp (in case you have a big container of yeast, which by the way is SUPER cheap at Costco).

Step 2
- I use 1/3 cup of brown sugar instead of 1/3 cup of honey. Brown sugar is so much cheaper, and changes the consistency only slightly. I have tried switching all of the honey for brown sugar too, but the bread tends to turn out dry.
- I melt the butter in the microwave and then mix the brown sugar (or honey) and salt into the melted butter before I add it to the dough. If you add them all separately, it is more difficult to get the salt mixed in evenly.
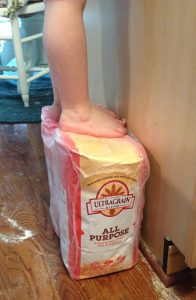
- The recipe says to mix in 2 cups of whole wheat flour, flour your surface and then add two to four more cups of flour. I did this the first time I made the bread and this is what ended up making it so DENSE. The amount of flour you use can vary depending on the temperature and humidity in the house. Four to six cups of flour at this steps is always way too much for me. For today’s bread, I used 2 1/2 cups, and a small handful to flour the counter.
- I use canola oil to grease the bowl.
- Get a large bowl! The one I use is 8.1 quarts.
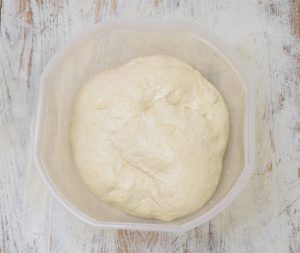
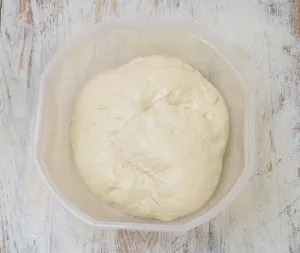
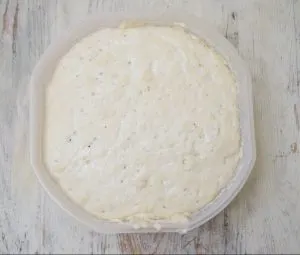
- Rising time can vary depending on the temperature in your house as well. I like to put the dough in my oven with the light on. This makes the oven the perfect temperature for a good rise.


Step 3
- I put my fist into the center of the dough 3 or 4 times. Then, I rip it into three equal-ish sized pieces and tuck the ripped ends underneath the dough before putting it into my greased bread pan. This keeps the top of the bread smooth when you bake it.
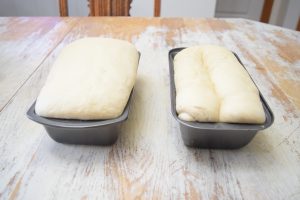

- The dough is more forgiving than you would think. You can pull pieces off the underside of a particularly large loaf and stick it on the bottom of one of the smaller ones at this step and it will still bake up fine.
Step 4
- I do not usually brush it with butter, and it still turns out soft. This is just a preference.
- To get that sticky dough off of your counter from where you kneaded it, stick a wet washcloth over it for a few minutes, then wipe it up.
That’s it! It takes a few times until you get the hang of it, but then it is pretty simple and mostly foolproof. This bread is great for toast or with a hearty soup. My kids love helping me with this, and cheer, “Bread Making Day!” every time we make it.
You can also add in different ingredients to make it a specialty bread.