Adding wallpaper to a room is a great way to add character to a space. Wallpapering a room is actually a lot easier than it sounds too.
If you are new to wallpaper, don’t worry. This tutorial will give you the tips you need to put wallpaper on your wall without too many headaches along the way.
Is Wallpaper in Style for 2023?
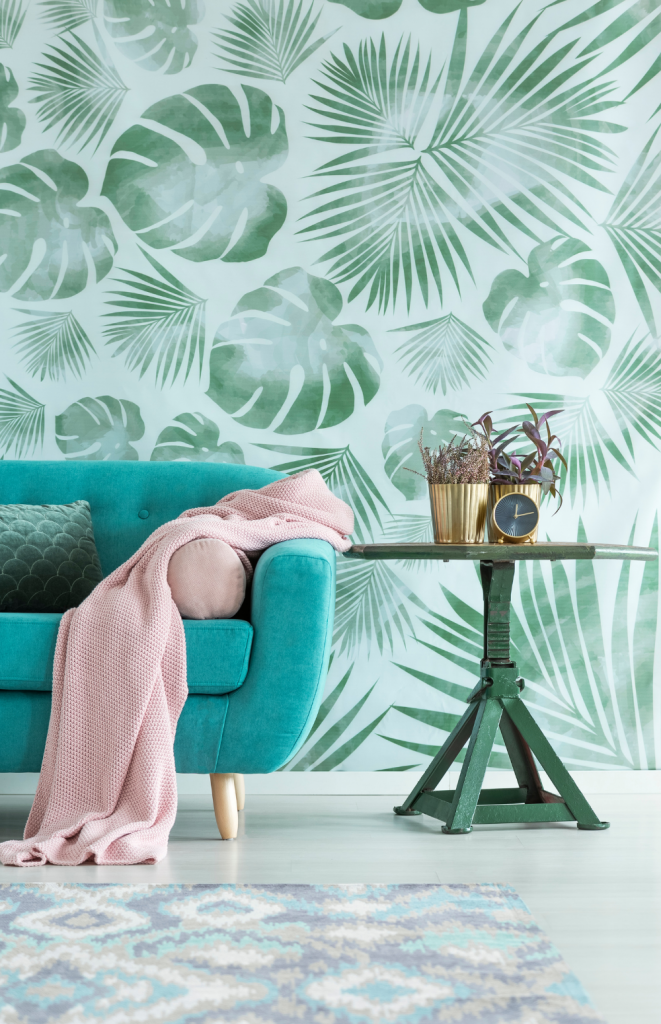

Wallpaper is actually super in style in 2023. In fact, installing wallpaper in a room is one of my favorite ways to change the look and feel of the room.
It livens a boring room, adds texture, shine or pattern depending on the style you choose, and quickly transforms a space. Plus, wallpaper is relatively cheap, compared to other home decorating options.
In the past when people wallpapered (like the 70s-90s), people were frequently adding wallpaper to a ton of space. At times, the effect was that the room felt busy, or overwhelming.
Now, most people are choosing to use wallpaper as an accent in their homes. Think feature walls, small bathrooms, and the upper part of a wainscotted wall.
Using wallpapering as an accent in a room brings balance to a room, instead of overpowering it. It adds a bit of character without being juvenile.
That being said, the right wallpaper can look amazing in a whole room. Some people love to play up a space such as a small bathroom with bold wallpaper, and this look can work too.
It is sort of the same idea as using a dark paint color in a room. In many spaces, it feels like too much – too dark and too dominating.
But, in the right room, with the right wallpaper, a bold look can be striking.
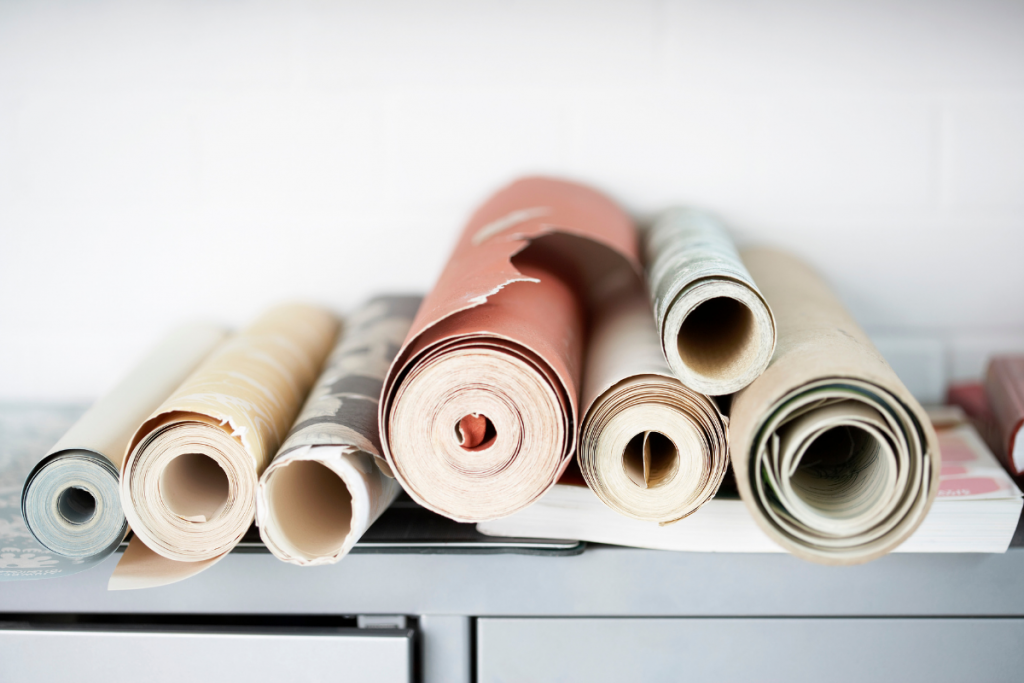
Check out these on-trend wallpaper options for 2023.
Pasted vs. Peel and Stick Wallpaper
Deciding between pasted or peel-and-stick wallpaper can be difficult.
At first thought, it seems like peel and stick wallpaper would be easier to put up. No paste and no wiping sounds like the way to go, right?
This was what I thought at least. I was nervous about using paste and what all that would entail.
But, after installing pasted wallpaper, I would definitely use it again.
Peel and stick wallpaper can actually be harder to use. It adheres quickly to the wall, and repositioning means taking the whole sheet off and reapplying the whole sheet.
Pasted wallpaper is made of very thick paper, so it doesn’t bend and crease as easily as you may think. This makes it easy to work with. Plus, when using wallpaper paste, you can slide the wallpaper into the right place when it is on the wall, instead of pulling the whole thing off and re applying it.
So, don’t let the pasted sort of wallpaper worry you. I found it very easy to use, super forgiving, and uncomplicated to install.
How to Wallpaper a Room with Pasted Wallpaper
Installing wallpaper in a room is actually a fairly easy DIY.
Step 1 – Gather your tools.
To wallpaper a room you will need the right amount of wallpaper, wallpaper paste, a paintbrush or pasting brush, a wallpaper smoothing tool, a sharp razor blade, a long level, a straightedge and painters’ tape.
Truth be told, you don’t NEED a long level, straightedge, and painters’ tape, but they make the job easier and more professional looking.
Step 2 – Cut the wallpaper to length PLUS a few inches.
To start, I cut the wallpaper about 3 inches longer than the wall. Doing this allowed me to cut the wallpaper on the wall exactly to fit, instead of hoping that my ceiling was perfectly straight. I left extra wallpaper at the top of the wall and bottom of the wall.
Step 3 – Mark your starting point.
Then, I used my long level to make a plumb line (straight up and down) on the wall.
Step 4 – Paste the wallpaper on the wall.
I worked in sections, dividing the wall in thirds (top portion, middle portion, bottom portion).
I found this to be easier than applying paste to the whole wall due to the way the wallpaper curls from being on a roll. If I would have applied paste to the whole wall, the wallpaper would have likely hit the wall on the design side while trying to unroll it.
Working in sections made it more manageable since I was applying it by myself.
I applied the wallpaper paste to the top part of the wall, and then unrolled the top of the wallpaper onto the ceiling (remember, I cut my top edge after it was on the wall, instead of pre-cutting it, so the wallpaper started on the ceiling).
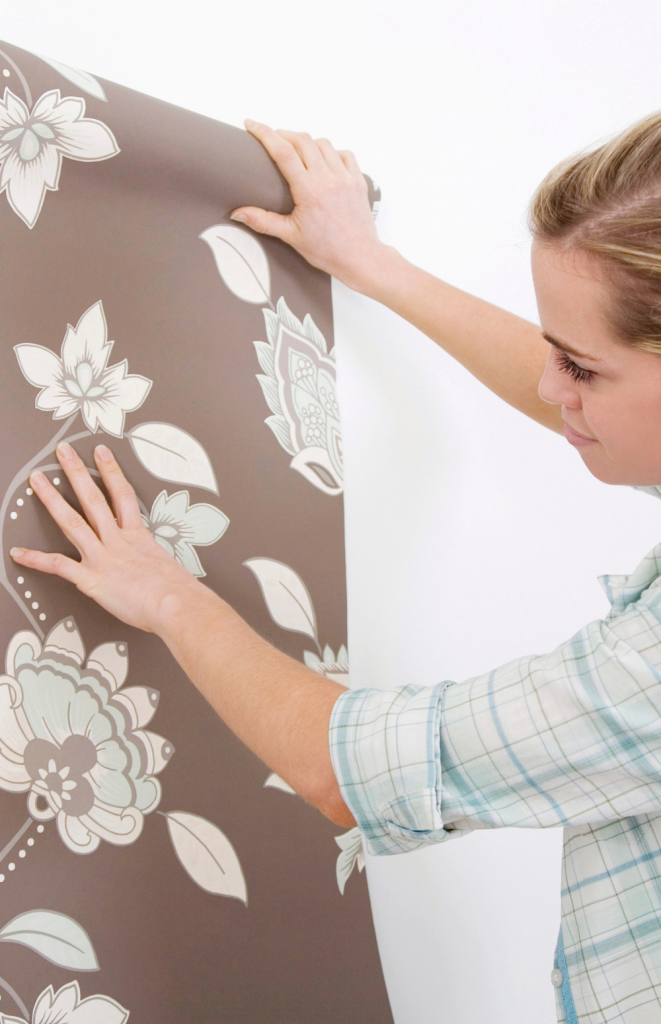
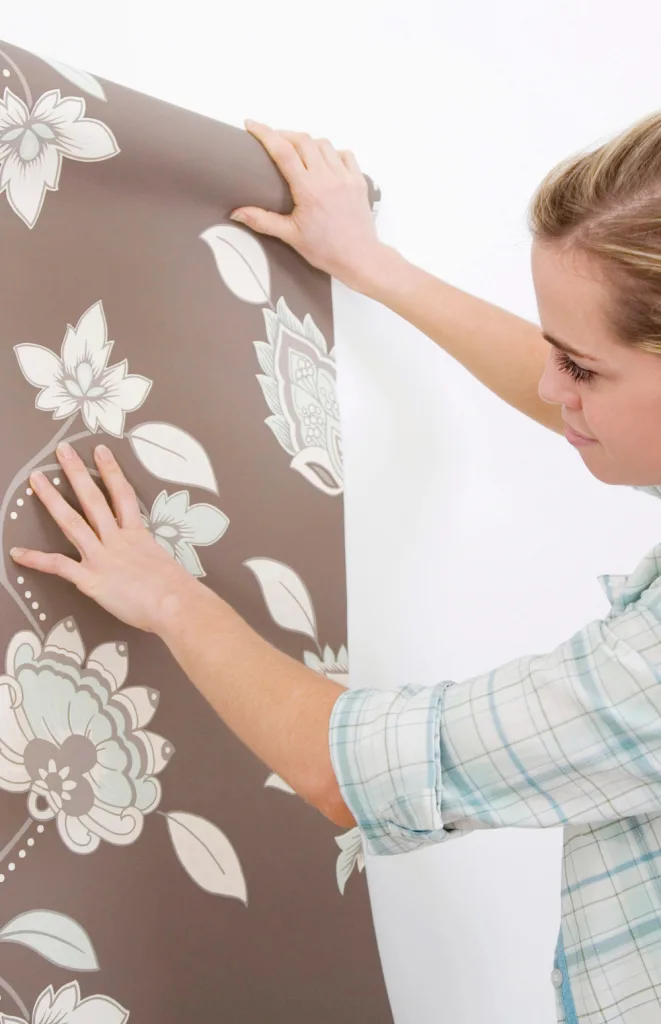
Then, I pressed the wallpaper onto the paste being careful to not let the bottom part of the roll hit the paste.
I used a flat edge smoothing tool to press the wallpaper on the wall, smoothing out bubbles and creases.
I actually did get a crease in the wallpaper while trying to work around the light fixture hole, but was able to peel the wallpaper off the wall, stretch it again and put it back on. You can’t see the crease at all anymore.
Once the top portion was on, I lifted the unpasted paper from the bottom and put more paste on the wall. Again, I used the smoothing tool to press the wallpaper on the wall.
Finally, I completed the bottom part of the wall in the same way.
Step 5 – Cut off the excess.
Since I planned to cut the wallpaper once it was already on the wall, I had a little extra at the top and bottom.
Using my straightedge, I pressed the edge into the corner where the wall hit the ceiling. This put a crease in the paper. Then, I put my razor blade above the straightedge and firmly pressed it into the paper, pulling it along the corner to cut the wallpaper.
It is crucial to have a very sharp blade. If you do not, you will pull and tear the paper instead of cutting it cleanly.
Once the paper was cut, I again pressed the wallpaper into the wall with my wallpapering smoothing tool.
Then, I cut the bottom of the wallpaper against the trim using the same method.
Step 6 – Clean the extra paste.
I wiped any excess paste off of the paper, ceiling and walls with a clean, damp rag.
Step 7 – Repeat.
Once the first sheet of wallpaper was up, I was able to line up the pattern of the section sheet against the first. This let me know where to cut the wallpaper on the top and bottom, again leaving a few extra inches.
Of course, you will have to make some special cuts around outlets, light fixtures and windows. I found it easiest to do this once the wallpaper was mostly in place. This made sure I didn’t make an error in where my cuts were.
7 Tips and Tricks to Easily Install Wallpaper in a Room
As I put wallpaper in my bathroom, I learned a few things. You just read through the nuts and bolts of how to hang wallpaper, but here are the tricks and tips I learned while doing it.
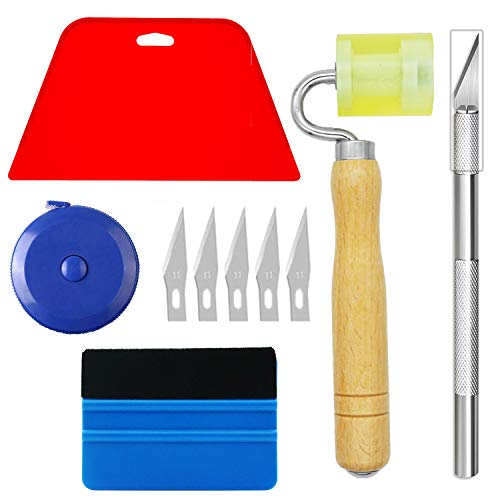
Wallpapering Tip #1: Have the right tools.
You definitely need to get a few wallpaper specific tools. For example, you need a large flat smoother to make sure you get all the bubbles out.
You also need a really sharp blade to cut the excess wallpaper. Even if you have an old razor blade in the garage, don’t be tempted to use it. It will likely just rip the paper, and not cut a clean line. Have extra blades on hand as well.
I like this kit because it comes with almost everything you need:

Wallpapering Tip #2: Start on a plumb line.
A long level is really useful for starting your wallpaper. It makes sure that you don’t end up with a sheet of wallpaper going slightly crooked. It may seem like you can just start at a corner, but if your house is like mine, not all corners are exactly plumb.
Wallpapering Tip #3: Measure, and measure again.
There will likely be a “best” way to hang your wallpaper. One way may just make more sense than the other ways. So be sure to take into account everything on your wall before you start laying the wallpaper.
For example, maybe you have a tricky cut out to make (like for a light or something). Perhaps that is the best place to put the seam so you can cut one half of the cut out on one side of the wallpaper and the other on the other sheet.
Or, maybe starting at one corner will leave just a tiny strip leftover at the end of the wall which will not work out well. Perhaps you need to start by wrapping the corner.
Consider all these types of things before actually applying the wallpaper.
A little bit of planning can save a headache in the end.
Wallpapering Tip #4: Leave a little extra on the edges.
Don’t cut your sheet to exactly the right length. You ceiling and trim lines may not be completely level. If not, you’ll end up with a little bit of wall showing.
I found that the best way to avoid this was to cut the wallpaper once it was actually on the wall.
Wallpapering Tip #5: Cut using a straightedge.
A straightedge is essential. The ones made for wallpaper are really handy, and make the cutting process a breeze!
Wallpapering Tip #6: Have an extra set of hands, if possible.
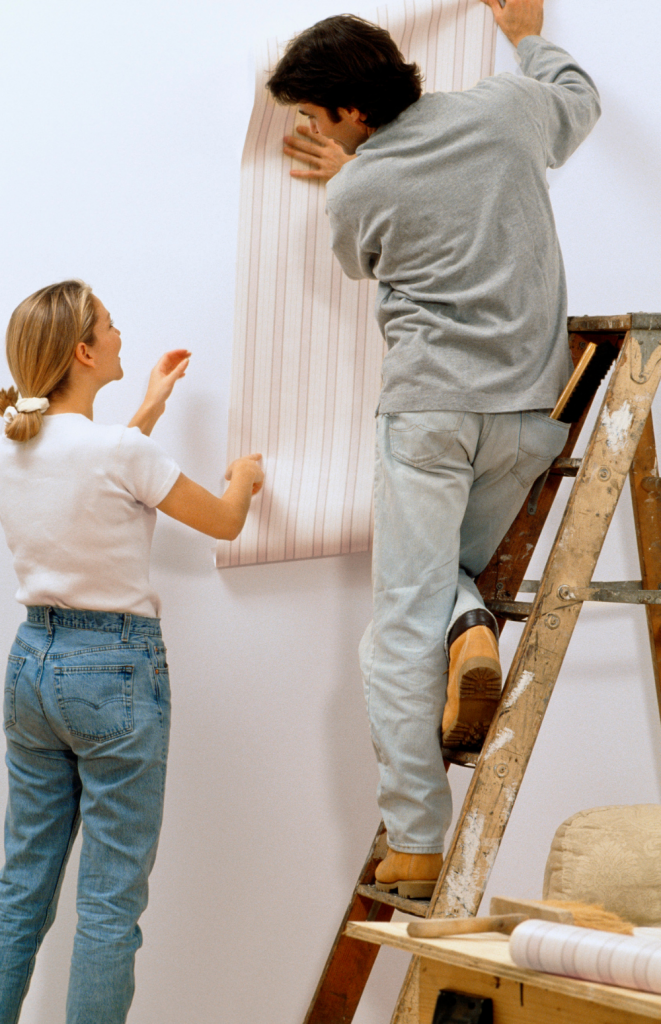
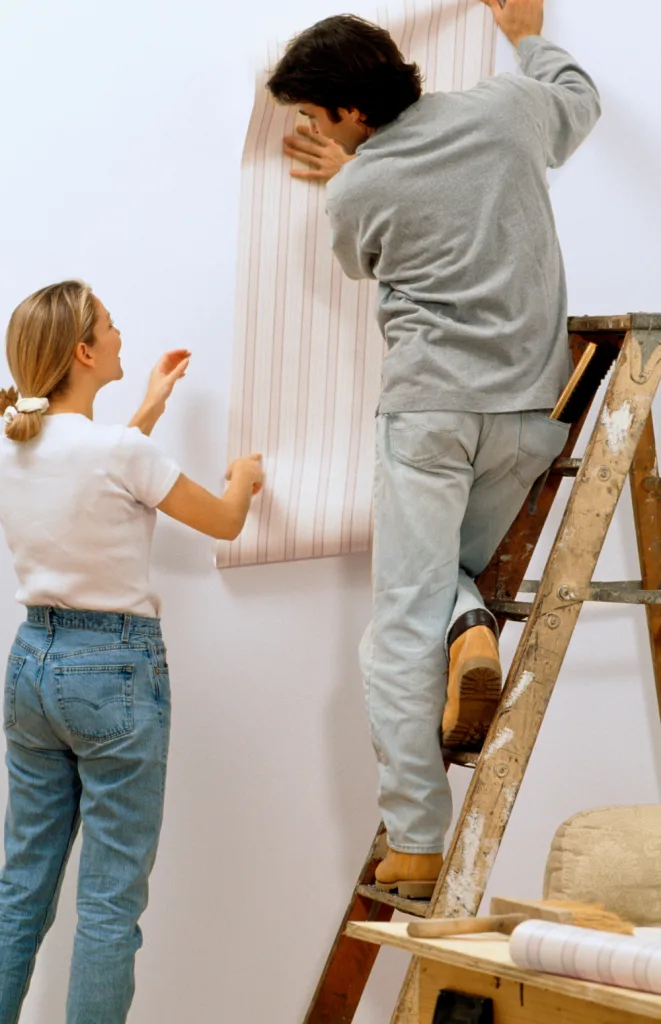
Wallpaper comes on a roll, so it tends to want to remain rolled. Having someone there to help you will make it easier to make sure it is flat on the wall and that the picture side doesn’t roll into the paste on the wall while you’re applying it somewhere else.
Wallpapering Tip #7: Use painters’ tape.
Painters’ tape makes it easy to get it in the right spot before you paste it. Apply it along the seam, with one half of the tape on the pasted wallpaper sheet, and the other on the new sheet.
Once the pattern and edges are perfect, put the paste on the wall and put the sheet on in just the right place.
The painters’ tape also helps to prevent curling of the wallpaper prior to pasting.
Final Thoughts on DIY Hanging Wallpaper
Hanging wallpaper is a super easy, DIY way to change the look and feel of your space. It is back in style in a big way, and the product itself is easier to hang and remove than it used to be.
Be sure to check out these gorgeous wallpaper options that can be delivered right to your house!`
How to Install Wallpaper
Learn how to install pasted wallpaper in a room.
Materials
- wallpaper
- wallpaper paste
- painters' tape
- damp rag
Tools
- paintbrush or pasting brush
- wallpaper smoothing tool
- sharp razor blade
- long level
- straightedge
Instructions
- Decide where to start. Good places to start are beside a door frame, window, or at a corner.
- Using your long level, draw a plumb line on the wall. This will ensure your wallpaper is completely straight on the wall.
- Measure the height of the wall. Cut your wallpaper to a few inches longer than the wall.
- Using a paintbrush or pasting brush, apply wallpaper paste to the wall where you will apply the first strip of wallpaper.
- Place your first strip of wallpaper on the wall, making sure it is right against your plumb line. Overlap the top of the paper on the ceiling, and allow the bottom of the paper to overlap the bottom trim.
- Using your smoothing tool, work section by section to smooth the wallpaper onto the wall.
- Press the smoothing tool into the top, bottom and side edges of the wallpaper where it meets another surface. This will crease the wallpaper right on the edge.
- Using a straightedge (or your wallpaper smoothing tool), cut the excess wallpaper. To do this, place your straightedge right in the corner, and cut along the edge. On the ceiling, cut above the straightedge. On the floor, cut below the straight edge. This will ensure your paper goes the whole way to the ceiling and trim.
- Look over your wallpaper strip to make sure you don't have any creases or bubbles. Smooth as needed.
- Wipe off any excess wallpaper paste.
- Before cutting your next strip, find where the wallpaper pattern matches the pattern on your wall. Cut accordingly. Remember to leave a few extra inches on the top and bottom.
- Using painters' tape, tape the new strip of wallpaper to the wallpaper you just pasted, lining up the patterns.
- Starting again at the top, paste your wallpaper in sections, smoothing and lining up the pattern as you go. Don't overlap the paper. Instead, butt the edges together.
- Repeat steps until all the wallpapering is finished.
Notes
If the pattern doesn't line up everywhere (wallpaper can stretch or there can be printing errors), make sure it lines up where the eye sees most frequently. If the pattern is going to slip, let it slip at the top and bottom instead of at eye level.
Use the seams to your advantage. If you have something on the wall that is had to work around (like a light fixture), consider making that a place where a seam goes.