
Want the Fixer Upper Look?
The answer (in part) is distressed furniture.
Distressed furniture is the BEST furniture for life with young kids. Whether or not I am going for the Fixer Upper look, my furniture is constantly in a state of being distressed, so I may as well embrace it! Since I have three little ones, I am all about getting the job done quickly and easily.
Here is how I take an older, out of style piece of furniture and turn it into a showpiece!
This post may contain affiliate links. If you have any questions, please see my disclaimer page.
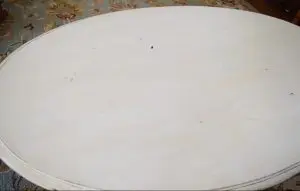
1. Start by finding the perfect piece.
I typically get most of my stuff from thrift stores, but I have been known to pick up furniture off the side of the road. You never know when inspiration will strike!

2. Wipe the whole thing down with water and some sort of cleaning solution.
I have used dish soap, Spic and Span, Mr. Clean, etc. They all do about the same thing.
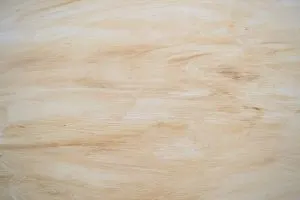
3. Give everywhere that you will paint a light sand along the grain of the wood.
I use a medium grit sand paper for this, as I am just trying to take the shine off of it so the paint will adhere. If it is a large flat piece, I use my mouse sander. Otherwise, I just run a sanding block or some sandpaper over all of the surfaces I am going to paint.
4. Wipe it down again to get all of the dust off.

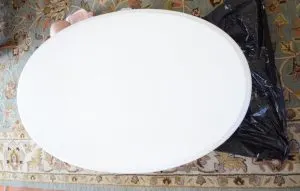
5. After the paint dries (a few hours to a day), run sandpaper over the edges of the piece and on any part of the furniture that you want to look distressed.
How much you sand depends on your preference of how distressed you want the piece to look.

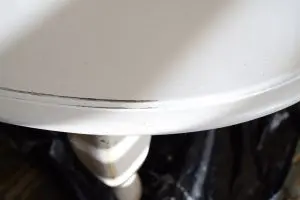
6. Use a dark wax to add “dirt” into the creases.
(Crazy that we work so hard to clean the dirt out of our homes, and here we are putting it back in…). The method I use works great with FolkArt Home Decor Wax.
It is a cheaper type of wax when compared to an Annie Sloan wax or something like that, but I like that it is water based. This allows me to put it on haphazardly and take it off if I apply it too thick.
Once it dries though, it will no longer wipe off.
I wipe it all over my piece and then take a wet rag and wipe as much of the wax off as I can. If the piece is larger, only put it on a portion of the piece and then wipe it off before moving on to the next portion.
This will make sure it is not darker in some areas because it had more time to dry.
Note that if you are using chalk paint you are going to want to finish with a clear wax as well. Since I just use regular latex paint, this is my last step.
That’s it!
I typically finish a whole piece in a day, working during rare moments of all the children sleeping or being occupied at the same time.
Each step is so easy to do, and takes just a few minutes, making it a great way to quickly transform your spaces.
A Note on Paint.
Many people who paint and distress furniture swear by chalk paint. I have used it, and its great, but my go to is to just use whatever I have in my garage. I
t is much cheaper to use regular latex paint than chalk paint, and its more convenient since I have buckets of it sitting in my garage.
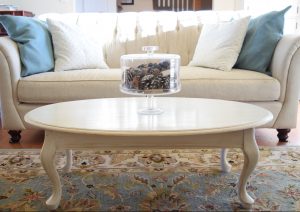
I typically paint my furniture white because I love the clean, versatile look it gives to the room. I have used paint with all types of sheen, depending on the surface.
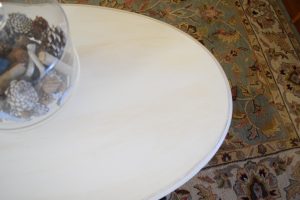
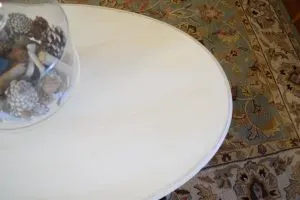
Glossy is great for this coffee table because it wipes off easily. For items that get less use, I use a matte or semi-gloss. They all work great!
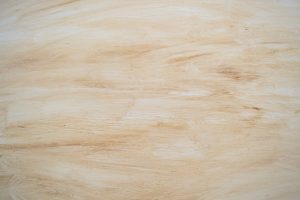
One tip for how to paint the furniture.
Pay close attention to how the grain of the wood goes and paint with the grain.
Invariably, you will end up with brush lines and the wax will sit in the lines. If you are doing a table and your paint lines are not straight, it will look messy once it is finished.
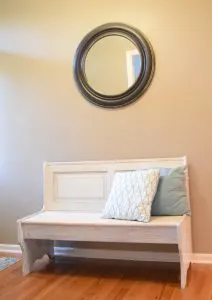
Here are a few of the different pieces I have done with this distressing method.


Cathy Nelson
Thursday 5th of December 2019
Can you use this method on laminated wood?
Lauren
Saturday 7th of December 2019
Hi Cathy!
I would definitely scuff up the surface well with sandpaper and use a primer such as Bin 123 first. Then the rest of the process would work fine. The key is getting that firsr coat to adhere well. Good luck!
Lauren