
Painting Oak Cabinets
Painting oak cabinets is a great way to update your home.
Oak cabinets were hugely popular at one time. But now, they tend to date a room.
Most often, oak cabinets have really good construction though. They are sturdy, resist denting, and have solid boxes that make them nearly indestructible.
New cabinets that are affordable are usually made with a wood composite, instead of solid wood. This makes them easier to dent, scratch and more prone to water damage.
So instead of replacing those oak cabinets, paint them!
Painting your wood cabinets isn’t hard, if you follow some simple instructions. Plus, you need to get a product to fill the wood grain, a great primer, and a high quality paint.
This post may contain affiliate links. If you have any questions, please see my disclaimer page.
Step 1 – Remove the Doors and Drawers from the Cabinet
You can remove the doors and drawers from the cabinet by unscrewing any screws that are holding it on.
For doors, this will mean unscrewing the hinge hardware. Unscrew it from both the doors and the cabinet, so that everything is ready to be painted. Make sure to keep the hardware in a little baggy if you plan on reusing it.
To remove the drawer fronts, there are typically little screws on the inside of the front of the drawer. You can either unscrew those, to be able to paint the face, or just remove the whole drawer. Also, unscrew the knobs or pulls from the front of the drawer.
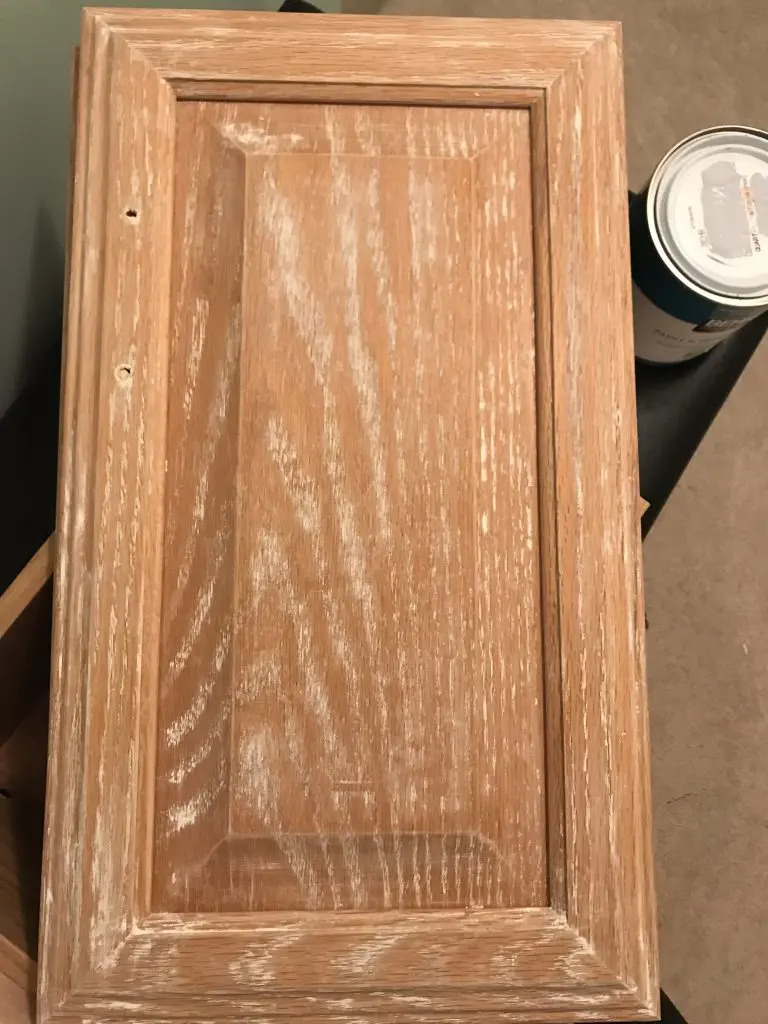
Step 2 – Sanding

Sand the wood with a medium grit sandpaper. This gives your primer and paint a good surface to adhere to.
If you have a mouse sander, this job can go much faster. But no worries if not. It is not too hard to just sand the cabinet base, drawer fronts and doors by hand.
Remember to go in the direction of the wood grain, and to sand using a consistent pressure. This will ensure that you do not end up with any sandpaper lines in the wood.
Get into all the cracks and crevices to make sure your paint will really stick everywhere.
Once you are done sanding, take a wet rag or some tack cloth and remove all the sanding dust. You don’t want that getting into your paint.
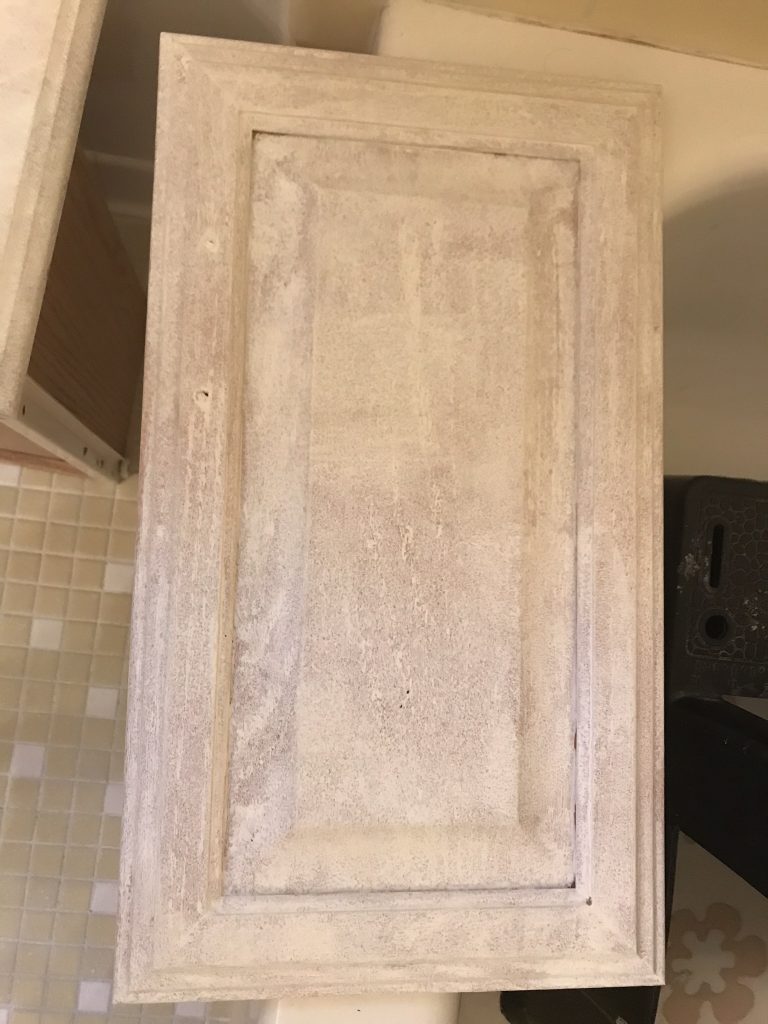
Step 3 – Hide the Wood Grain

There are a lot of different products for hiding wood grain.
One of the most common products that I see used for hiding wood grain is AquaCoat. It fills in the grain and is easily sanded.
Another one that I have seen used (and tried myself) is spackle. I do not recommend this method of filling wood grain. I found that the spackle would pull out of the wood grain and stick in my paint. Not good for a smooth finish!
Here is the project that I used spackle on – adding trim to a kitchen island.
A third product that works really well at hiding wood grain is Durham’s Wood Putty.
To use Durham’s Wood Putty, begin by putting some of the powder wood putty into a disposable cup. Add a little bit of water and begin to stir. There is no magic formula for how much water you need. You are going for a certain consistency. When your putty is the consistency of peanut butter, or just slightly thicker, you’re ready to go.
If you add too much water, just add more putty powder. If your mixture is too dry, add a little more water. It is a really easy product to work with, sands well, and fills wood grain to where it is practically non existent. Oh, plus, it dries hard as a rock, giving you a nice, durable finish.
So, once your water putty is mixed, use a spackle spatula to push it into the entire surface of the wood. Make sure that you don’t leave more on the wood than you need, as this stuff truly does dry hard. While it sands well, leaving a smooth finish, it is hard to sand (because it is so durable), so just apply what is needed and not extra, thinking that you can just sand it off later (you can, but you won’t be happy about it).
For places that aren’t flat, you can try using another type of tool to get it in place. For especially hard places, I have used my fingers to spread the water putty. (*NOTE* Read the label and make sure it is safe to get this stuff on your skin. While I have and it has not caused harm to me, you need to make sure it is a good option for you).
Remember, remove any excess while the water putty is still wet. It is much easier to do now than later.
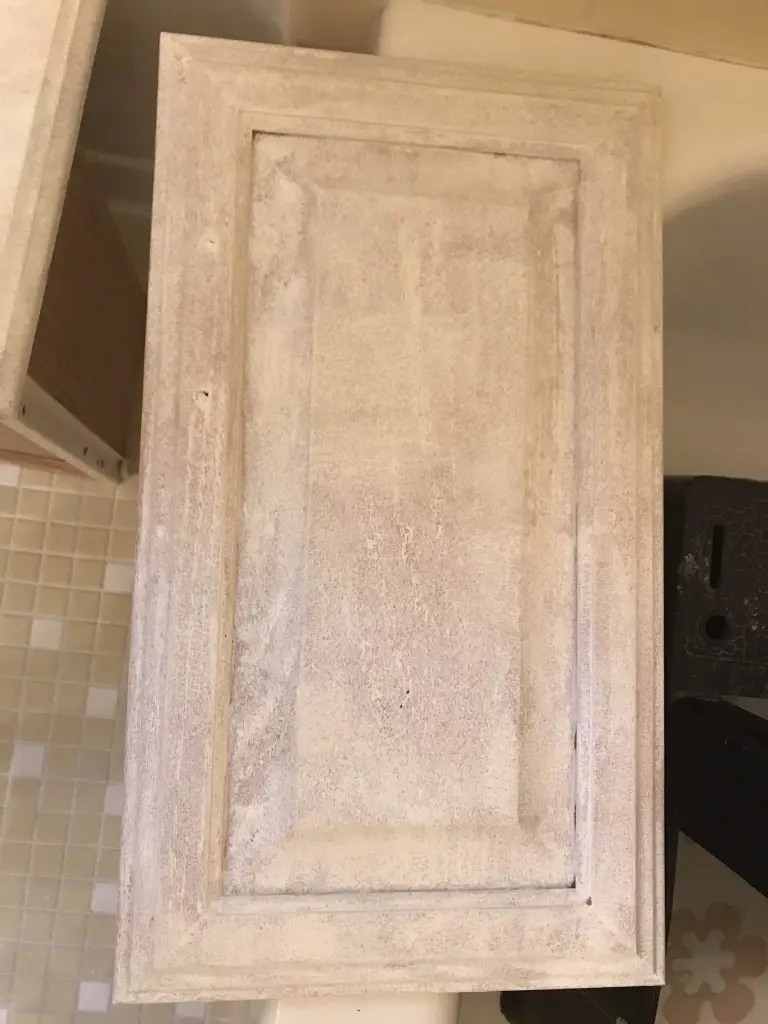
Give a light sand after the wood putty is dry to remove any unwanted spots of putty.
Step 4 – Priming
You may be wondering if you really need to prime your cabinets. You do.
Priming helps the paint adhere to the wood.
After painting one coat of primer on the entire surface that is going to be painted, let it dry.
Good news – You only need one coat of primer.
Best Primer For Painting Oak Cabinets
I use Zinsser Bulls Eye 1 2 3 primer for most of my projects. It is a great primer that sticks to almost anything (and even says that you don’t need to sand – but you still should).
Step 5 – Painting

Once your primer is dry, you’re ready to paint.
Paint in long smooth strokes, and be careful to ensure that you don’t end up with drips on the surface.
Two coats should be enough, but make sure that all spots are covered uniformly.
When your paint is completely dry, you can reattach the hardware, and put the doors and drawers back in place.
Paint typically takes up to a week (or more) to fully cure. So while it’ll seem dry in a few hours, you want to be careful with the newly painted surface for a week or two after.
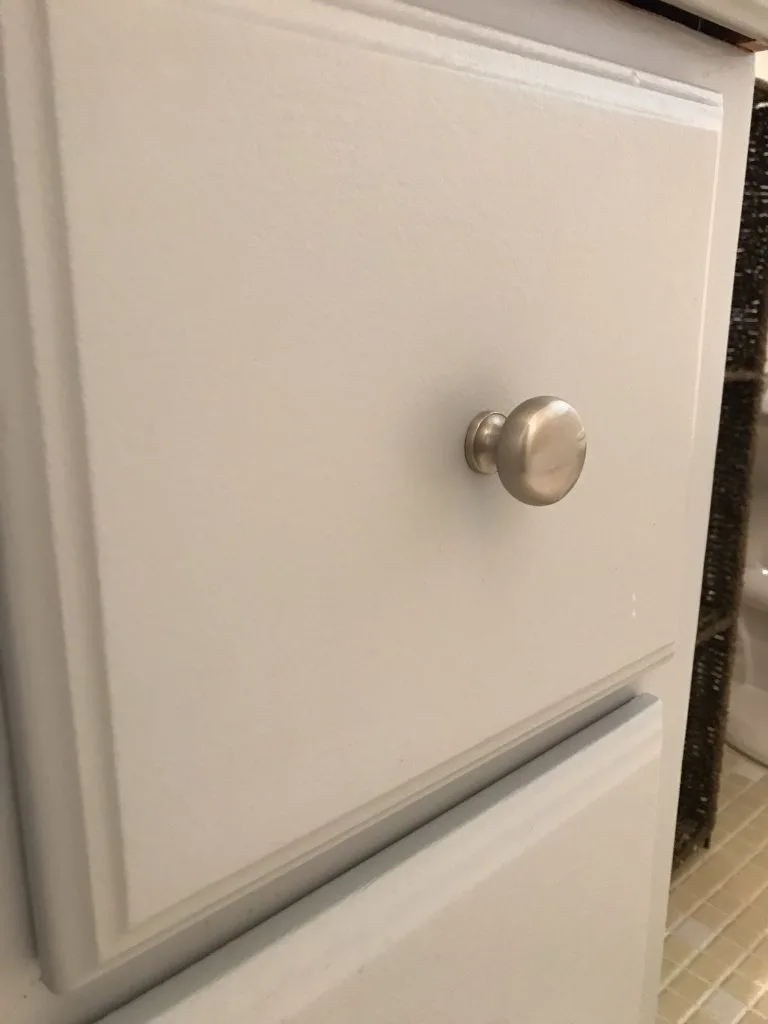
See how smooth the painted oak finish looks?
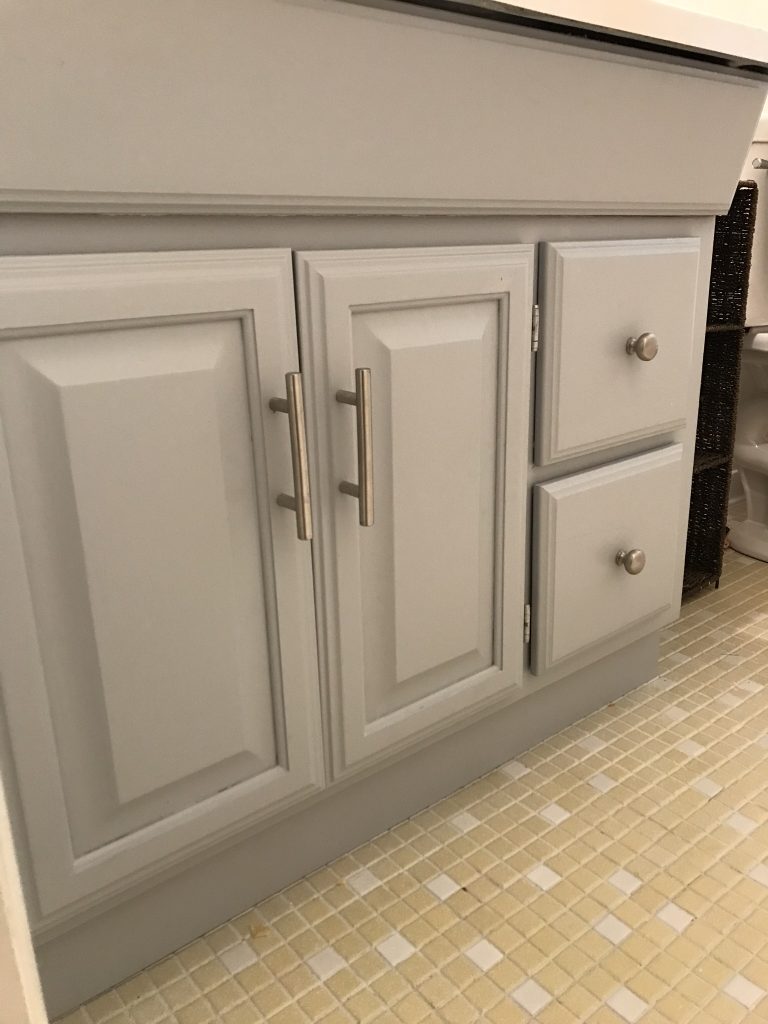
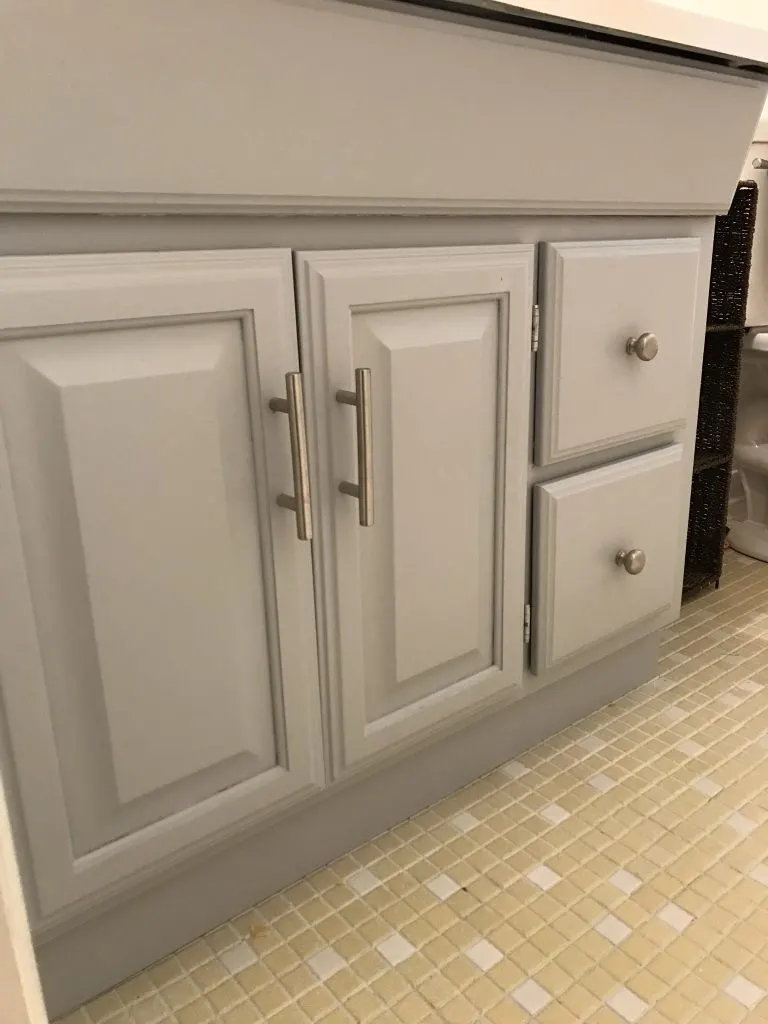
Using water putty to fill your wood grain is an easy way to get a perfect finish on your oak cabinets.
Plus, water putty is super versatile, so it is a great product to have in your DIY arsenal.
Hope this tutorial is helpful for you! Good luck with your painting!
How To Hide Wood Grain on Oak Cabinets
Emily
Monday 14th of March 2022
Hello, what color paint is that? I love it!
Lauren
Monday 14th of March 2022
I wish I knew!! It was a can of oops paint from Home Depot that I picked up. There is no name on it. Sorry!
David
Monday 14th of June 2021
Instead of paint can i use staining or lacquer like cherry ?
Lauren
Monday 14th of June 2021
Hi David! I don't think the stain or lacquer will work over the water putty. Are you trying to to reduce the grain of the wood but still have it look like wood?
Lesly Spencer
Saturday 5th of June 2021
Can you use an oil based paint over the water based aquacoat?
Lauren
Thursday 10th of June 2021
Hi Lesly! I'm not sure! I'm really not familiar with Aquacoat - but I would recommend contacting the manufacturer to ask. Good luck!
Wendy McAninch
Friday 9th of April 2021
How much of the Aquacoat is needed for a standard sized kitchen?
Kay B.
Monday 19th of April 2021
@Wendy McAninch, I actually just used aqua coat to do my cabinets. I bought a pint which got me through the upper 15 cabinets and wall base. I’ll need another to do the island and bottom cabinets/drawers. So I’d say 2 pints.
Lauren
Friday 9th of April 2021
Hi Wendy! I've never used Aquacoat, so I'm really not sure! Sorry!
Troy
Tuesday 12th of January 2021
What is the best method for applying paint, brush or roller?
Lauren
Tuesday 12th of January 2021
Hi Troy! For a smoother finish, go with a roller. A brush will leave bristle marks on your finish.