
Patching a hole in drywall using a pumpkin patch is an easy, fast way to cover a large hole in your wall. And, it is not nearly as hard as it seems!
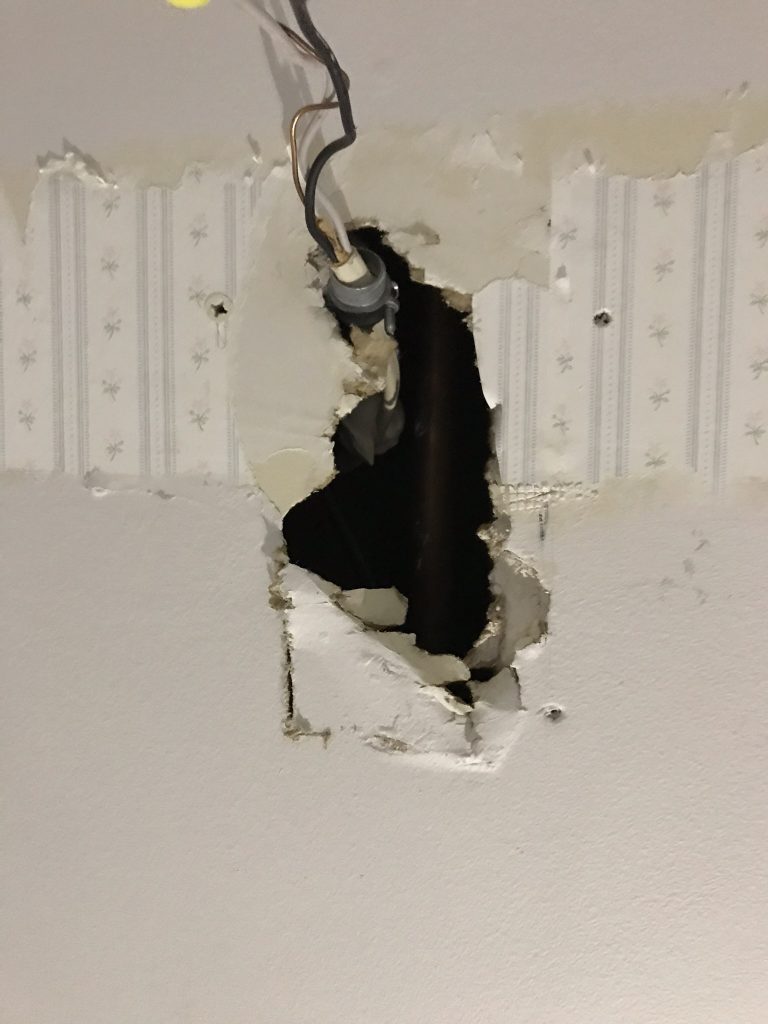
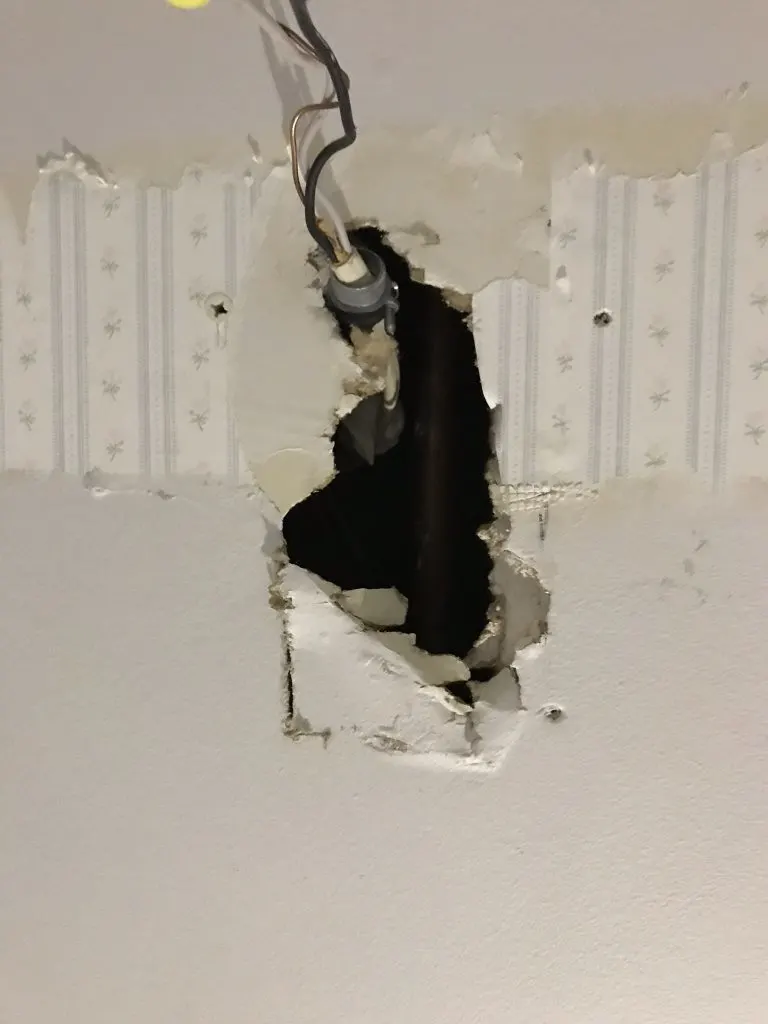
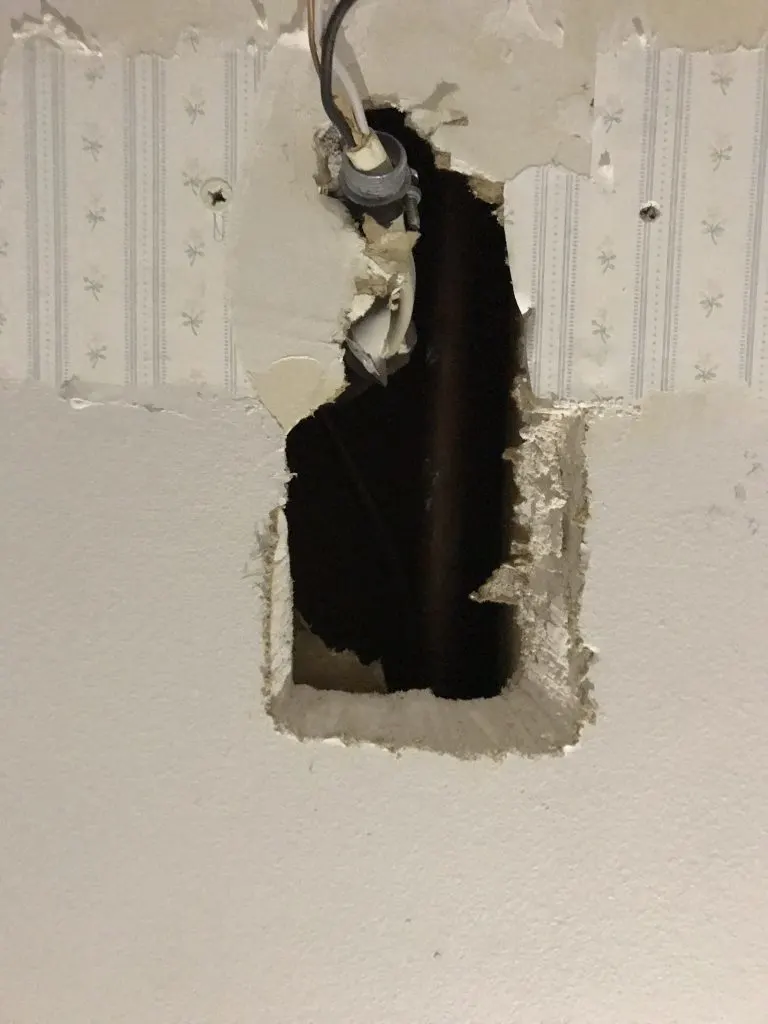
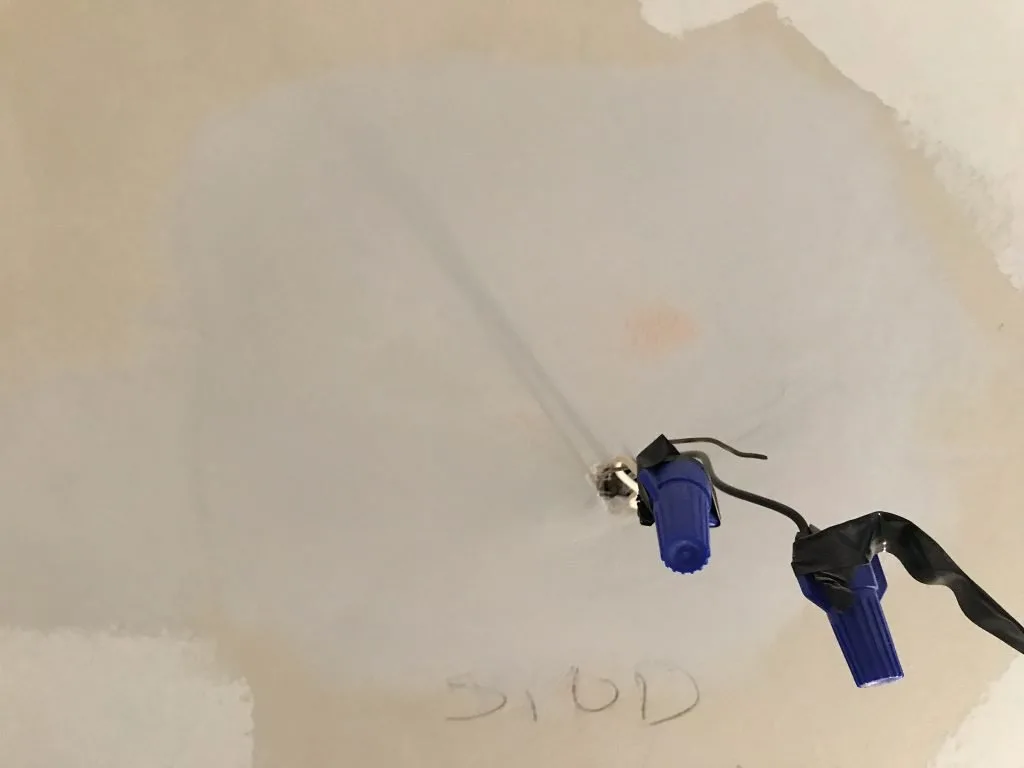
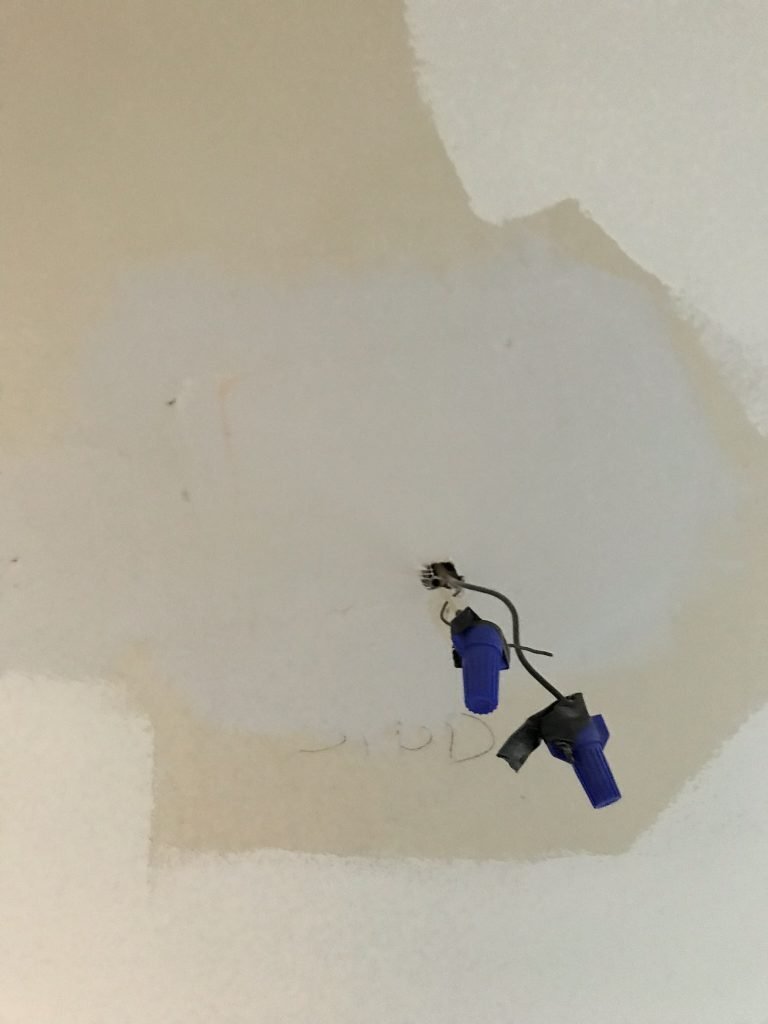
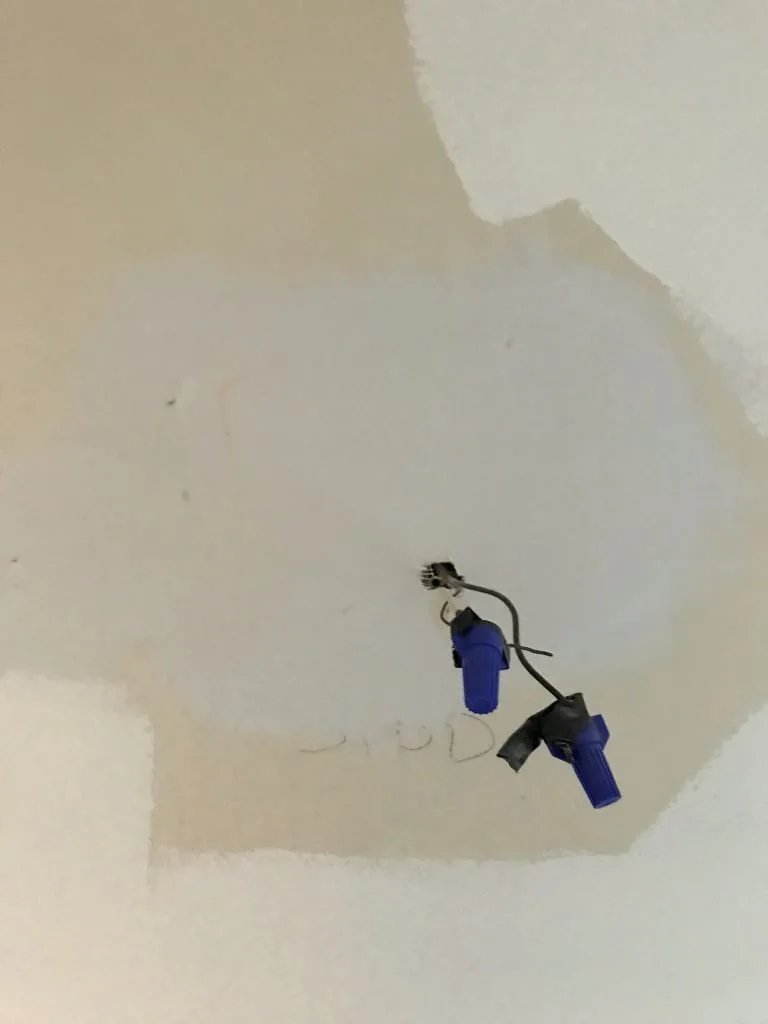
Recently, I removed the wallpaper from two of the bathrooms in my home. In both bathrooms, I found that underneath the wallpaper was a large hole where the original home builders ran the wires for the wall mounted light fixtures.
These holes were around 5 inches high by 9 inches wide… it looked like the Hulk had smashed through the wall with his fist!
This post may contain affiliate links. If you have any questions, please see my disclaimer page.
“Pumpkin Patch” Method of Patching Drywall
In my boho style powder room, I patched the wall using a “pumpkin patch.”
What is a pumpkin patch for repairing a hole in drywall?
Cute name, and informative too. I’ll explain.
You know how when you cut a pumpkin, you end up with one angled edge that fits right into the other angled edge where you removed the top?
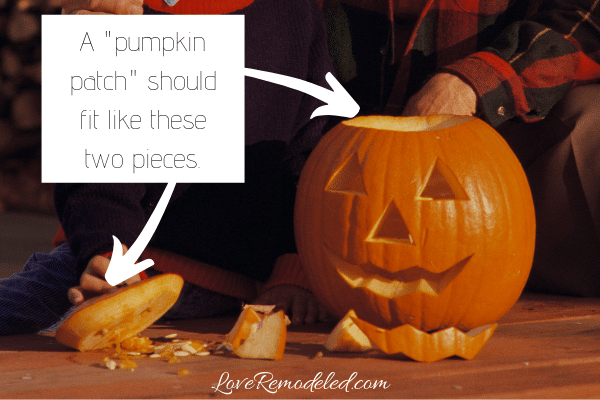

Done correctly, a pumpkin patch for the wall will fit just like that.
How to Repair a Hole in Drywall Using the Pumpkin Patch Method
Begin by examining the hole and determining how you need to cut it to make it have square edges.
1. Cut the drywall hole so it has slanted, square edges.
In this picture, you can see that I needed to cut three sides of the hole to give it clean edges.
To cut the wall, I used a drywall saw.
I’ve seen others use a utility knife for this step, but I think a drywall saw makes it much easier to get a good edge, and cuts through without any hesitation.
Now, listen up because this is the most important part of making a pumpkin patch for repairing a hole in drywall.
When making your cuts, hold the drywall saw on an angle, with the handle angled away from the hold and the blade tip facing towards the hole.
This will give the hole an edge (like the bottom of the pumpkin has) for the drywall patch you are about to make to fit into.
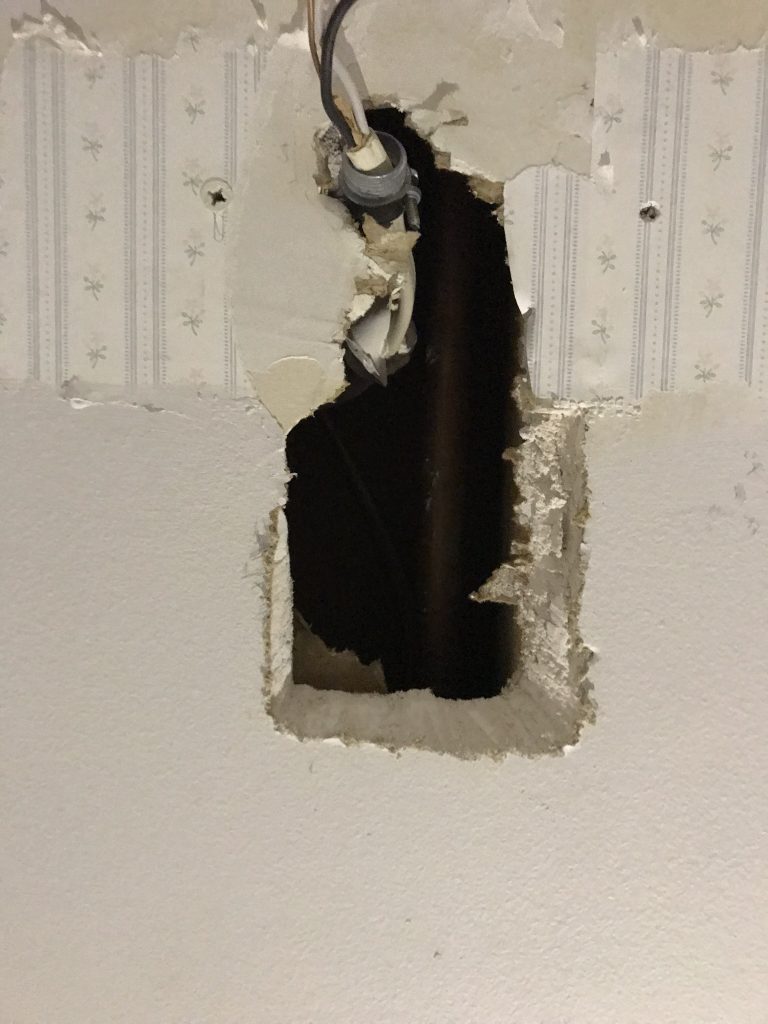
See how the hole I made looks now? Slanted edges will give my pumpkin patch a sold foundation.
2. Make the patch for your drywall hole.
To make the patch for your pumpkin patch repair, measure the hole that you made.
Then, get a new piece of drywall.
Hopefully you will be able to find some somewhere and you won’t have to get a whole sheet from Lowes… because you will have a lot leftover!
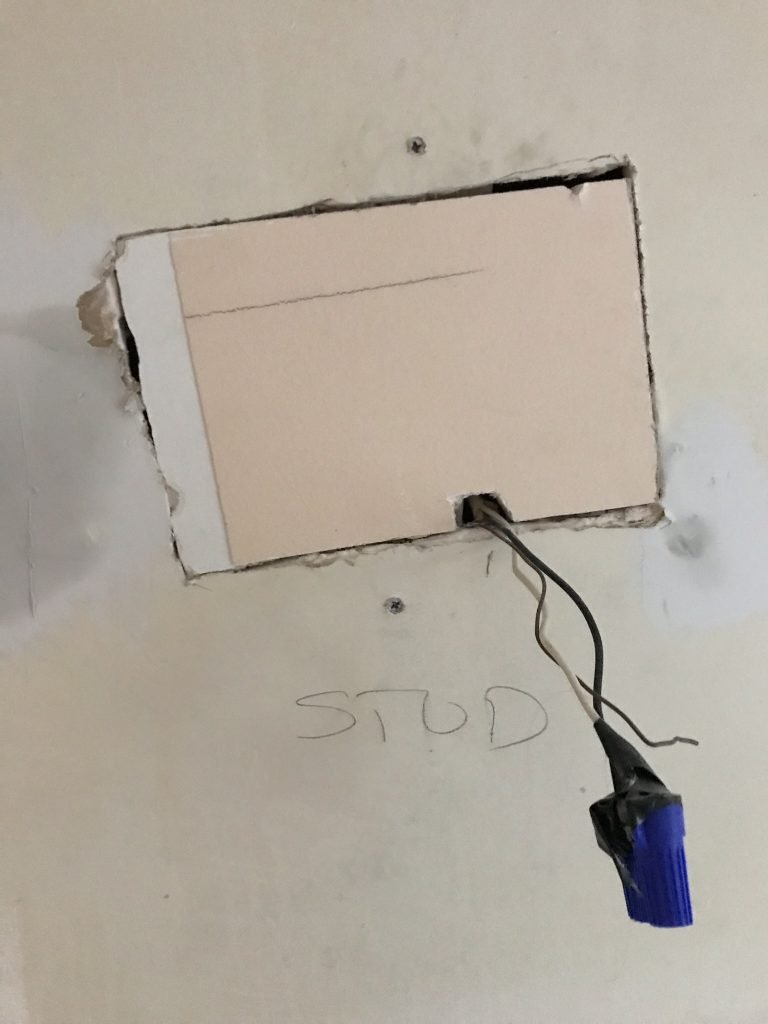
We happened to have some extra from a wall that we had removed, and since the garbage hadn’t been picked up for the week yet, we were able to salvage the piece we needed from it (which is why my patch piece is painted a peach color).
Cut your new piece of drywall to the measurements of the hole you made. If its easier, you can cut it in a straight line first, instead of an angled line (like the top part of a pumpkin after its cut).
Now, shave of the sides of the drywall to an angle. To do this, don’t cut the paper part of the drywall. Instead, angle you drywall saw or utility knife towards the center of the patch, and shave the powdery drywall substance off. This will make the underside of your patch smaller than the top side of your patch, which is exactly what you want.
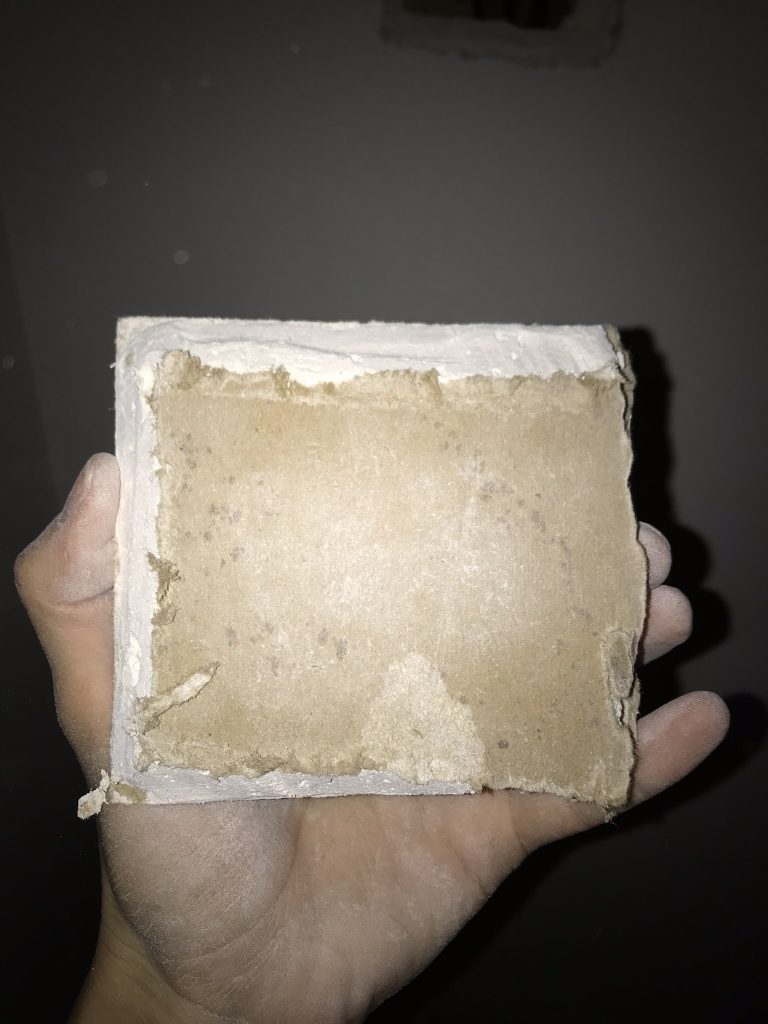

This step takes a little bit of finesse. After you’ve angled your sides, try to fit the patch into the hole in the drywall. Does it fit like a glove? Perfect! You’re amazing!
If it doesn’t (which is far more likely), look at the hole and the patch to figure out where the pieces aren’t fitting together as well, and continue to shave off sections until the piece fits perfectly.
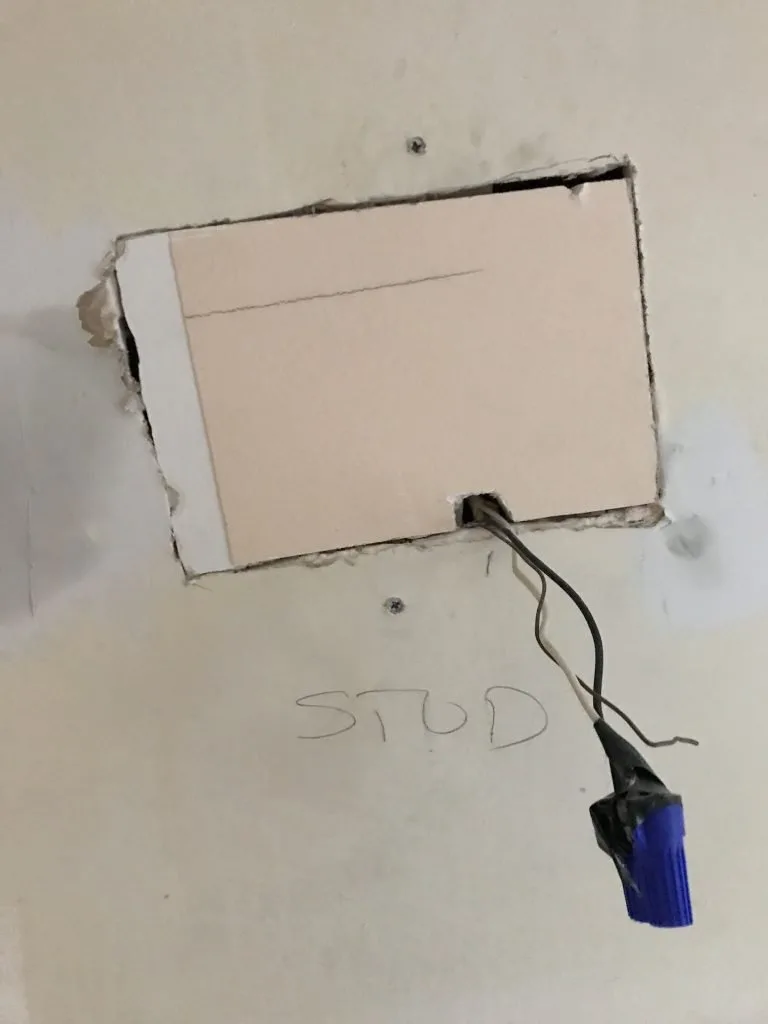
See how my piece fits right in now?
Remember, I wasn’t trying to cover the entire hole. I needed to leave a spot for the electrical wires to exit the wall. I just needed the hole to be small enough that it would be hidden behind the light fixture I was hanging.
If you are patching a hole in your wall and you don’t have wires coming out, your patch should cover the entire hole!
Now that your pumpkin patch fits in perfectly, and has the structure provided by the edges of the patch and the hole, you’re ready to use mesh drywall tape and drywall mud to complete the job.
3. Cover the seams with mesh drywall tape.
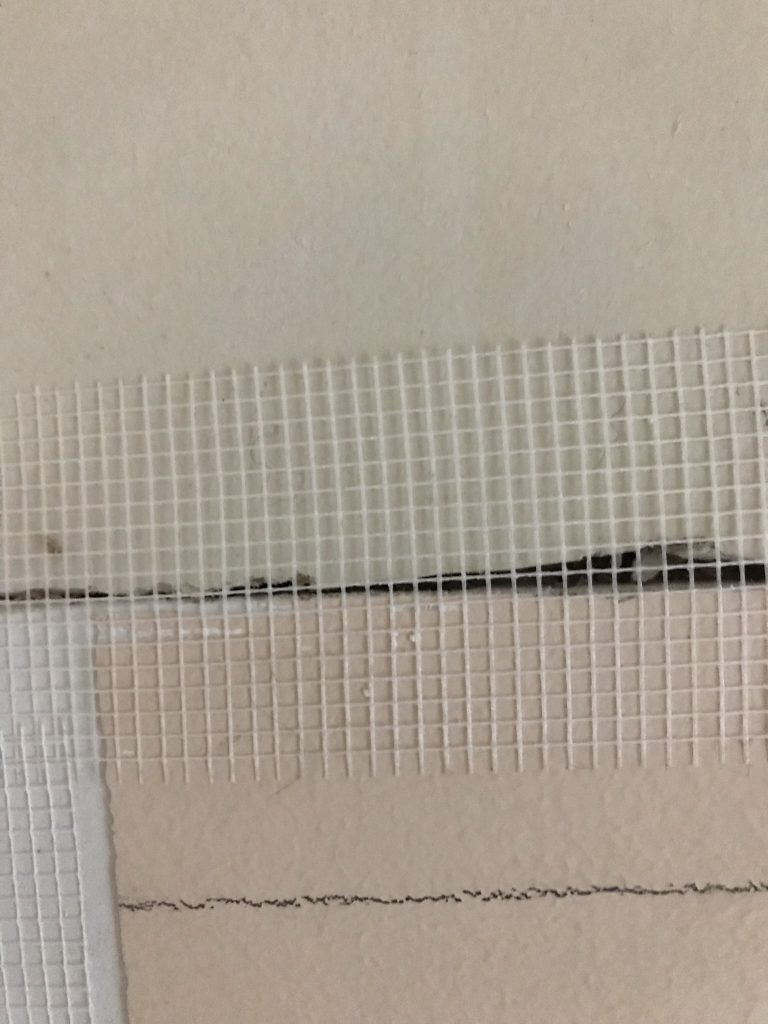
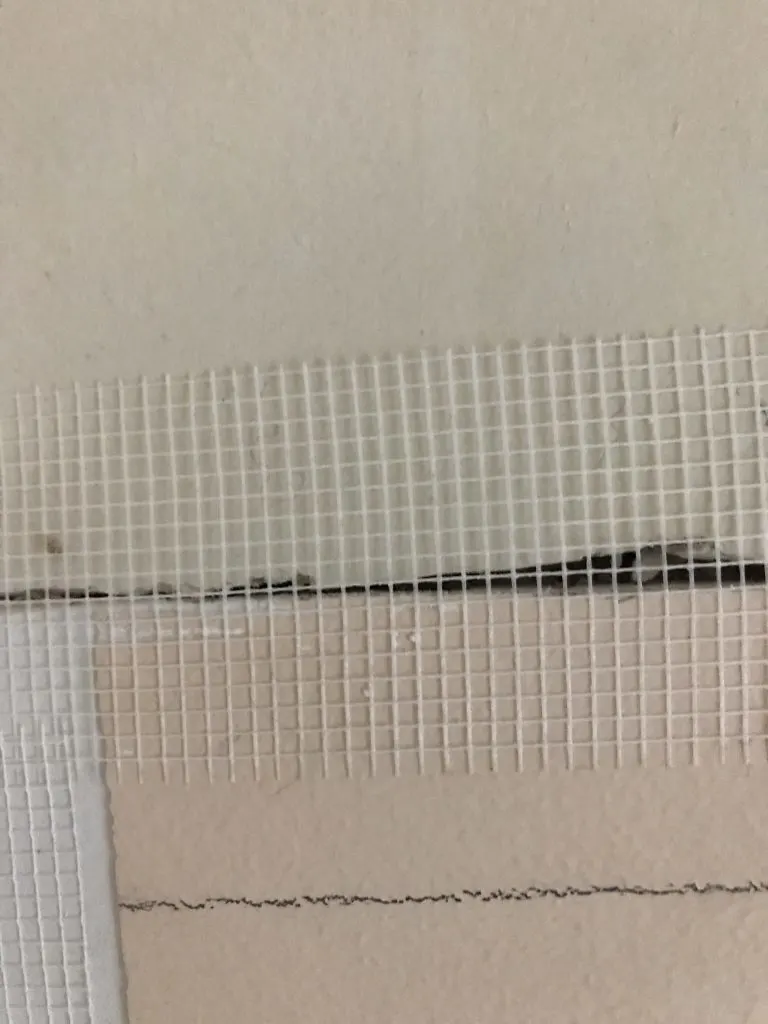
You can pick up a roll of this for cheap, and then cut the pieces to fit the seams. No real science here. You can overlap pieces, or not. Just cover all of the seams with the mesh tape.
4. Apply drywall mud to the tape and surrounding area.
There are several types of drywall mud that you can purchase. For a small project, I like this one. It comes premixed and ready to go, so you don’t need to worry about getting a powder and making it the right consistency.
For a larger project, I love this product. You have to mix it yourself, which is actually very easy, but it dries much faster. You can do multiple coats in a day instead of having to wait 24 hours between applications. Plus, it is designed so that the sanding dust falls in larger clumps instead of just turning into dust that is spread throughout the room.
Apply the mud onto the tape in thin coats, and let it dry completely after every coat. For the product that I used, it took a full day to dry, so I did this project over several days.
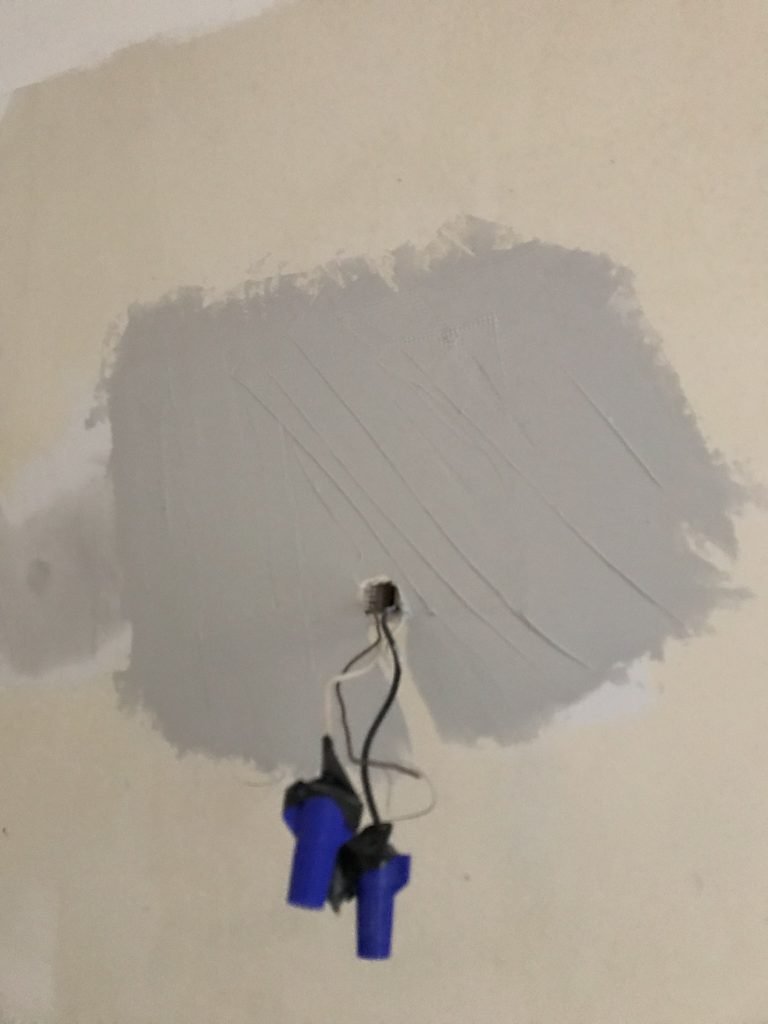

With each coat, go a little bit further out on the patch. This will smooth out the surface and will make the patch not noticeable. Making wider and wider passes over the patched area will reduce how noticeable the patch is because it will ensure that there is a smooth grade up to any high points, instead of a big jump.
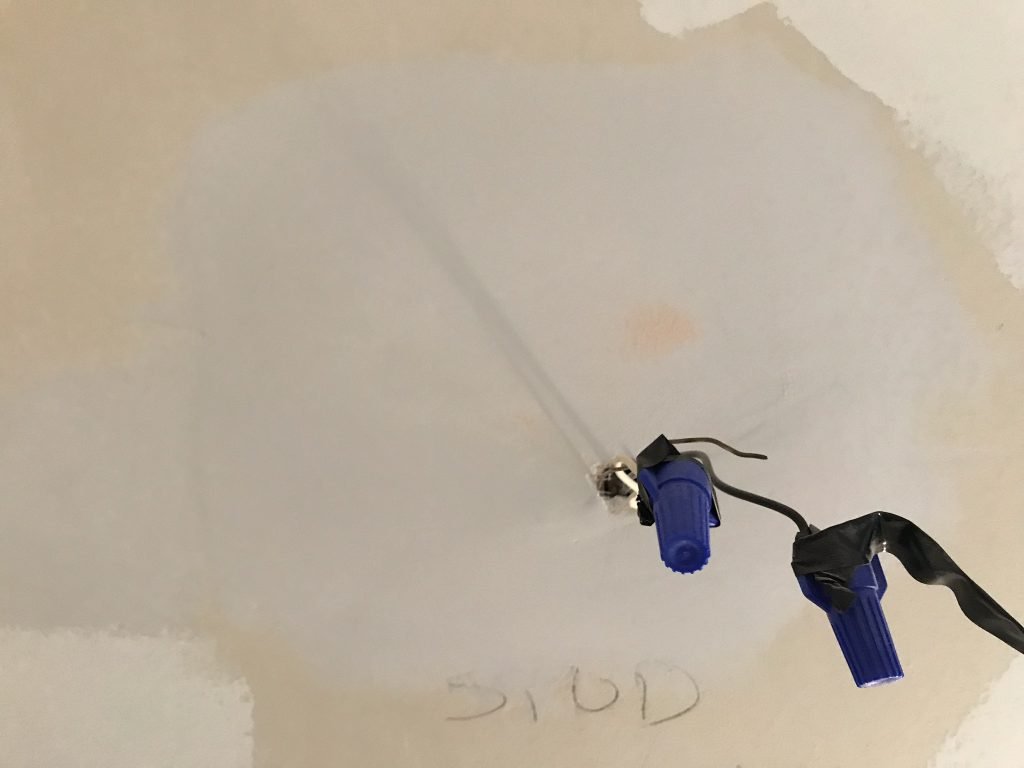
To make sure your patch is smooth, run your hand across it when it is dry. Sand any rough spots and feather out the edges so that there is no perceptible “start” point on the patch.
You can purchase sanding blocks that are perfect for this job. Because they have a little bit of structure to them, they help the surface remain nice and smooth without any gouges in it.
As you can see, I notched a little hole out of my patch for the wiring, but yours can cover the entire hole.
A few notes on perfecting your pumpkin patch:
Be careful about sanding right on the mesh tape, as it is easy to uncover the tape squares. If you do, don’t worry. You can always add more mud and smooth it out again.
Paint will highlight any high or spots or lines, so take your time sanding and getting it right. If you’re concerned that you may have not done a great job with the mudding part, use a flat paint. Flat paint hides imperfections in walls, so it’ll make a bad patch job look less noticeable. Truly though, getting a good patch just takes time and patience to feather out the edges, and sand the patch smooth.
And that is how you can use a pumpkin patch to repair a hole in drywall!
Learning how to do this simple repair can save you the hassle and cost of having to hire a handyman to fix your wall.
JR
Monday 30th of May 2022
Great post. When you mention " I like this one." for the mud, was assuming it was a link to somewhere but can't tell what you recommend.
Lauren
Thursday 2nd of June 2022
Thanks JR! I usually use Easy Sand 45 because it dries quickly, so you can do more than one coat in a day if you want. The premixed stuff that I use sometimes takes 24 hours to dry. If you don't mind mixing it yourself, the Easy Sand is great.