
Removing wallpaper from drywall is a fairly easy DIY that anyone can do. In this tutorial, I’ll explain exactly how I removed the wallpaper in a small bathroom in less than 4 hours.
My Newly Purchased Wallpapered Home
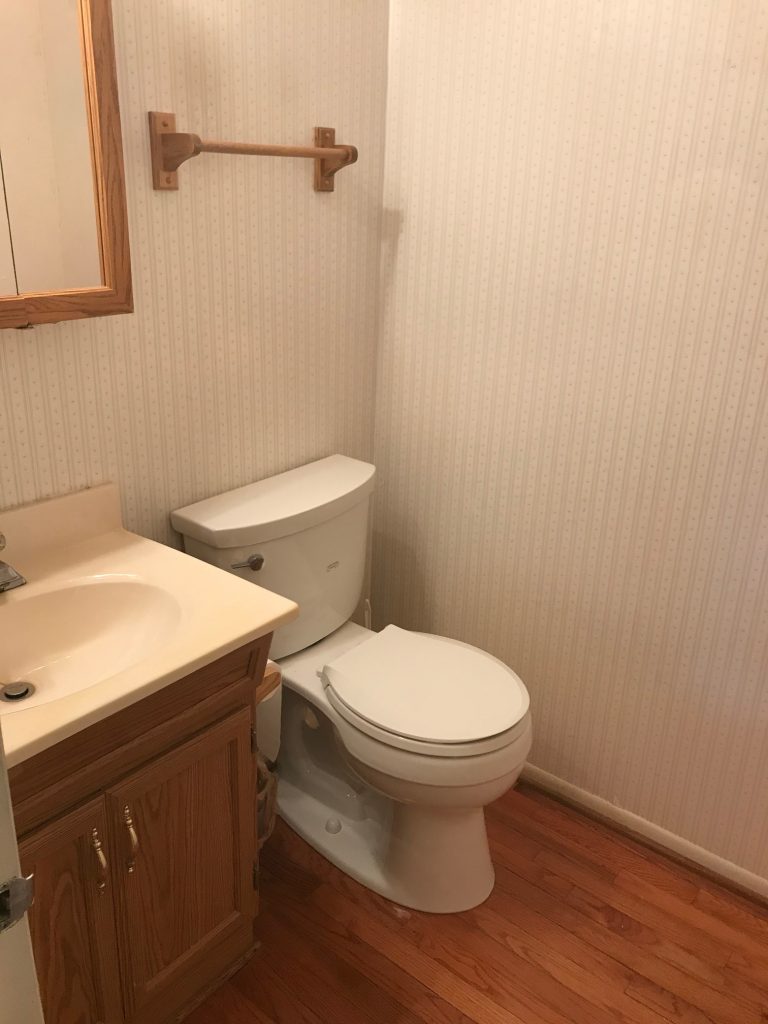
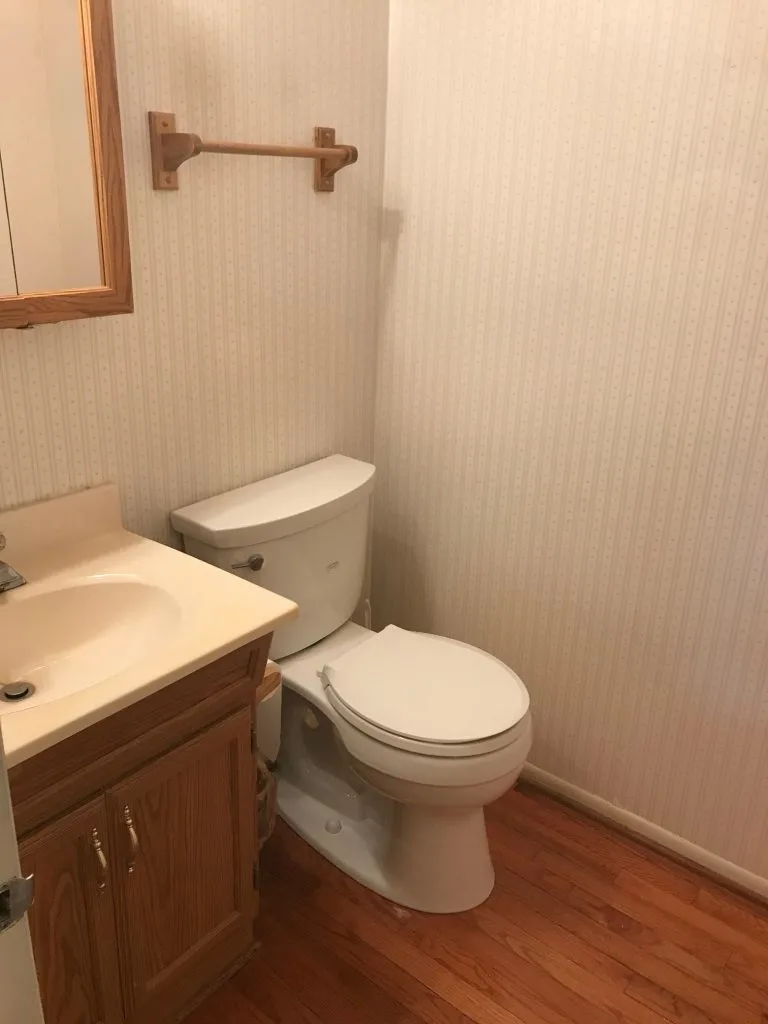
Recently, I purchased a lovely little home that has several rooms of wallpaper. Serious wallpaper. I’m talking wallpapered walls, outlets and doors.
My whole adult life I’ve heard horror stories of how hard it was to remove wall paper. As a fairly seasoned DIYer at the point, I wasn’t too afraid to try, but I was dreading the task.
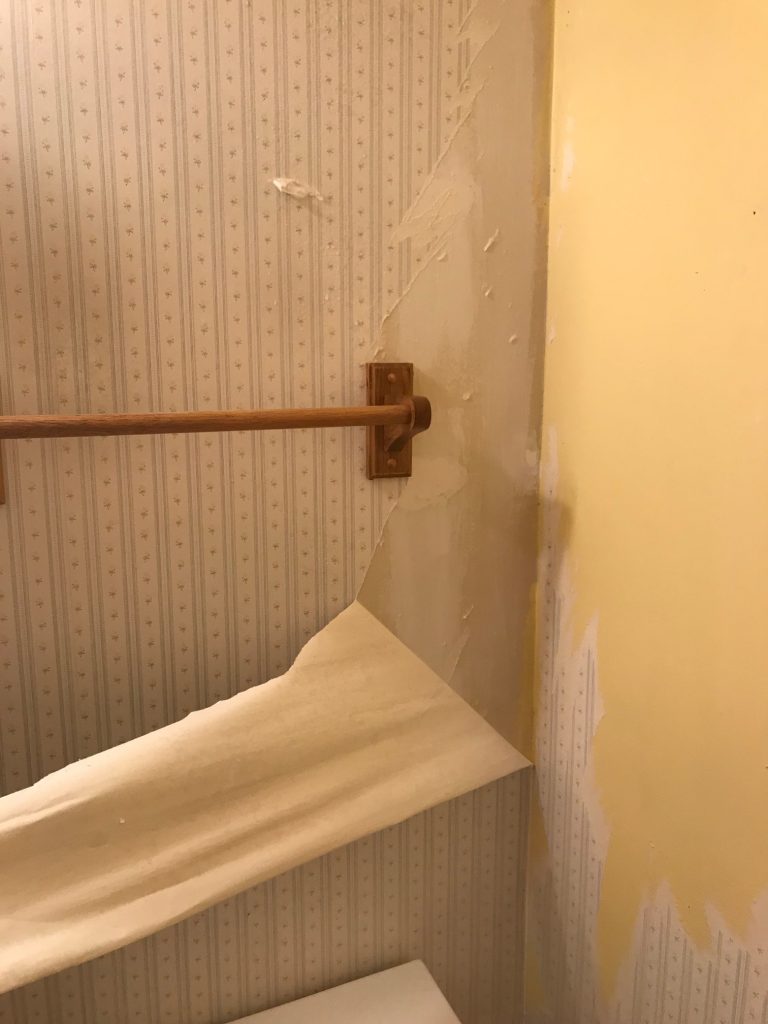
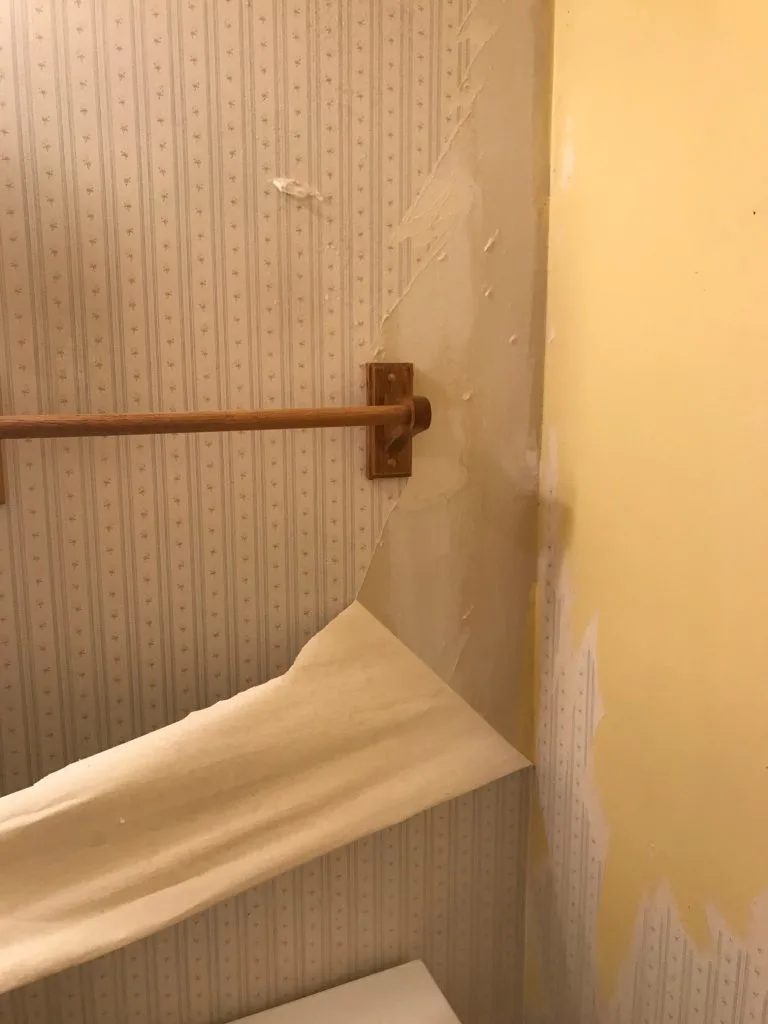
On a Sunday afternoon, I decided to tackle the first room. I chose the smallest bathroom, just in case it went horribly wrong. There was one place in particular where the wallpaper was starting to come off the wall at a seam. So, I started at that seam.
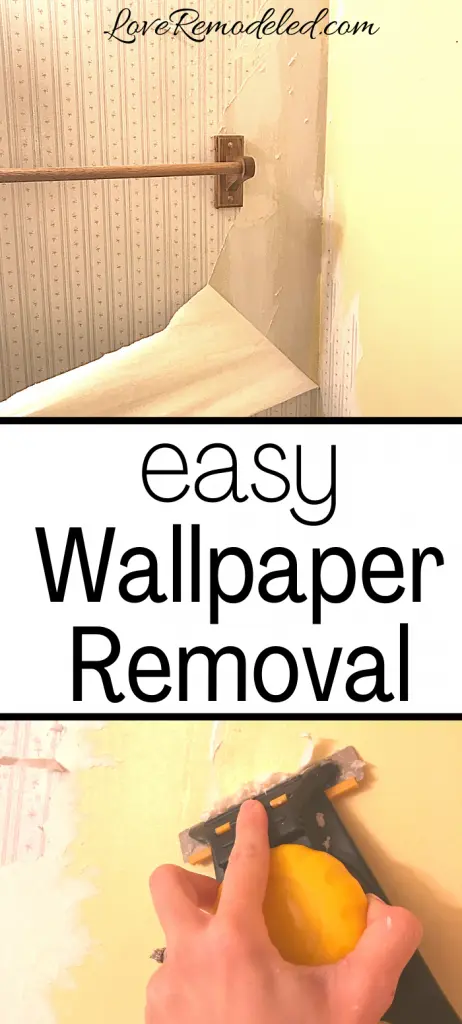
I wanted to see how hard the wallpaper would be to remove, so I started by just pulling at the seam to see what would happen.
To my delight, a big chunk of paper came off! My four year old walked in around this time and wanted to help, so she also began pulling wallpaper off the wall alongside me.
I was a little nervous because I could tell that there was still some of the wallpaper backing on the wall. Since I didn’t have any experience taking wallpaper down, I wasn’t sure if I should pull both the paper and the backing off together, or if it didn’t really matter.
So after a few minutes, I sent my little helper away and started researching wallpaper removal methods.
This post may contain affiliate links. If you have any questions, please see my disclaimer page.
Wallpaper Removal Methods
There are a lot of different ways that you can remove wallpaper. You can use a wallpaper steamer, special wallpaper removing solutions, or even fabric softener.
But before using any other methods, I wanted to try using just warm water. I had read that it was effective, and being that it didn’t require anything that I didn’t have on hand, I thought I would try it out before moving on to a method that required special equipment or solutions.
A Note on Wallpaper Removal Tools
Many wallpaper removal tutorials will tell you that the easiest way to remove wallpaper is to get it fully saturated, and then remove the paper and backing/glue in one. In order to get the wallpaper wet enough for the glue to come off, you have to score the surface with a special wallpaper scoring tool. It is designed to go into the wallpaper but not go into the drywall behind it.
I purchased a wallpaper scoring tool for this project and tried it out, but didn’t find it to be helpful. I didn’t see any difference in how easy the wallpaper was to remove whether I scored the section first or didn’t. So my advice is to skip buying the wallpaper scoring tool.
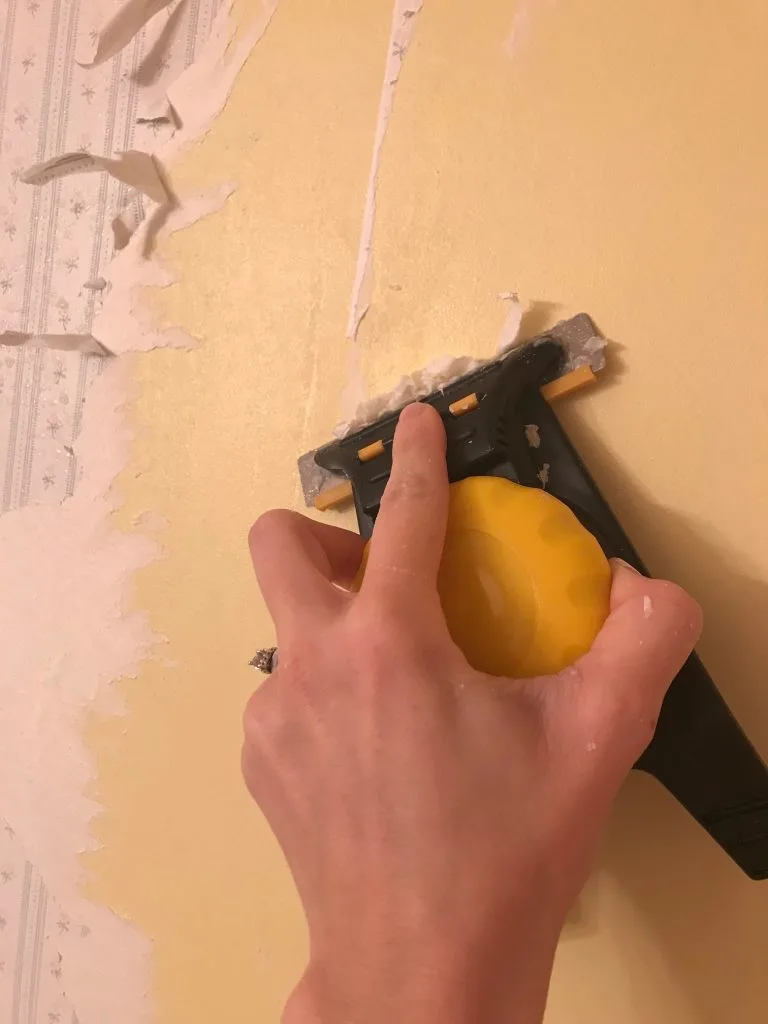
Another common tool for wallpaper removal is a wall scraper. There are several different types, but I found this one to be especially easy to use. It has a built in guide to keep you from pressing too hard and digging into the wall, which means less that you have to patch later.
Now, I know you may be thinking, “Hey… I have a putty knife in the garage. That’s basically the same thing.” Because that’s that I thought too. But let me tell you, the few times I grabbed the putty knife to scrape the wall, because it was closer than the other tool and I didn’t feel like finding the paper scraper, I regretted it! I ended up gouging the wall every time! Get this tool. You won’t be sorry!
With a little bit of trial and error, here is what I found to work the best.
Step 1: Spray down the walls with hot water.
After spraying a small section of the wall with a lot of hot water, I waited for just a minute for the water to soak through the paper and into the backing.
Step 2: Pull the paper off.
Once the paper was wet the whole way through, I pulled at a corner or at a seam of the wallpaper in an effort to get the wallpaper and backing off together. Most commonly, the wallpaper would come off but the backing would stay on the wall.
I found that this was fine for me. On the sections where I tried to spray enough and wait long enough for the backing and glue to come off together, it just didn’t work. Plus, I found that spraying too much water came with its own set of problems. In some places, it saturated the drywall piece as well because they hadn’t painted or primed the wall before putting wallpaper up originally. And, I accidentally shorted the electrical circuit after spraying water above my light switch and the water dripping on the wire behind the switch cover (which is not a problem you want to have!).
Step 3: Spray the backing.
On any places where the paper was removed but the backing remained on the wall, I sprayed the section again with a lot of water. Since I worked in sections, I would spray multiple sections at a time so the water had time to soak in. Then, I would go back to the first section I sprayed and begin to use the wallpaper scraping tool to remove the backing by starting at an edge of the paper. When the backing was wet enough, the backing and glue would roll right off without any trouble.

Step 4: Wipe the area down with a rag and warm water.
Once all of the paper I could see was off, I would wipe the section down with a rag and warm water. This removed any little bits of paper or glue that were still stuck on the wall.
Step 5: Wait and assess.
Since I had sprayed a ton of water on my walls, AND had spent a long time air drying the fuse I had blown, I decided to wait until the next morning to assess the walls.
In any case, give the walls time to dry so you can see if all the paper is really gone (you may find tiny shreds of backing on the walls that are almost unnoticeable now, but will be very apparent once you paint).
Step 6: Repair the walls.
Hopefully, your walls were primed and painted prior to the wallpaper being adhered, and you used the wallpaper scraping tool to remove your wallpaper. If so, you may be able to skip this step.
But if your walls have sections with divots in the drywall, holes from nails, or other imperfections, you’ll need to patch them before you paint.
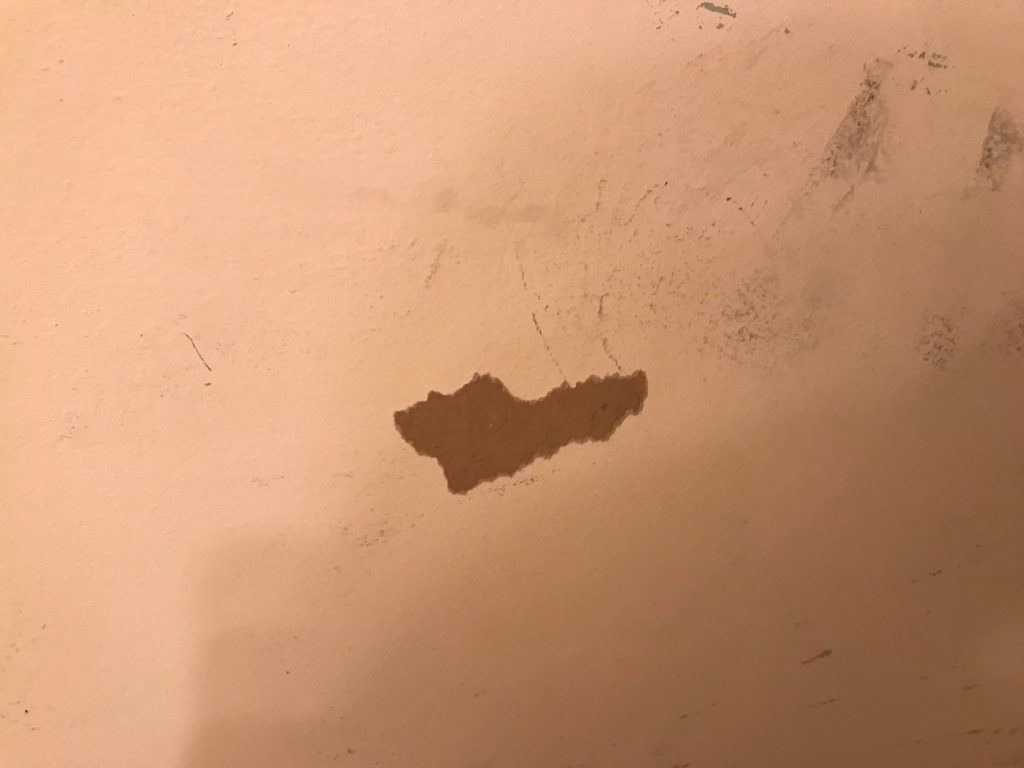
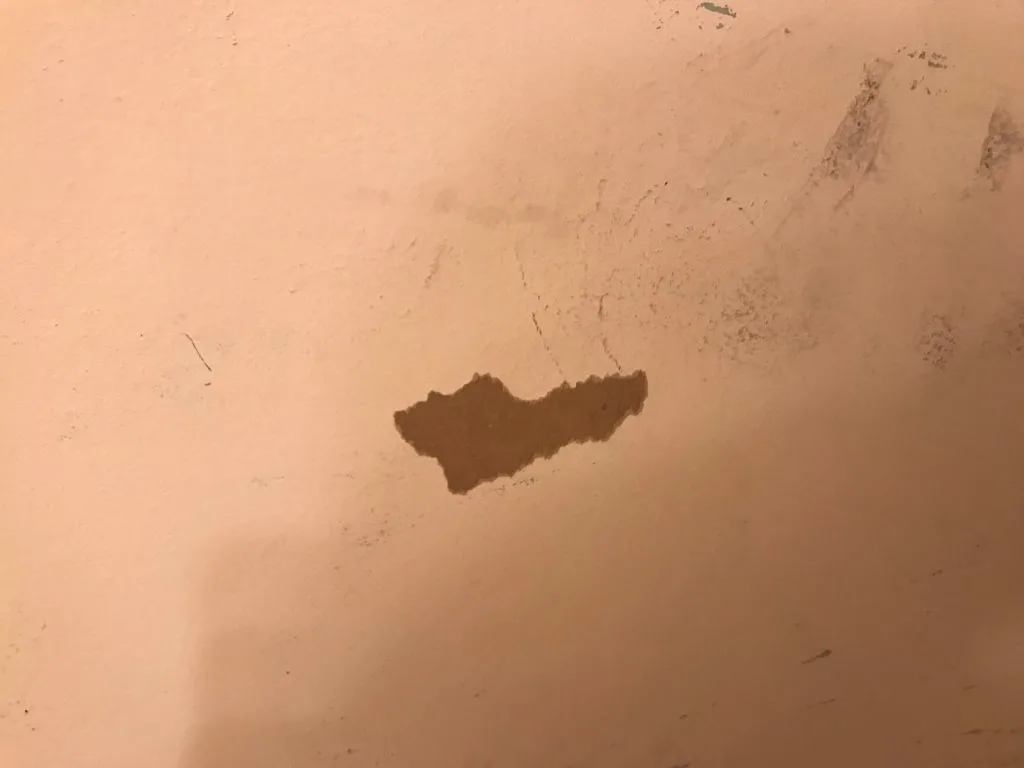
I use this product to patch my walls. It goes on pink and dries white, so you know when it is ready to sand. It dries pretty quickly, which I like because I’m always impatient to get the job done!
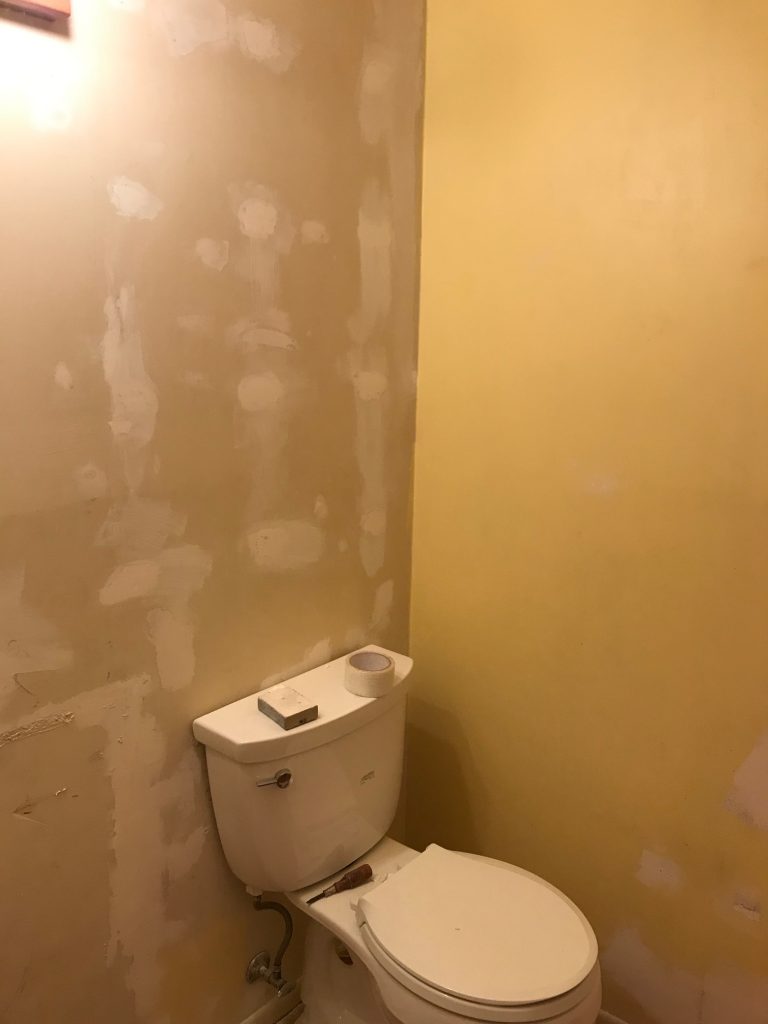
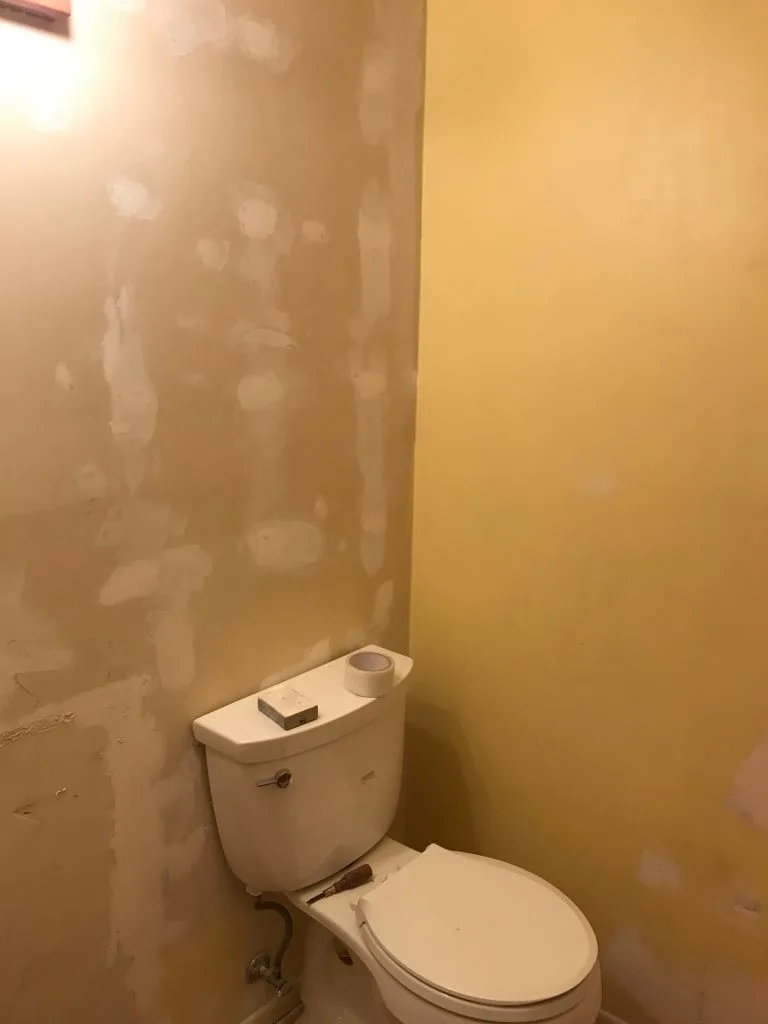
One of my walls was REALLY bad. As I mentioned earlier, the wall where the toilet and sink are located was never painted prior to the original owners putting wallpaper up. So there was nothing to provide a protective layer between the drywall and the wallpaper. Because of this, the drywall paper came off with the wallpaper pretty frequently, and needed a lot of spackling.
Step 7: Paint.
You’re ready to paint now! If you need some tips on how to paint a room, check this out.
When we painted the walls in this bathroom, I was a little nervous about that wall behind the toilet. In several places, the drywall paper bubbled after it was painted, making the wall have a lot of imperfections. Thankfully though, when the wall dried, the bubbles went away and it looked pretty good.
Here is how my bathroom walls turned out.

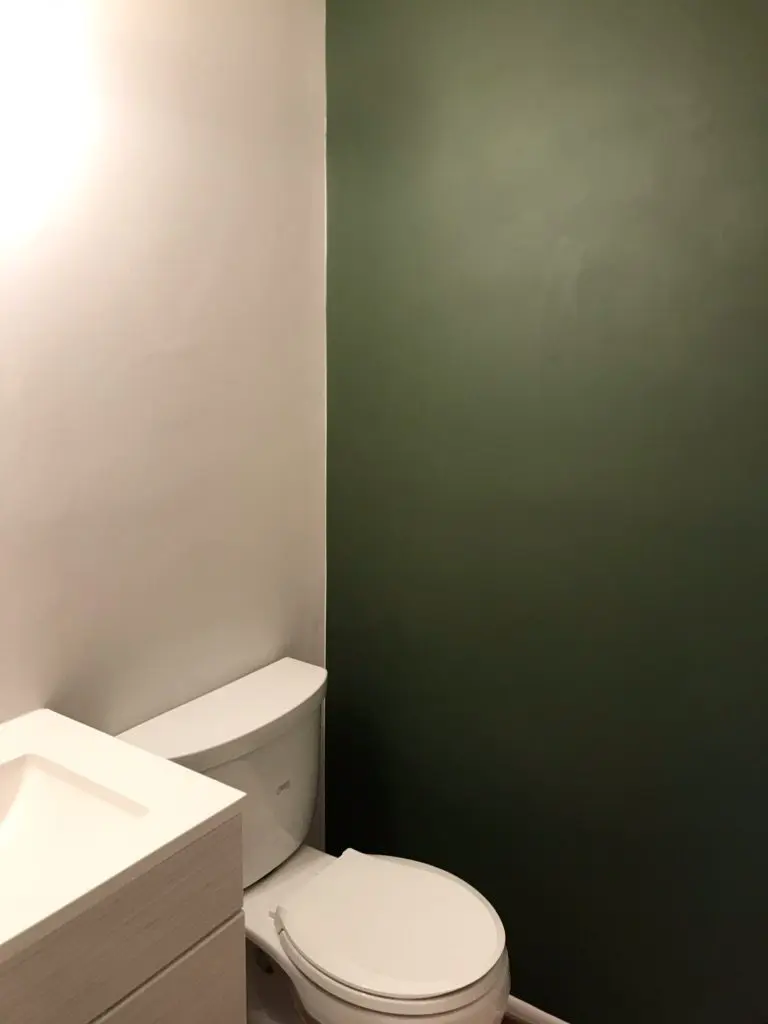
We are doing a boho style look in this bathroom, and I love how its turning out! Here is how we did the whole mini-remodel on the powder room.
A few tips on removing wallpaper…
Here are some things that I learned as I was removing the wallpaper in my powder room.
- Cover the floor with a drop cloth or newspaper that you can throw away. I didn’t do this, and I wish I had. The paper and glue is wet when it drops to the floor. This means that some of the glue will transfer to the floor. A ton of little paper shreds also fall to the floor. Having a cover on the floor that you can roll up and throw away will save you a lot of time in cleaning later. If you do get glue on the floor, don’t panic. It washes right off, but does mean a little more work on the tail end of your project.
- If your paper isn’t pulling off easily, get it wetter. A spray bottle or a wet rag both work well.
- Don’t spray a lot of water above an outlet or light switch. Learn from my mistake!
- Wipe down the walls one last time before you paint. I found lots of TINY scraps of backing when I did.
- If you find that the drywall paper is coming off with the wallpaper in a section, stop pulling and find an edge on the other side of the rip. This will hopefully minimize how big the rip in the drywall paper is.
And how to remove wallpaper from drywall using only water!
Truly, the job was not nearly as hard as people say it is. It was a little bit time consuming, and more than a little tedious, but definitely not hard.
I’m so pleased with how the bathroom turned out! Removing the wallpaper from the drywall was easier than I expected, and the impact on the bathroom was HUGE.
I hope your wallpaper removal goes well! Feel free to comment with any questions or thoughts that you have!
Ready to hang new wallpaper? Check out this tutorial on how to hang pasted wallpaper!

Lin
Wednesday 10th of March 2021
Thank YOU! Your directions were so simple.
Lauren
Saturday 13th of March 2021
Thank YOU for your nice comment! :)
Jessica Paullus
Saturday 12th of December 2020
I have used a small silicone kitchen scraper and find it is much less damaging to the walls than using anything metal. Also, get a cheap $10 1 gallon pump sprayer at a hardware store - much easier than using a small spray bottle.
Lauren
Thursday 17th of December 2020
Good tips Jessica! A gallon pump sprayer would definitely be easier! I love that wallpaper scraping tool I talk about because you really can't damage the walls with it, and the metal scraper on it is very effective. I've tried with a normal metal scraper and regretted it. A plastic one is a good thought though!