
Accent walls are a great way to give your room a little bit of your personal style.
While the creamy soft whites, neutral grays and transitional greige colors are gorgeous and so in style, sometimes a room needs a little bit more to really pop.
Accent Wall Ideas
When I hear the word accent wall, I immediately think of my grad school buddy’s white-walled apartment that had one bright shiny red wall. It was… bold and daring… and certainly made a statement.
(As an aside, that bright reddish wall might be coming back in style. Have you seen Benjamin Moore’s 2023 Color of the Year?)
Because of this, I’ve been hesitant to paint an accent wall for years. After all, it was a 2000’s trend that died in favor of a more monotone look.
Recently though, I’ve been drawn to accent walls more and more. I want the main colors on my walls to be light and neutral, but something about those rich-looking accent walls keeps calling to me.
In fact, In the past two years, I’ve added four different accent walls to my house.
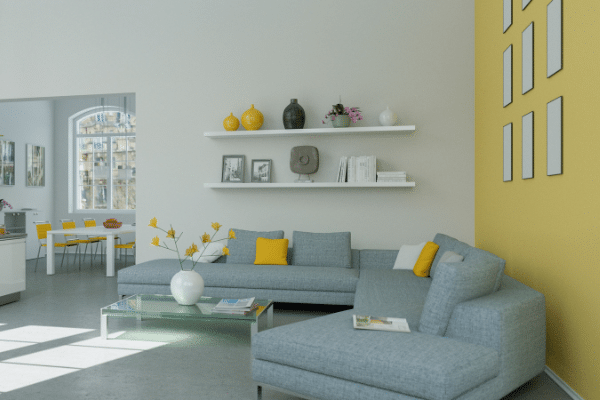
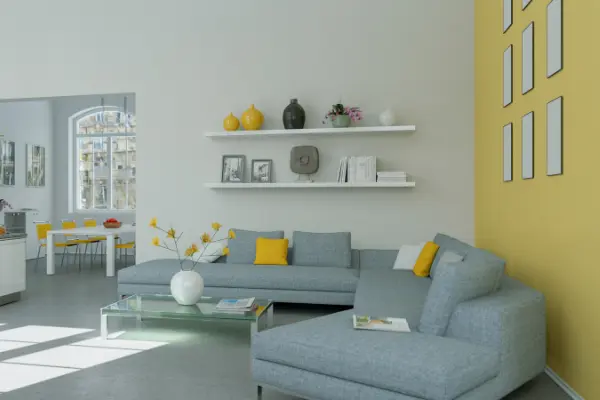
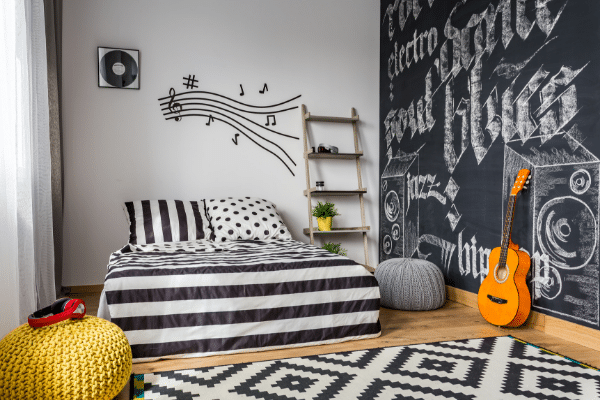
In my living room, I painted an accent wall in Evergreen Fog. The lush green looked amazing and gave the room an earthy look.
My son wanted a lime green room, and I just couldn’t do it. So, we settled on a navy blue accent wall. It brought a depth and mood to his room that felt just right.
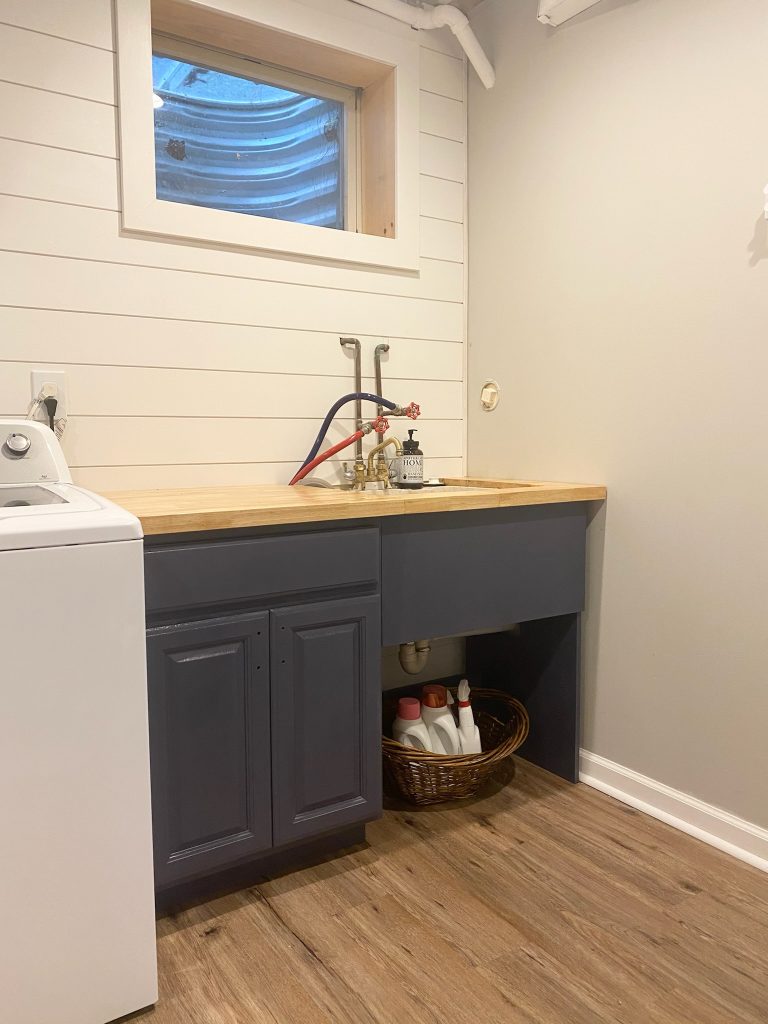
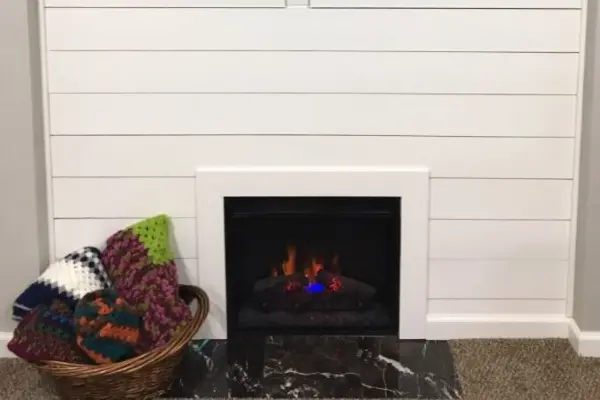
Later, I made a shiplap accent wall in my laundry room. The shiplap was clean and crisp, and looked perfect next to the Repose Gray walls.

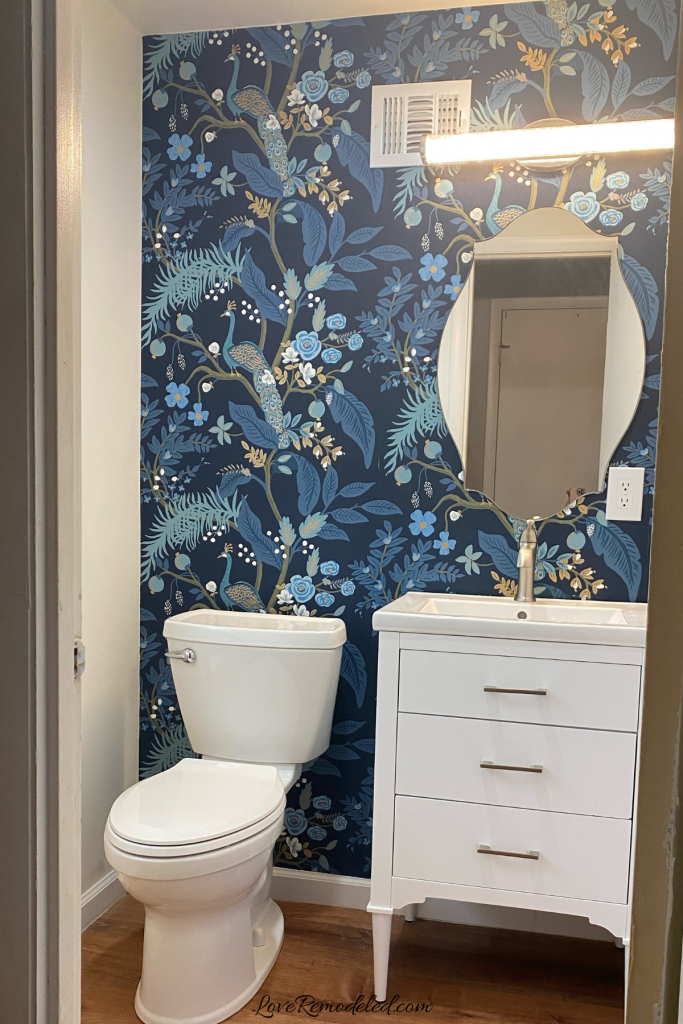
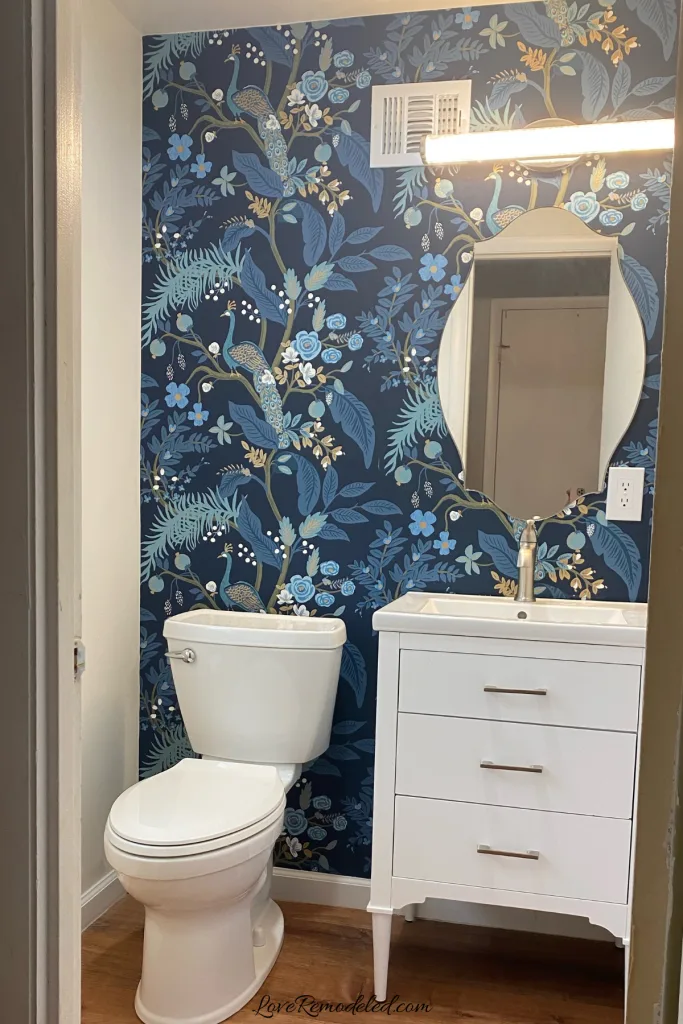
And lastly, I just wallpapered an accent wall in one of the bathrooms in my house. I love how it turned out.
The wallpaper is bold, so I decided that doing it just as an accent wall was better than wallpapering the whole bathroom.
If you love a wallpapered accent wall, check out some gorgeous on-trend wallpapers here.
Are Accent Walls Outdated?
Actually, accent walls are totally back in style!
Back in the early 2000s, accent walls were typically one dark painted wall.
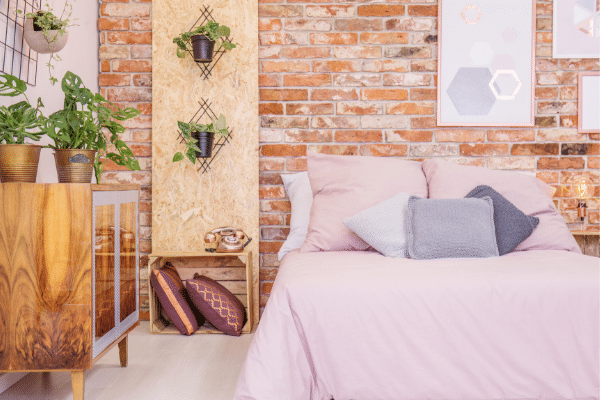
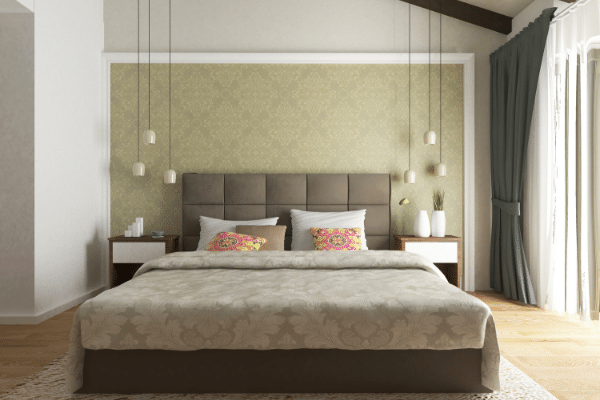
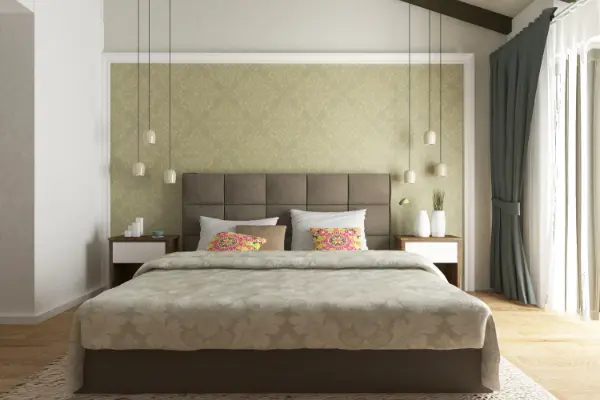
Now, they can range from a wall accented by shiplap, a wall of faux (or real!) brick, a wallpapered wall, a wall with a wood design, and of course, a painted wall.
If you need a little more inspiration to see what I mean…
This post may contain affiliate links. If you have any questions, please see my disclaimer page.
Check Out These Accent Walls


See why I’m totally crushing on an accent wall now?
They give a room a focal point for the eye to rest on. They tell you where to look in a room. They can create depth, or even give a space a purpose. Similar to how a rug defines a space, an accent wall defines the focus of the room.
Accent walls are also great for rental homes. You may not want to invest the time or money to paint an entire room. Adding a painted accent wall gives the room your own style for little effort and cost. Its easy to repaint just that one wall when it is time to move out.
Best Paint Colors for Accent Walls
Some of the most popular colors for accent walls are:
- Hale Navy – a dark navy paint color
- Tricorn Black – a rich luxe black paint color
- Evergreen Fog – a lush earthy green paint color
- Urbane Bronze – a rich brown paint color
- Dovetail – a deeper greige paint color
- Redend Point – a soft, midtone pink (Sherwin Williams 2023 Color of the Year)
- Raspberry Blush – a deep raspberry pink (Benjamin Moore’s 2023 Color of the Year)
My First Painted Accent Wall
In my home, I recently removed the wallpaper in the first-floor powder room with the goal of doing a mini-remodel and giving it a boho look.
I found an inspirational picture on Pinterest, and got to work.
Painting the wall was easy. If you need tricks and tips on painting, you can find some here.
But once I got to the corner, I knew that I needed to go the extra measure to make sure my corner was crisp and clean.
If you’re interested in painting an accent wall, you definitely want to make sure you get the corner to look flawless
. It will ensure that the project looks clean and professional.
Here’s everything you need to know to get a perfect corner on your accent wall.
How To Paint A Corner Where Two Colors Meet
Painting an accent wall corner and making sure the edge is perfect is easier than you think.
It requires a roll of painter’s tape, a good paint brush, and knowing the exact order to paint the corner in.
I’ll explain the process so you know exactly how to get a crisp corner on your accent wall.
Making a Perfect Accent Wall Corner
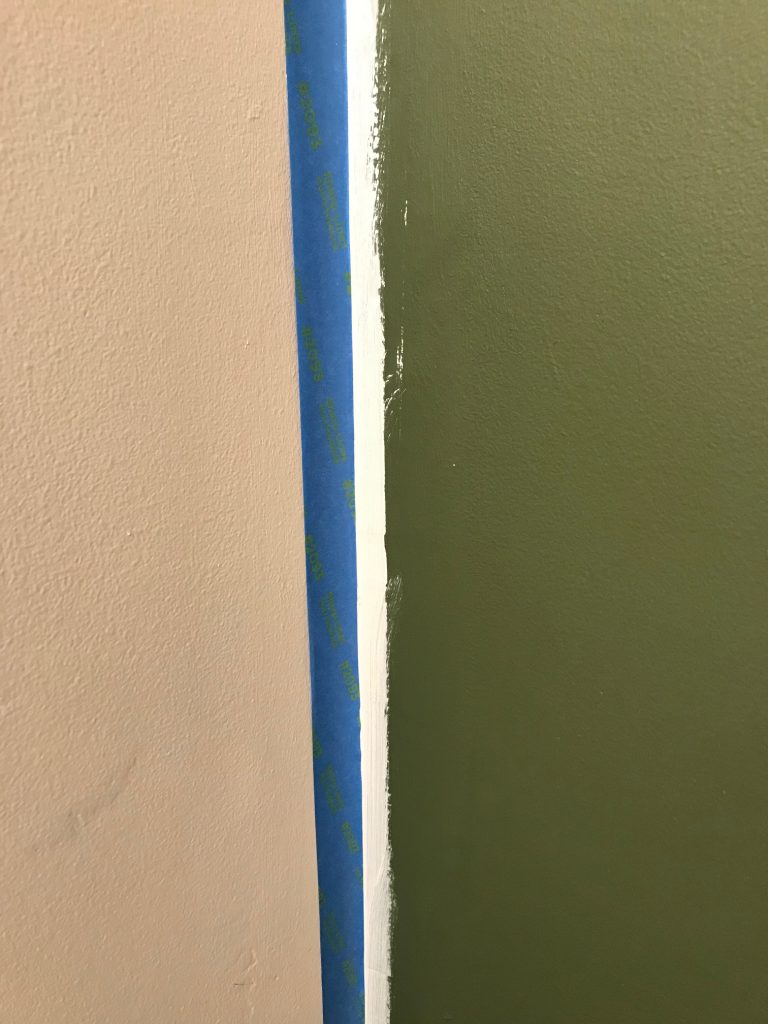
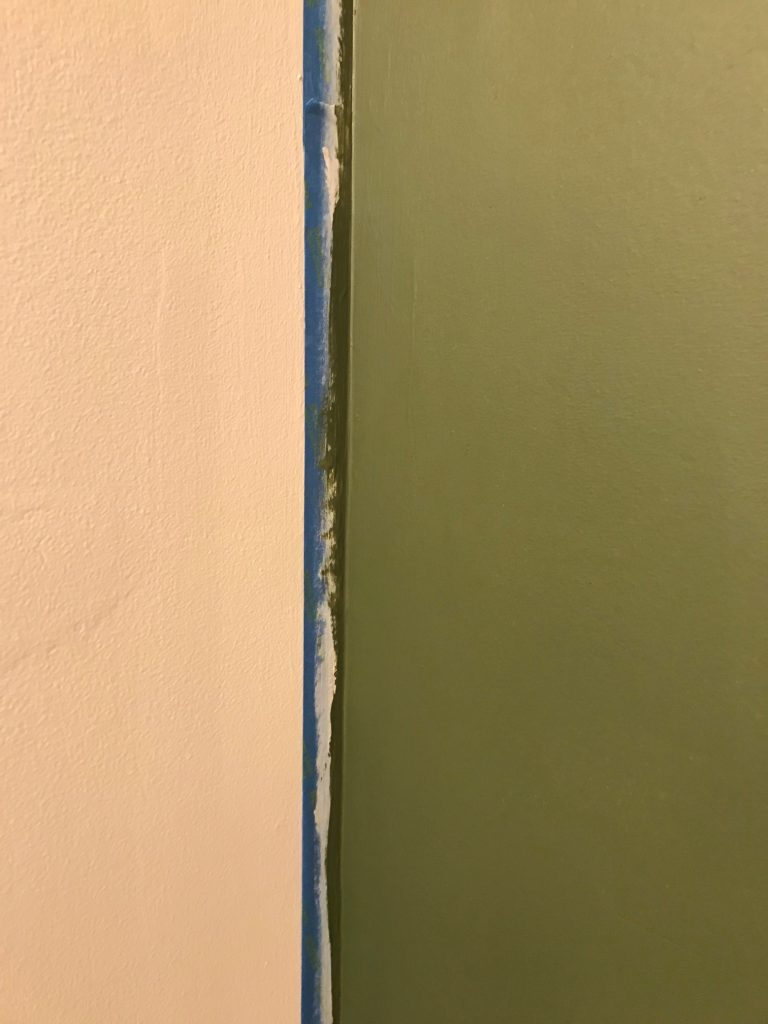
Before you put any tape on the wall, paint the whole corner one color. Get paint on both sides of the corner, because you don’t want to accidentally end up with any part of the wall not painted.
Then, tape the wall right along the edge of the color that you painted on both sides of the corner.
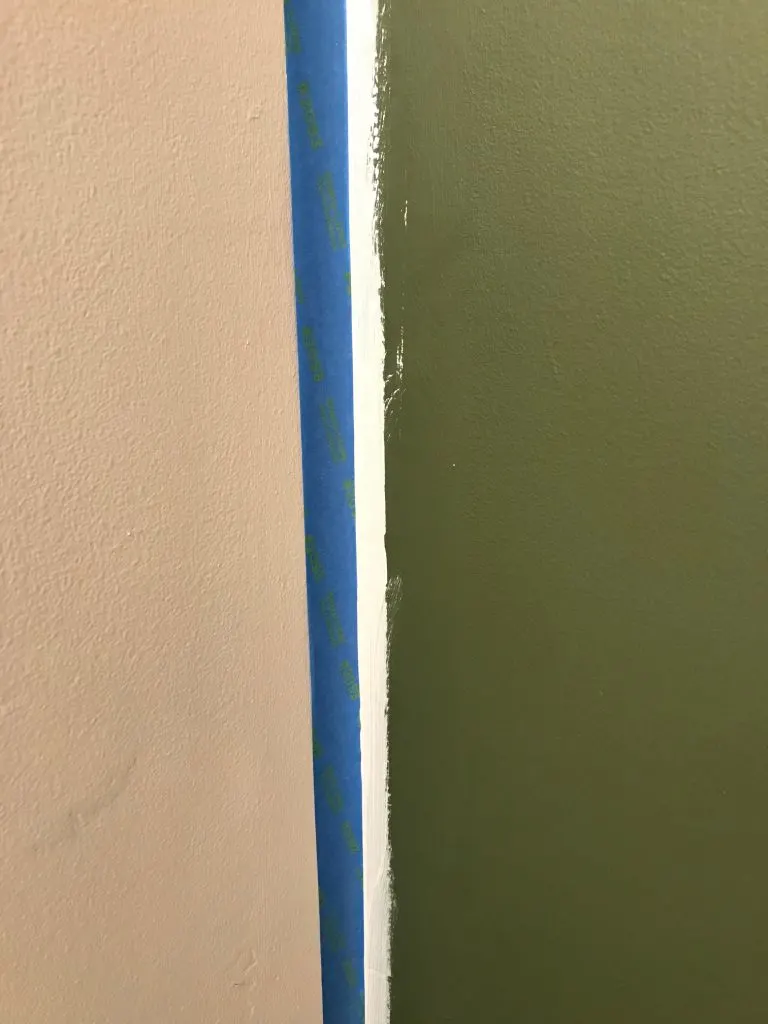
Once that is done, you can paint ANOTHER coat of the first color of paint. You’re thinking that I made a mistake here, right? I didn’t!
Painting the first color on the tape again is going to seal the edge. That means that if any of the paint bleeds through the tape, it will be the first color, which is what you want!
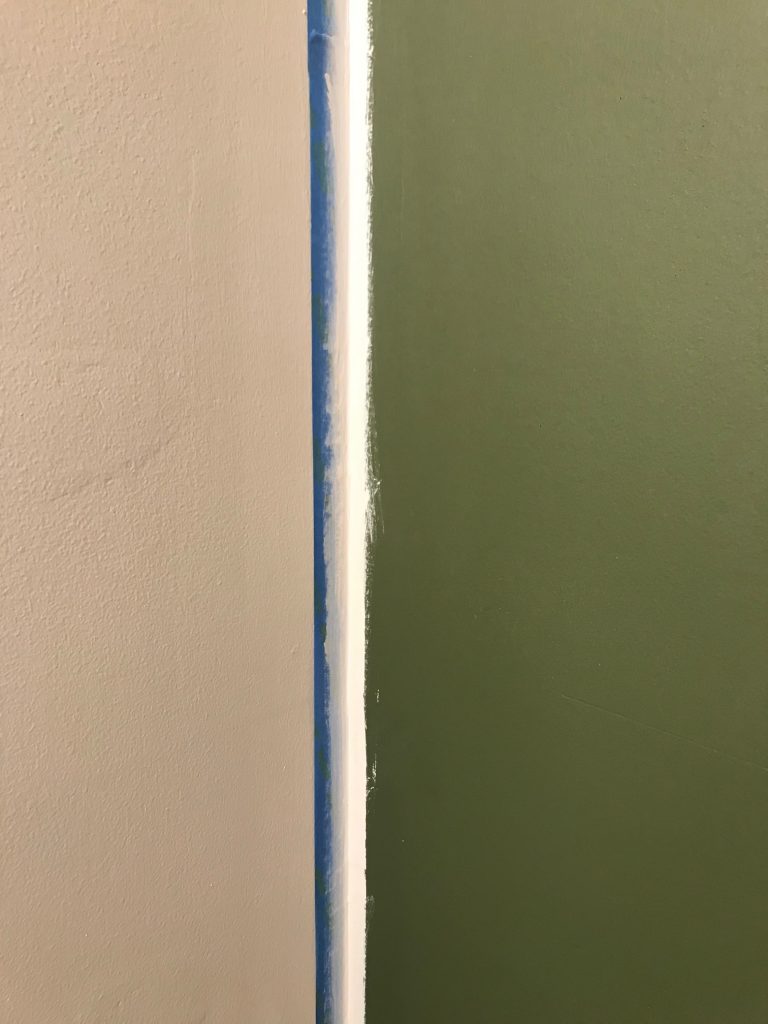
Once that paint dries, you can finally paint the second color of paint on the line (being careful to not go over the other side of the tape).
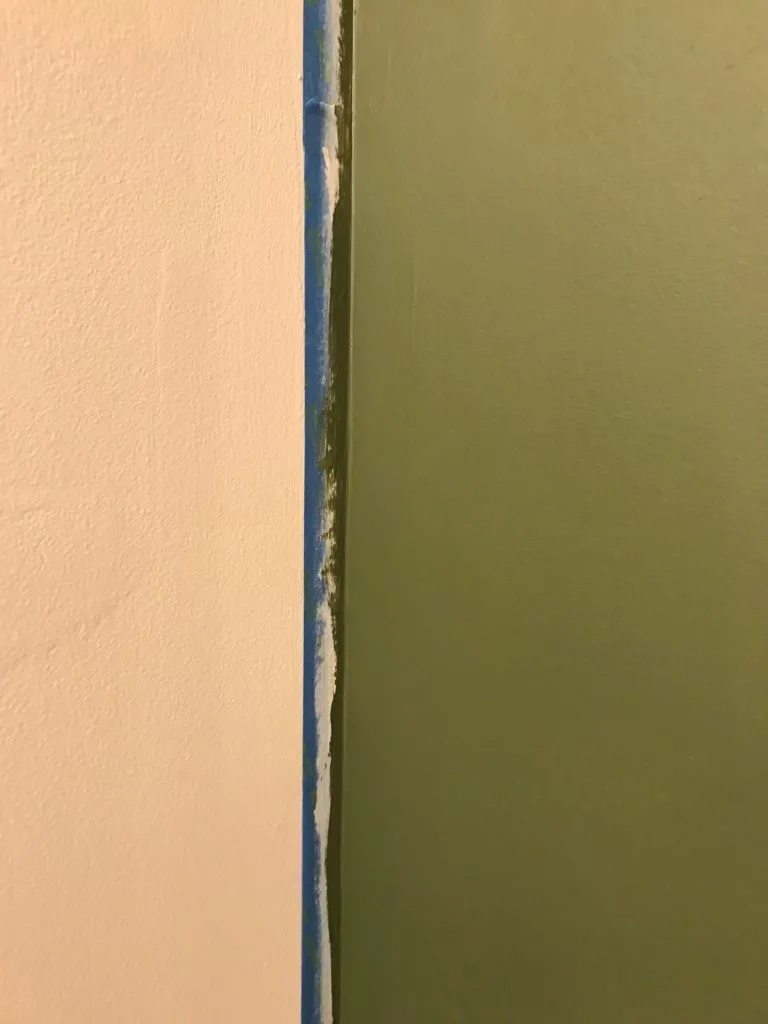
Before this coat of paint dries, go ahead and pull the tape off. This will ensure that you don’t end up peeling a little bit of that final coat off the wall inadvertently.
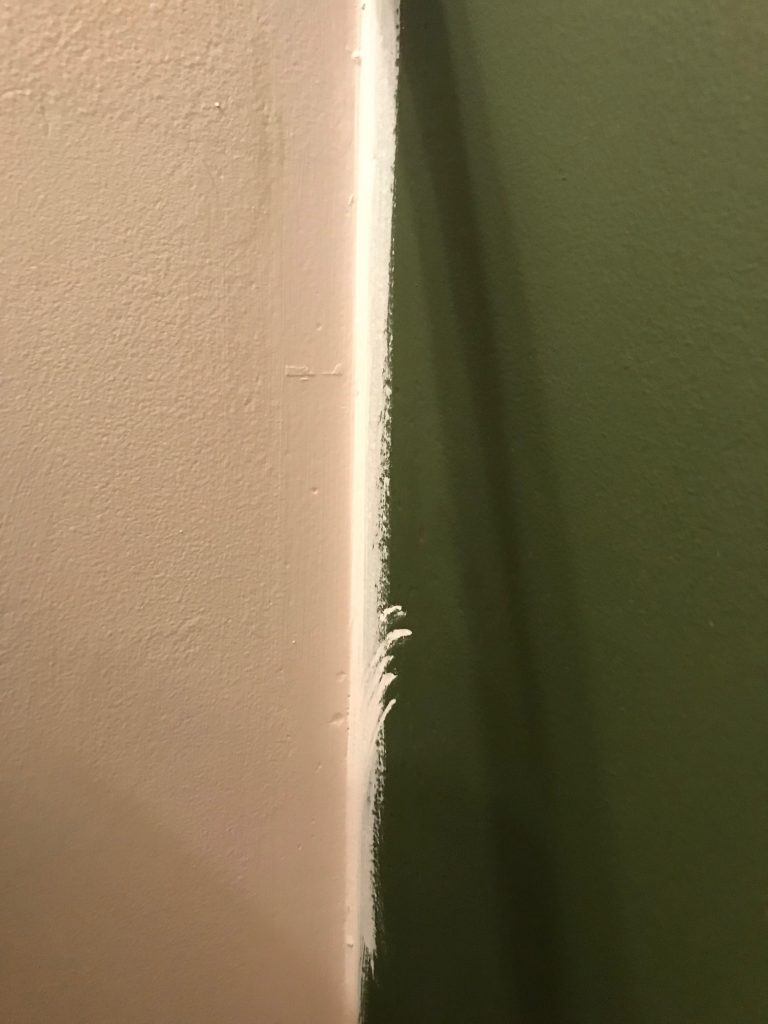
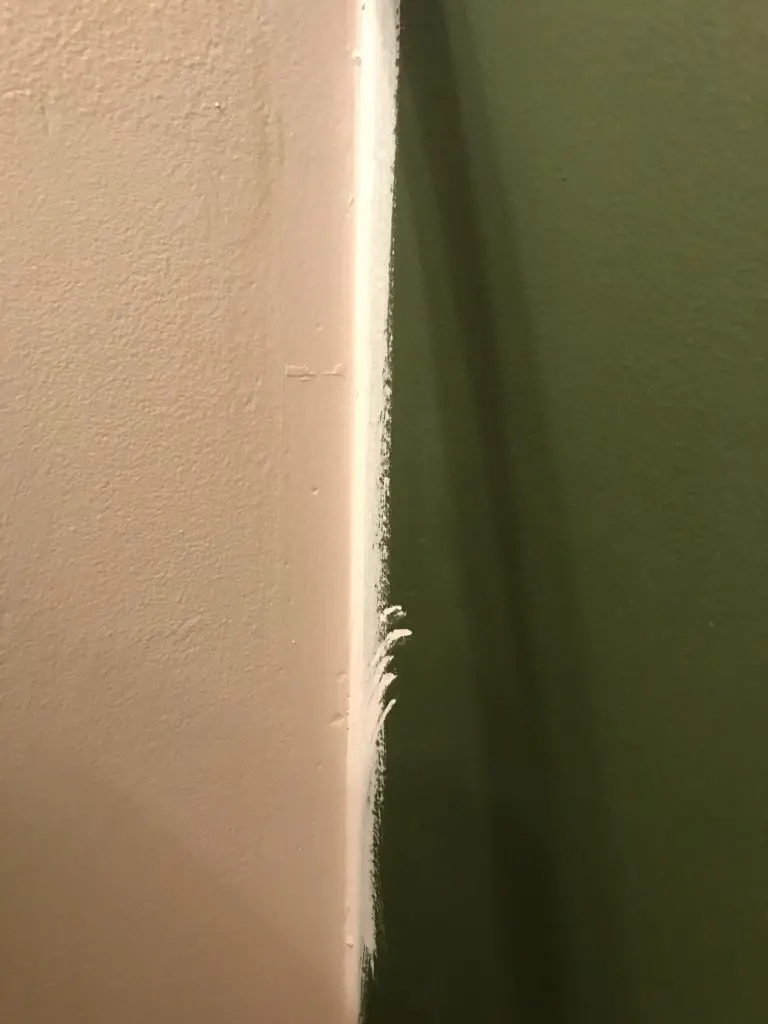
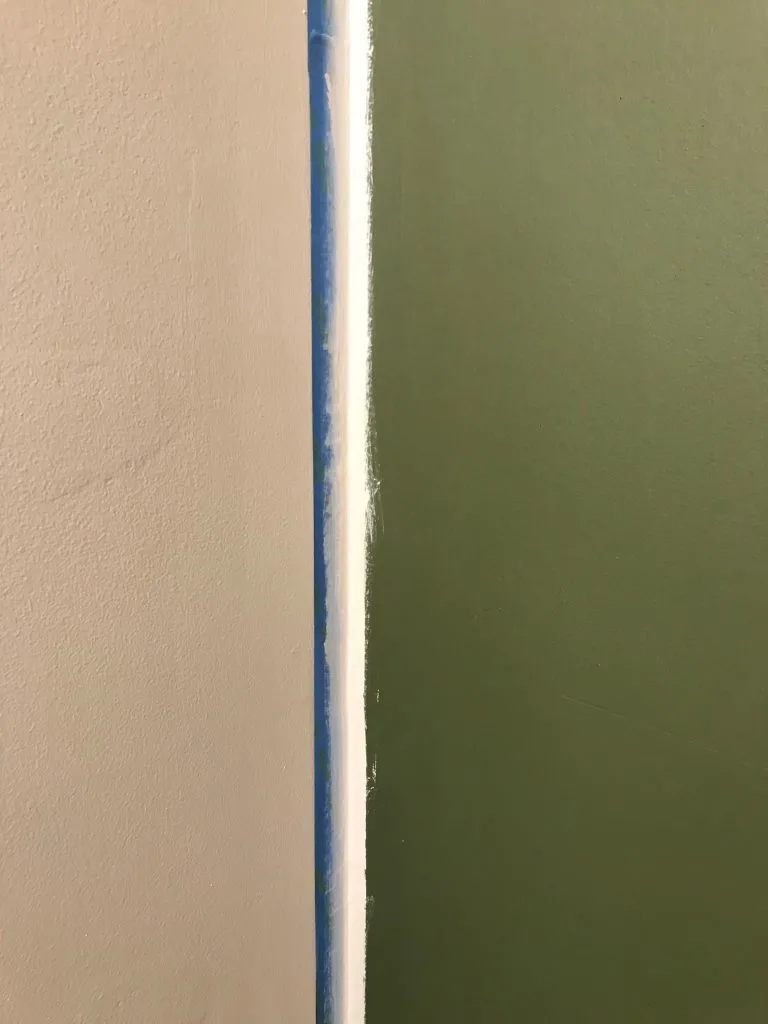
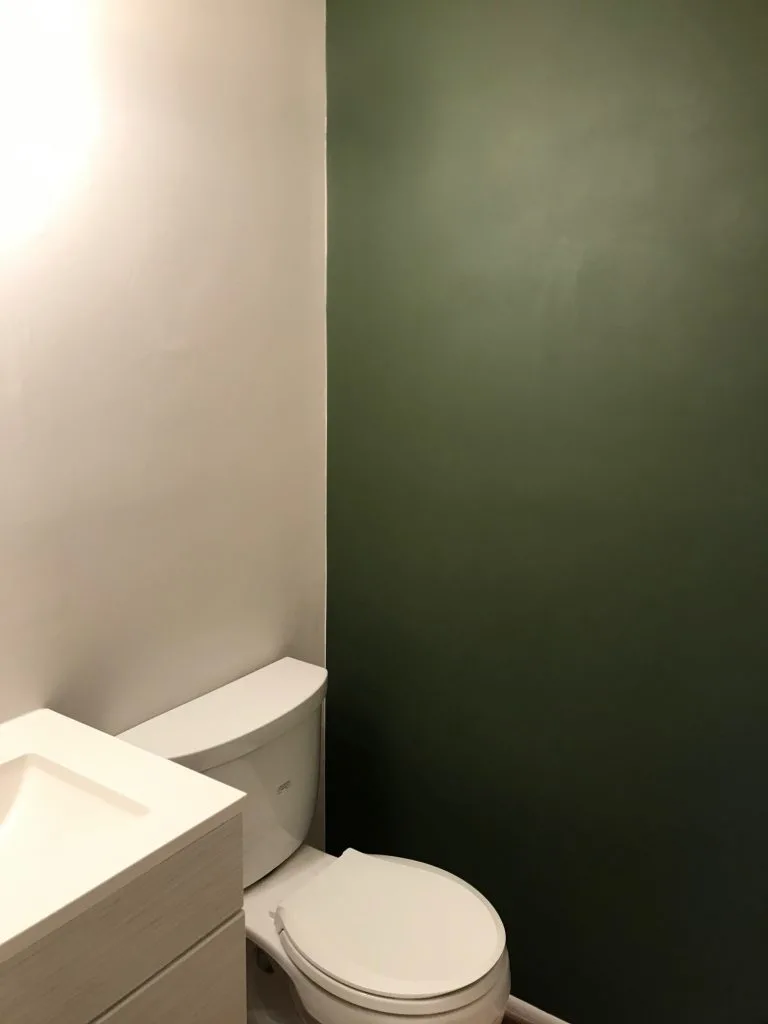
And you should have a perfectly clean, crisp paint line right in the corner of your wall!

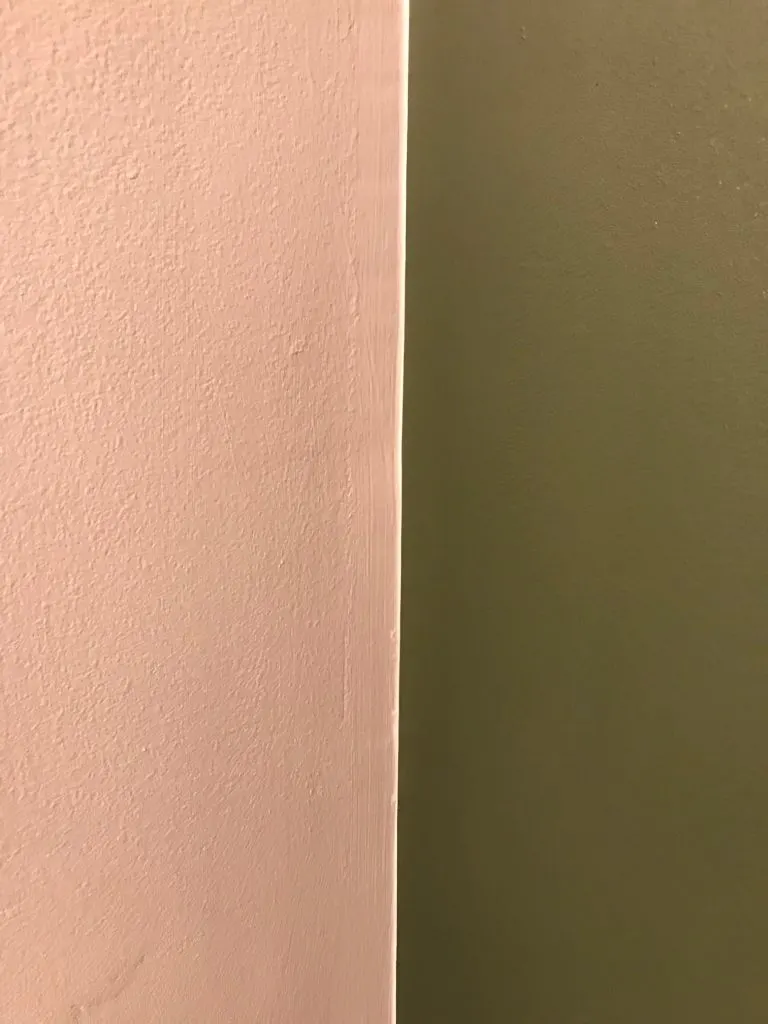
Doesn’t that look perfect!
Trust me, even if you’re an experienced edger, you won’t get as clean of a line as this unless you use tape.
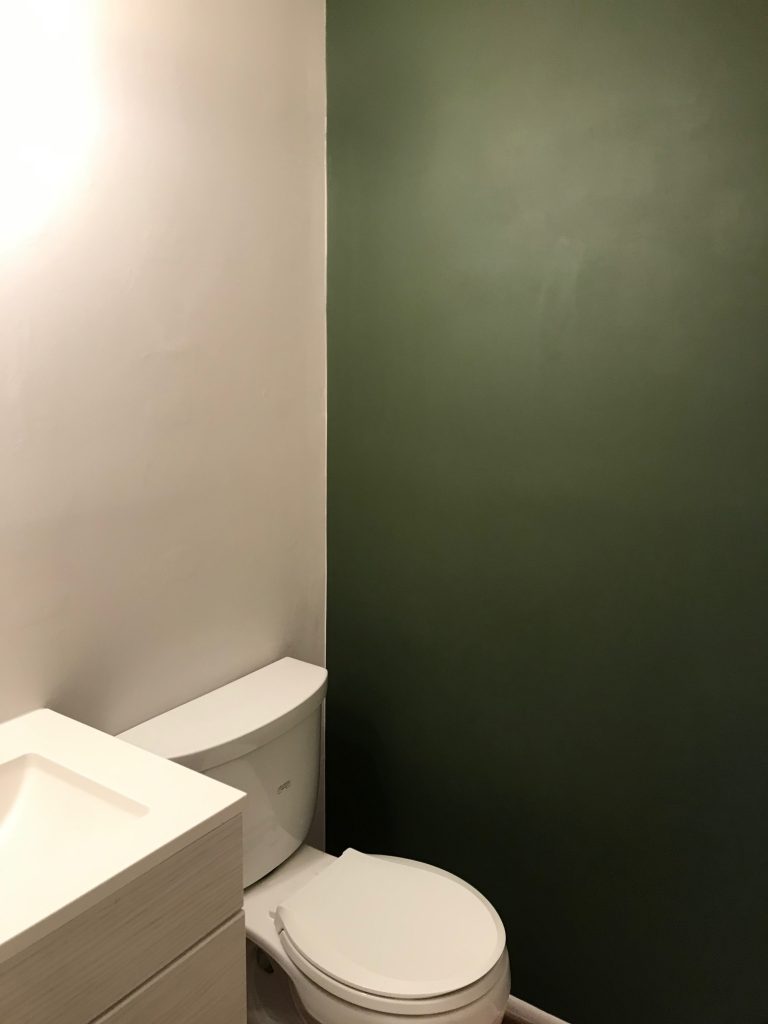
Now that your accent wall corners are completed, your accent wall is done!
If you want to see how the bathroom turned out, you can find the reveal here!
Final Thoughts on Painting an Accent Wall
Painting an accent wall is such an easy and inexpensive upgrade to your home. It completely changes the look of the room, provides a focal point, and can be changed with just an afternoon of work if you ever become tired of it.
I hope this tutorial is helpful for you! Drop me a note and let me know how it goes!
LC
Sunday 6th of March 2022
Use paintable caulk, instead of painting multiple layers. It’s saves so much time, supplies, and gives a clean sharp edge!
Lauren
Monday 7th of March 2022
Great idea!
Pete
Wednesday 19th of January 2022
The line came out straight and that's how painters do it for years. The other trick is to make an almost dry pass with a brush so it doesn't bleed under the tape. Though you need to improve the patchwork before you paint the walls. They need more sanding. It shows badly on the pictures.
Lauren
Thursday 20th of January 2022
Pete, those walls were terrible! I had taken wallpaper down that was about 50 years old, and they hadn't painted the walls prior to putting it on, so it just ripped the drywall paper off in some places. It actually needed more mud (and then sanding). I've since gone back and mudded all the spots that are bad. I didn't realize how bad they would be until it was painted!!
Fabien
Tuesday 9th of March 2021
A quick thank you for you too about using the opposite color first on top of the painter tape to allow for a perfect line, I never managed to get such a clean line before and thanks to you the transition from black to white on my accent wall is as perfect as it could be... I live in Thailand by the way, so you helped someone one the other side of the world, just so you know :-) Thanks again.
Lauren
Wednesday 10th of March 2021
Hi Fabien! I love this! Thanks so much for commenting from the other side of the world!! Glad this little trick worked for you :)
Sed
Wednesday 3rd of February 2021
How to Paint the Corner instructions are fantastic. I took the time and completed each step as indicated, Came out perfect.....the corner where I changed paint color was an extended outward wall corner, not a room corner. Thank you !
Lauren
Wednesday 3rd of February 2021
Sed, I'm so happy to hear this! Thank you so much for your comment! I've never tried this on an outside corner, so I'm really glad to hear that the method works for it. Great job!!
Emily
Sunday 28th of June 2020
Any suggestions for this method on a highly textured wall?
Lauren
Sunday 28th of June 2020
Hi Emily! So I have heard that you can seal the tape with clear (paintable) caulk. I think that this method would work better on a textured wall since its a little thicker than paint. I haven't done it before, but I think you just paint both sides of the corner, put your tape on, put paintable caulk on, wait til it dries, and then paint over it. But maybe look it up just to be sure. Good luck!