
Painting a bathroom vanity is an easy way to update your bathroom without spending a lot of money. It is fast, easy, and makes a huge impact in the way the bathroom looks.
In this article, you will learn the best way to paint a bathroom vanity with easy to follow instructions.
Since a bathroom vanity is a well-used piece in a home, you want to make sure that you do it right. This includes preparing your vanity for painting correctly, using the right paint, and the best materials.
Let’s explore those topics now.
How Should I Prep My Vanity for Painting?
Before you start painting your vanity, you need to do the prep work.
To start, wash the entire vanity down with a good non-sudsing cleanser. This will get all of the dirt, oil, hairspray, dust, and who-knows-what off of the cabinet’s surface.
If you skip this step and go straight to sanding, you will end up pushing all of the foreign elements on the surface deeper into the grain. This will mean that your primer and paint won’t stick like you want it to. It could cause bubbling or peeling.
Once you’ve washed it all down, let it dry and then give it a decent sanding with a medium grit sandpaper.
Sanding the piece will give it a surface that primer and paint will adhere to easily. This also will prevent peeling and chipping.
Since you’ll want your newly painted vanity to look good for years to come, its worth putting the extra time in to do it right.
Can I Paint My Bathroom Cabinets Without Sanding?
The quick answer is yes. You can paint your cabinets without sanding and many products, such as chalk paint, are said to adhere well without any prep work.
But remember, a painted cabinet that hasn’t been cleaned, sanded and primed is likely to chip much faster.
If you want to get a strong, durable finish that will last for a long time though, you need to sand your cabinets to open up the pores of the wood.
Do I Need to Remove the Doors and Drawers to Paint My Bathroom Vanity?
It isn’t entirely essential to remove the doors and drawers before painting your vanity, but it does make it a lot easier.
When the doors are on the base, there are a lot of nooks and crannies that can be hard to get to. Plus, you will have to paint around the hinges, which can be hard to do without taping them off. Last, if the doors are off, you won’t be tempted to accidentally close them prior the paint being completely dry.
How Can I Get a Smooth Finish?
Painting a wooden vanity can leave you with grain lines, especially if it is an oak bathroom cabinet.
If you want a smooth, glasslike finish, use a wood filler to fill in the grain of the wood prior to priming the piece. There are several products that do this, but I like to use Water Putty. For a step by step tutorial on how to use fill wood grain, check out the link.
This post may contain affiliate links. If you have any questions, please see my disclaimer page.
In addition, using a paintbrush to paint the vanity can also leave paint lines.
For the smoothest finish possible, use a paint sprayer or a foam mini roller to apply the paint.
What Kind of Paint Should I Use on a Bathroom Vanity?
A bathroom vanity can be painted with a variety of different types of paints.
You can use products including special cabinet paint, chalk paint or even just regular wall paint. All products are not created equal though.
There are a few things that you want in a paint product for your bathroom vanity . First, you want a paint that adheres well. Second, you need a product that has some leveling properties, as this will help ensure a smooth finish. And last, you want a product that will dry very hard. Since a cabinet is likely to receive a lot of wear and tear, a hard, durable finish is a must.
This post may contain affiliate links. If you have any questions, please see my disclaimer page.
Here are some good paint options for painting your bathroom vanity.
- Nuvo Cabinet Paint
- Sherwin Williams ProClassic Paint
- Benjamin Moore Advance Interior Paint
- Rustoleum Cabinet Transformation Paint
What Is The Best Paint Finish for Bathroom Cabinets?
When painting your bathroom vanity, you need a finish that is both durable and scrubbable.
Since a bathroom vanity cabinet is likely to be splashed with water, makeup, and other things, you want to be able to wash the cabinet without fear that you will take some of the finish off.
For this reason, semi-gloss paint is the most popular option for painting cabinets. If you want a sleek, shiny surface, a gloss paint would be an excellent choice as well. Because lower sheen paint surfaces are less durable and scrubbable, I wouldn’t recommend choosing a sheen under a semi-gloss.
Click here for more information about paint sheens.
Should I Paint the Inside of Bathroom Cabinets?
You definitely can! But it is not necessary.
If you paint the inside of your bathroom cabinets, they will look much more professional.
However, if you are not too concerned with how the inside of the cabinet looks, you can skip this step. While the outside of the cabinet will be seen by everyone who uses the bathroom, the inside will likely only be seen by you and your family.
What are the Most Popular Colors for Bathroom Vanities?
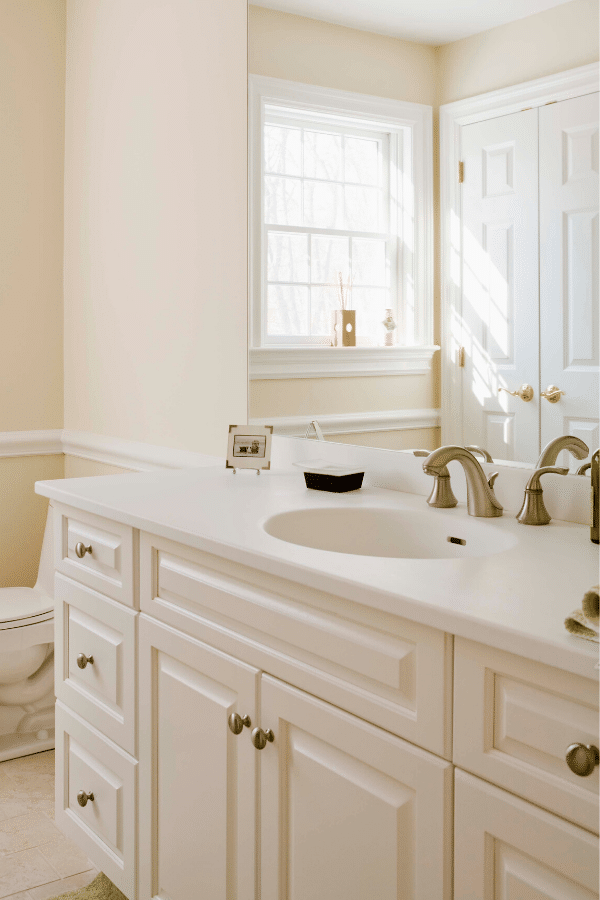
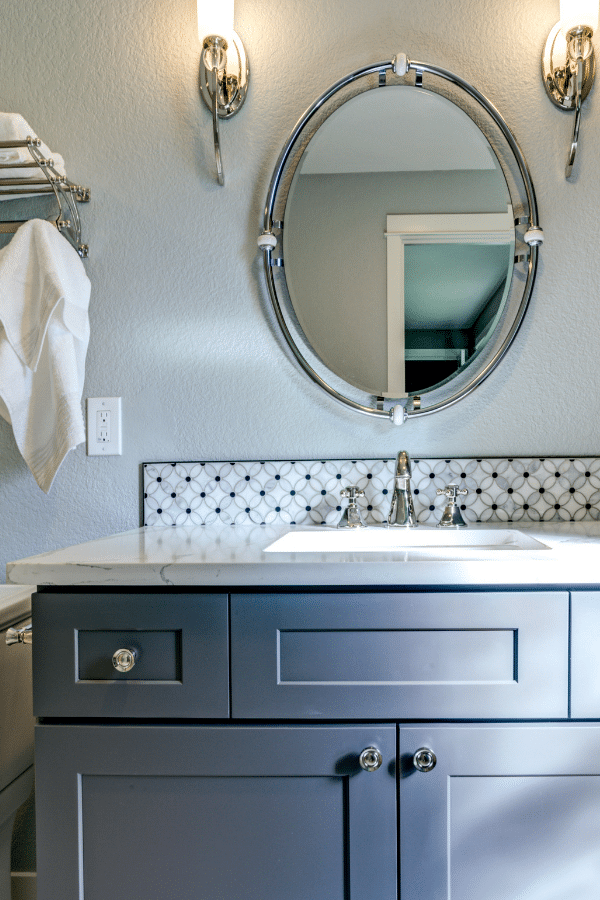
The most popular colors in bathroom vanities are white and gray. These two colors have dominated the cabinet industry for several years now, and they are not likely to go out of style any time soon.

For a bolder look, try a navy blue paired with gold accents.

Truly, a bathroom vanity color is a preference. If you love the blush tones that are on trend right now, go with one of them! Whatever you choose, try to select a color that will go with the bathroom floors and walls, unless you are updating the whole bathroom.
Check Out the Instructions on Painting Your Bathroom Vanity!

How To Paint A Bathroom Vanity
Learn what you need to use and how to paint your bathroom vanity for a fast and easy bathroom upgrade!
Materials
- Non-Sudsing Cleanser
- Primer
- Paint
Tools
- Screw Driver
- Putty Knife
- Sandpaper
- Wood Grain Filler (optional - for a super smooth finish)
- Foam Roller
- Mini Paint Tray
Instructions
- Clean the bathroom vanity with a good non-sudsing cleaner mixed with water. This will remove any dirt or oil that is on the surface of the vanity.
- Remove the doors and drawers from the vanity base with a screwdriver.
- Remove the hardware (knobs, pulls and hinges) from the doors, drawers and vanity base.
- Lightly sand all surfaces with a medium grit sandpaper. This will give your primer a good surface to adhere to.
- If desired, use a putty knife to apply a wood grain filler to your surface. This will significantly reduce the wood grain look of the finished surface. For more information on how to do this, read How to Paint Wood Without the Grain Showing.
- If you filled the wood grain, lightly sand the cabinets again to remove any high spots.
- Prime your cabinet doors, drawers and base with a high quality primer and a foam roller. Using a foam roller is the best way to get a smooth finish.
- Once the primer is dry, paint the cabinet with a high quality paint and your foam roller. Check out the recommended products for some great options.
- Apply a second coat.
- Allow the cabinet to dry completely before reattaching the hardware with your screwdriver.
Notes
Remember that it takes days to weeks for paint to fully cure (adhere and harden). During the curing time, use the vanity as gently as possible.
If you want an even stronger finish, apply a top coat after your second coat of paint is dry. Minwax PolyAcrylic is a great option, as it does not yellow when it drys.
Other Ways to Upgrade Your Bathroom
If you are planning to paint your bathroom vanity, you may want to consider these other easy ways to upgrade the your bathroom as well.
Good luck painting your vanity! Let me know how it goes!
Janet
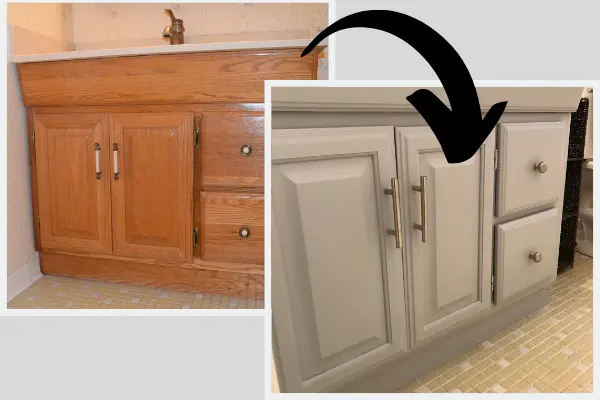
Monday 17th of January 2022
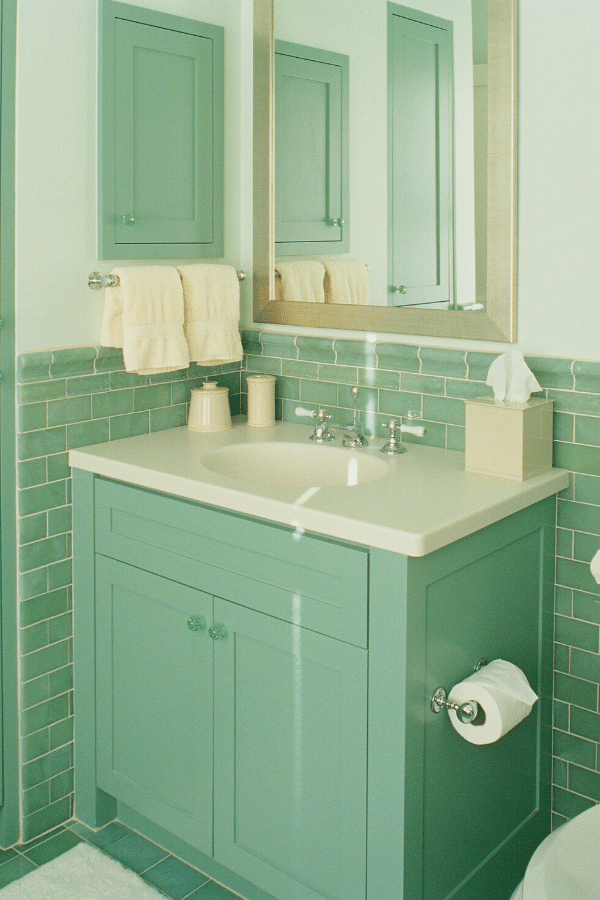
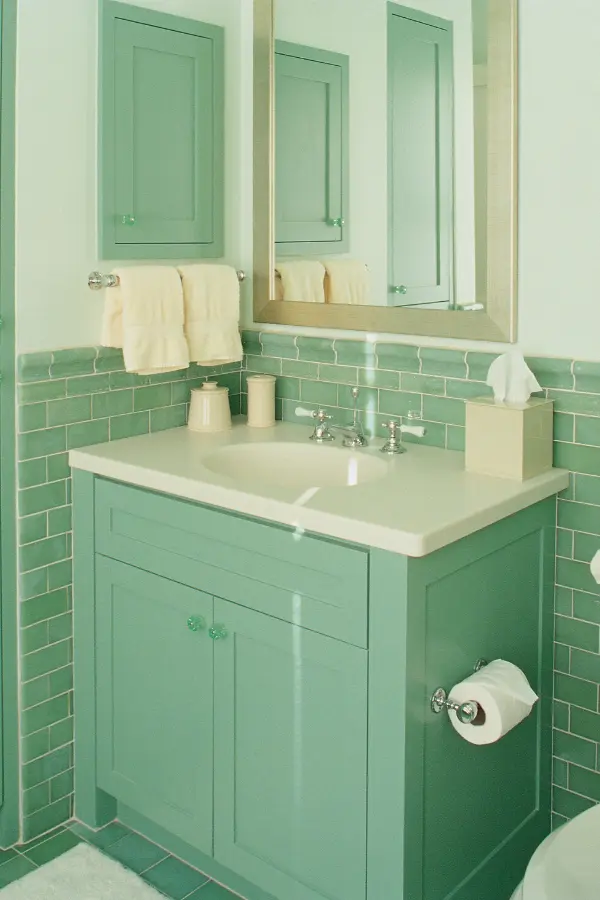
What color is used on the above (the one that has an arrow going to it).
Lauren
Saturday 12th of February 2022
Hi Janet! Unfortunately, I don't know! It was an oops paint from Lowes, but it doesn't say the color name.
Enid
Friday 22nd of January 2021
I refurbished a super old vanity. It was actually given to me for free. So I took on the challenge I already knew just by looking t it. I went directly to the Sherwin Williams store and was told by the sales rep that I can get away with using a brush and so I did. It was a semi gloss grey paint. Due to its gloss after sanding and not really cleaning properly, the defects showed all over the place. So I went ahead and sanded again and applied the 2nd coat. Defects still showing everywhere, I’m telling you it was in really bad shape. For the owner to convide Rut as garbage and giving it away, you could already imagine. So due to this I decided it was best to just keep it sanded in those lifted areas and give it that aged stressed out look. Came out beautiful neatless to say after 2 days 1/2.
Lauren
Saturday 23rd of January 2021
Hi Enid! I'm so glad that it worked out for you!! Sounds like it was a great project that ended up looking gorgeous! Great job :)