Making a DIY laundry room countertop is a great way to add valuable surface space to your laundry room. This counter space is a place for folding clothes, spraying stains or storing detergents.
A huge trend right now is putting a countertop over front loaders. Additionally, you can build one to go beside your washing machine and dryer, or around your laundry sink.
A countertop can also be a great way to make usable extra space out of awkward leftover space in a laundry room.
If you’re looking to give your laundry room an inexpensive makeover, keep reading for all the details on how to make an inexpensive wood DIY laundry room countertop.
This post may contain affiliate links. If you have any questions, please see my disclaimer page.
Types of Countertops
Whatever your reason for wanting to build a DIY countertop, you have a few options for what material to use.
Of course, you can go the expensive route of putting a solid surface countertop like quartz or granite on, but if you’re looking for an affordable option, there are three good choices.
Let me start by saying, all of these countertop options will require having existing cabinets in the space, putting cabinets in the space, or adding a wood structure to the space to create a support system for your countertops.
If you need a tutorial for making your own support system for a countertop, check out this article on how to make a utility sink cabinet. It will give you some ideas for how to get started.
Above all though, remember that the weight of the counter top will have to be supported so plan accordingly.
Laminate Countertops
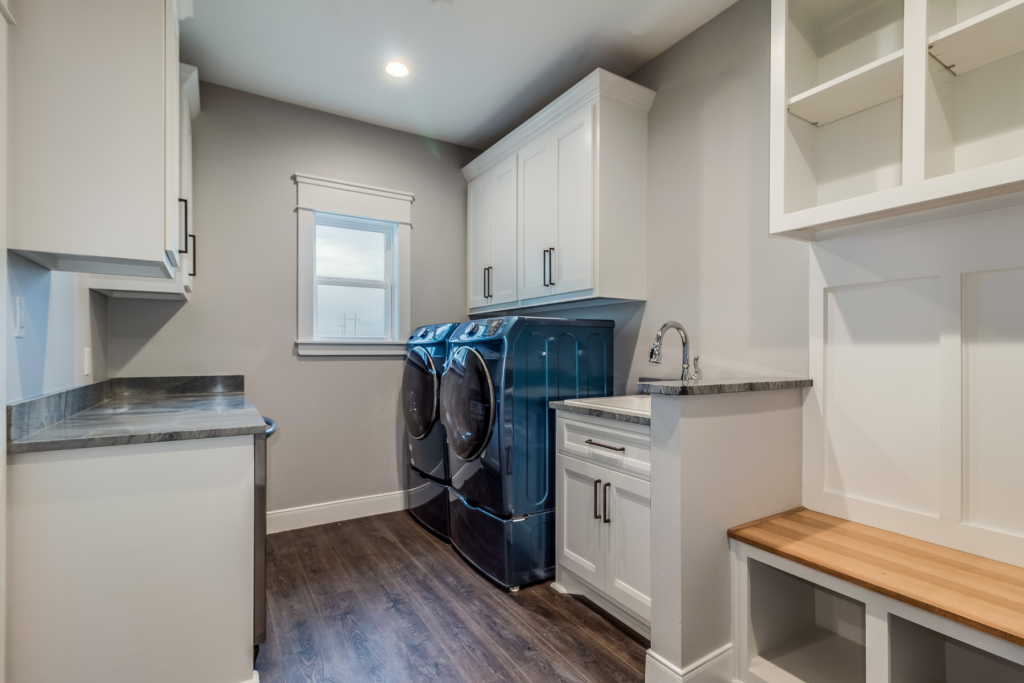

Laminate countertops are an affordable countertop material that you can pick up at any large home improvement store. Prices start at around $120 for an 8 foot section, and go up from there.
Laminate countertops come with a finished front edge and an integrated backsplash, but any side edges that are exposed will require an additional end cap kit. They aren’t expensive though, costing around $30 a piece.
They attach to pre-existing cabinets with clear caulk and a couple of screws. Additionally, they are easily cut with a circular saw. Be sure to use a fine circular saw blade to ensure you don’t chip up the top finish.
Plywood Countertop
If you’re looking for a relatively inexpensive material for wood countertops, sanded plywood is a good option. It provides a smooth surface that you can easily stain and cover with a waterproof top coat.
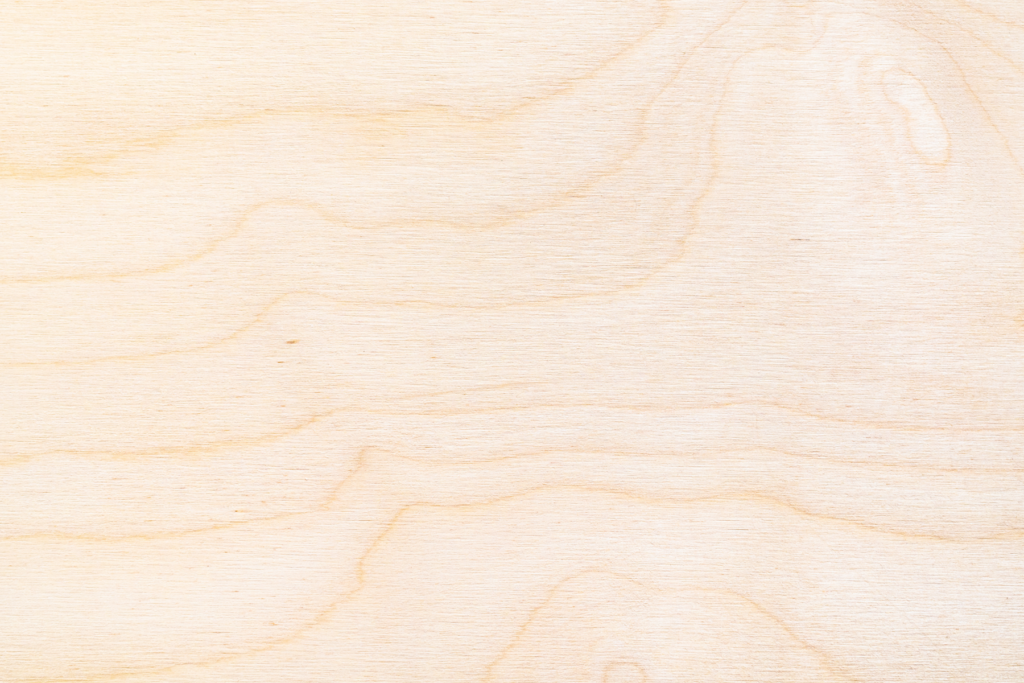
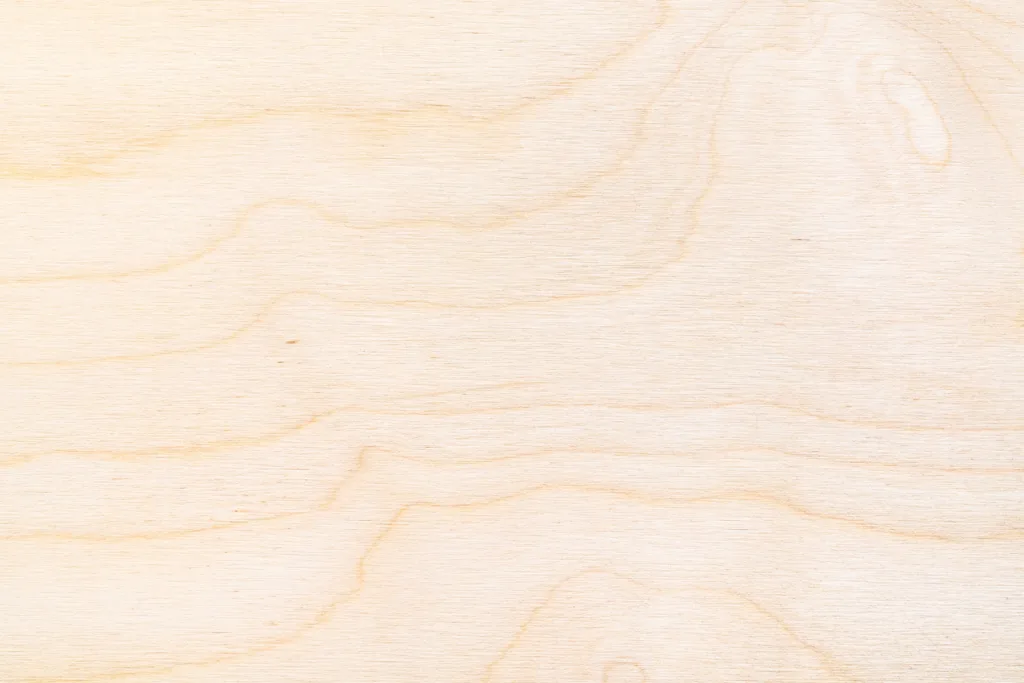
A piece of plywood is made of thin strips of wood glued together. Because of this, you can see the different layers of plywood when you look at it from the side edge.
If you’re using sanded plywood to make a laundry room countertop, you are going to need to make your own edge for it.
The best way to do this is to rip cut a thin strip and attach it to the edge of your plywood. Then, you can round the edge using a mouse sander or router to smooth the corner.
When using a straight cut like this, your edge show the glued layers of the plywood, which isn’t ideal.
If you want to have a more perfect looking edge for your sanded plywood countertop, you can do an angled or mitred cut on the edges of the two pieces of plywood. Then, they will fit together much like the corners of a picture frame.
This will ensure you do not see any glue layers of plywood, and instead only see the finished sanded layer that is meant to be seen. Your countertop will look something more like this then.

For an even easier option, keep reading for a full tutorial on how to make a butcher block countertop.
Butcher Block Countertop

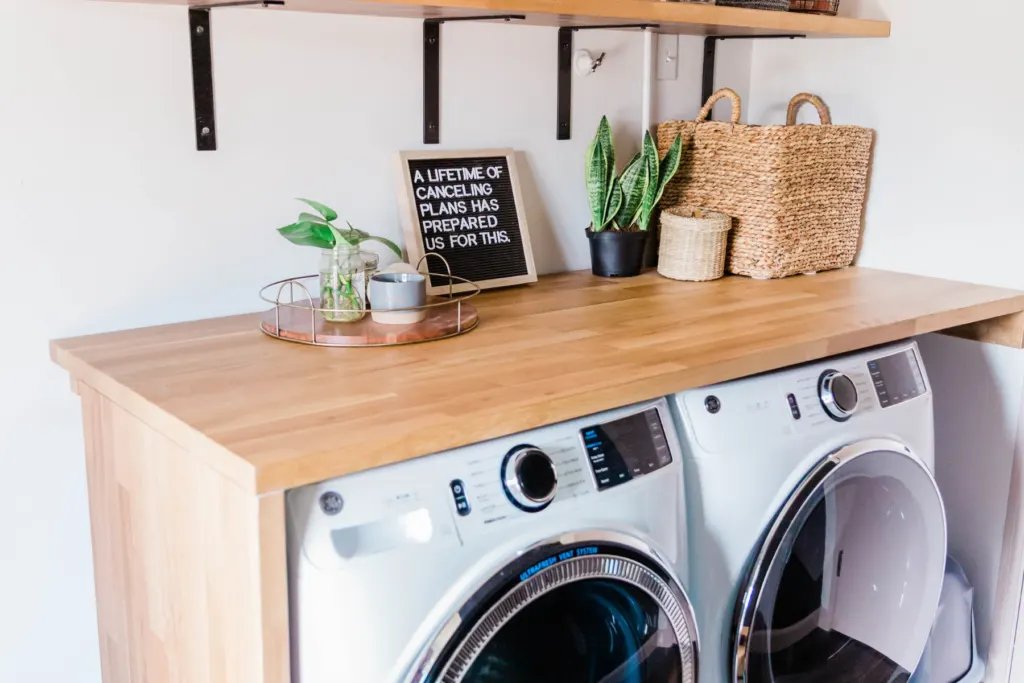
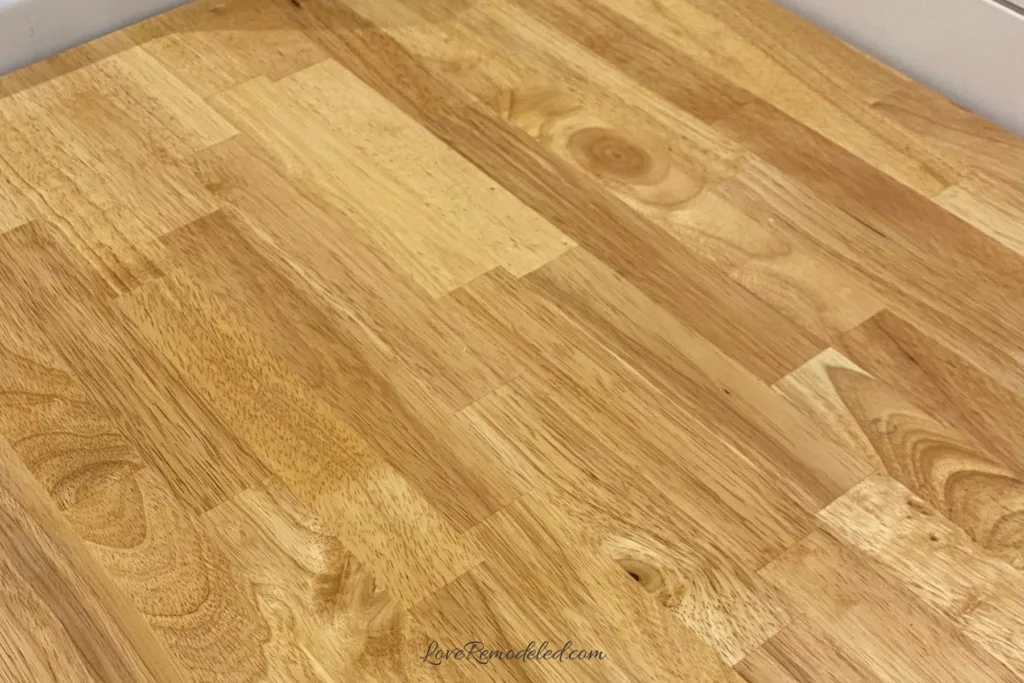
Butcher block countertops are made out of butcher block. It is a type of wood surface that is made of pieces of wood that are glued together. It is thicker than plywood and has a distinct look to it that has been popular for years.
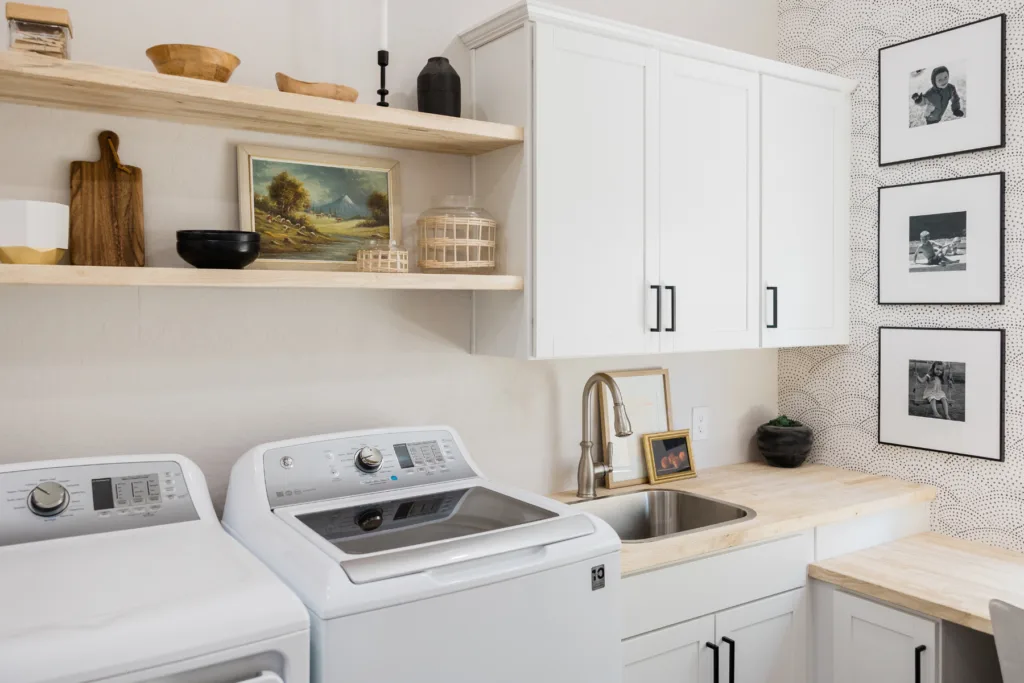
Additionally, butcher block countertops are solid wood the whole way through. They are a great option if you want to add some warmth and natural elements to your laundry room.
You can even use any extra pieces you have to create open shelving.
You can buy butcher block from most home improvement stores.
I picked mine up from Home Depot on a special buy (this was before 2021, so I expect that prices at HD have gone up considerably since then).
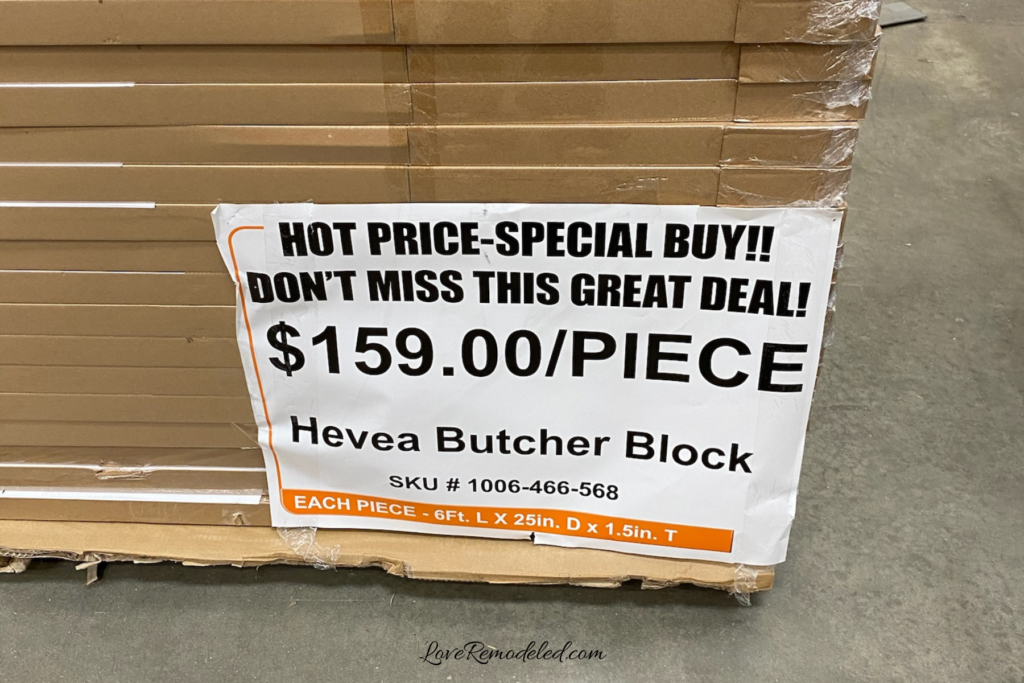

If you don’t want to leave your home, you can order slabs of butcher block from Amazon and have it shipped to your house for free.
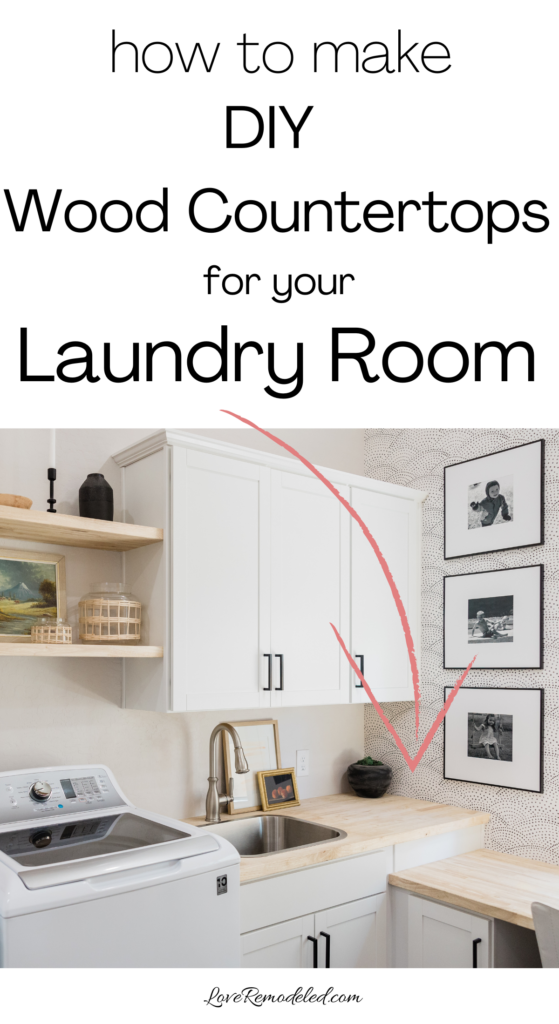
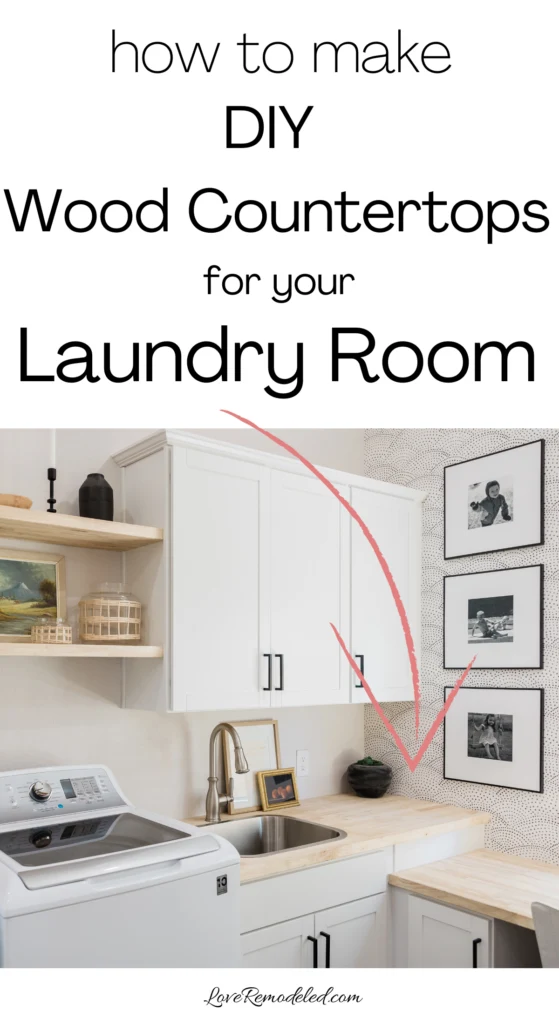
Laundry Room Makeover
In my previous home, I needed to create a countertop in my laundry room to fix a bunch of issues. First, I had an odd, awkward space that needed something to fill it. Second, I had no storage in my laundry room. And third, I had a super ugly utility sink that I didn’t want to replace, but also wanted to conceal a bit.
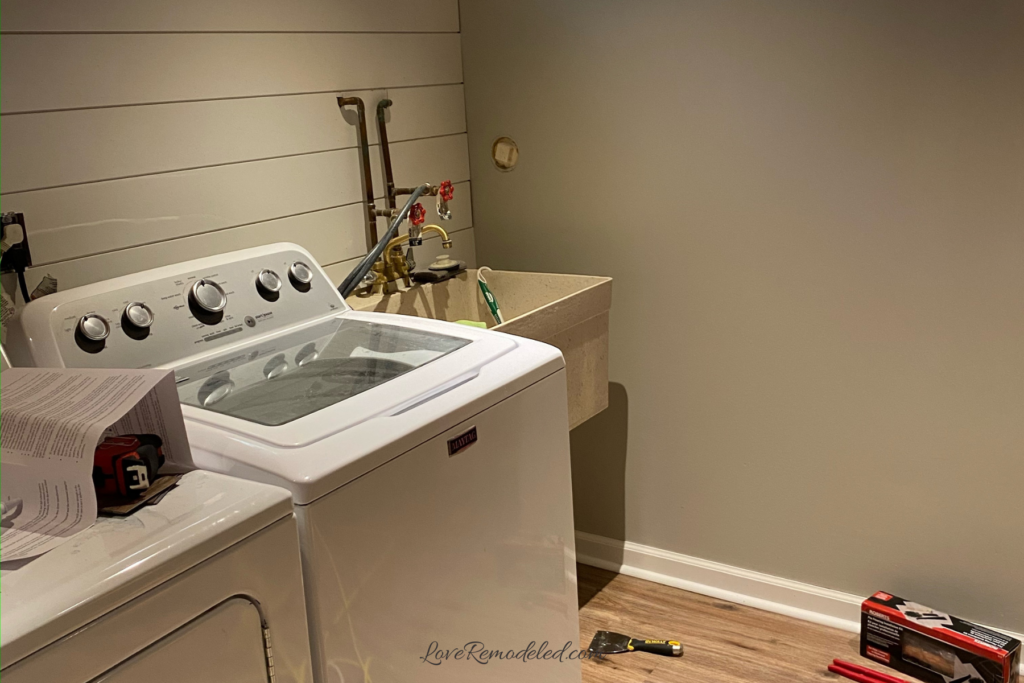
My solution was to add cabinets and a butcher block countertop to the space.
DIY Instructions for a Butcher Block Countertop
Here is how I made my butcher block countertop.
Step One for Making a Wood Countertop
The first thing you should do is begin by measuring the area where you want the countertop to go. Cut the butcher block to the proper width.
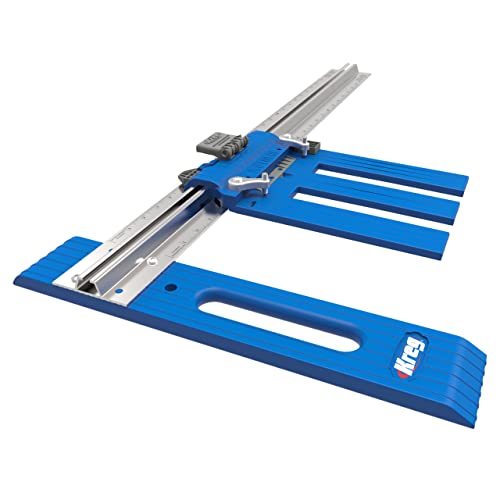
You can cut butcher block using a table saw, a circular saw with a Kreg Jig rip cut guide on it, or a jig saw (least preferred method for making a long cut, but doable).
Making this cut first will give you a more manageable piece of wood to work with.
Step Two for Making a Wood Countertop
Mark any additional cutouts for your countertop.
For example, if you’re making a cut out around an existing sink, you can lay the countertop on top of the sink, and mark the cut lines but crawling underneath the sink area and tracing around the top edge of the sink. This should give you a perfect fit.
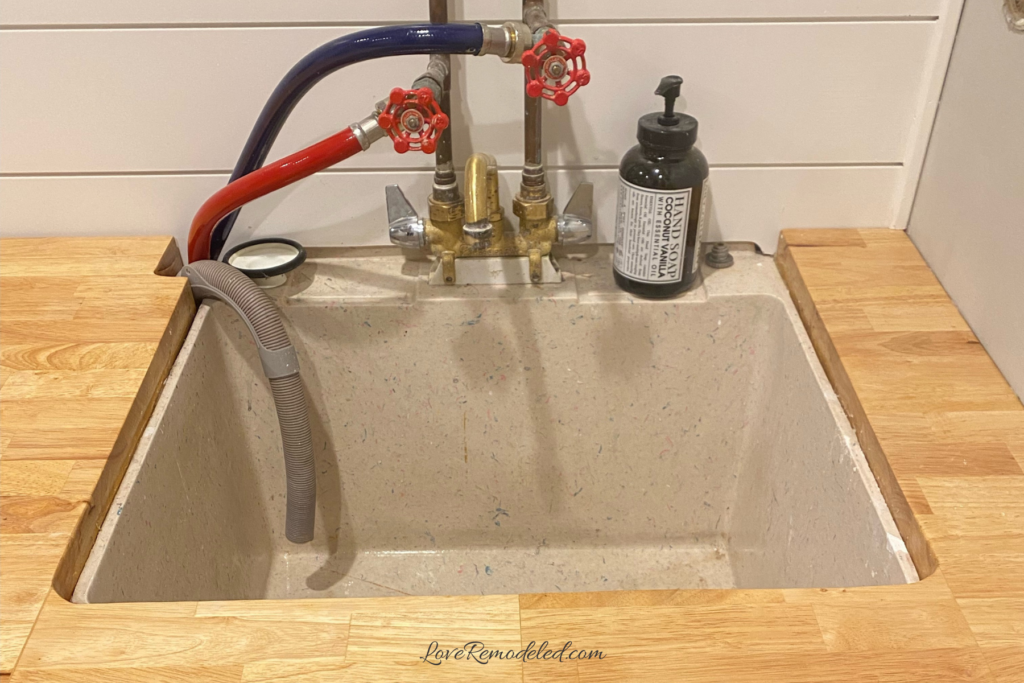
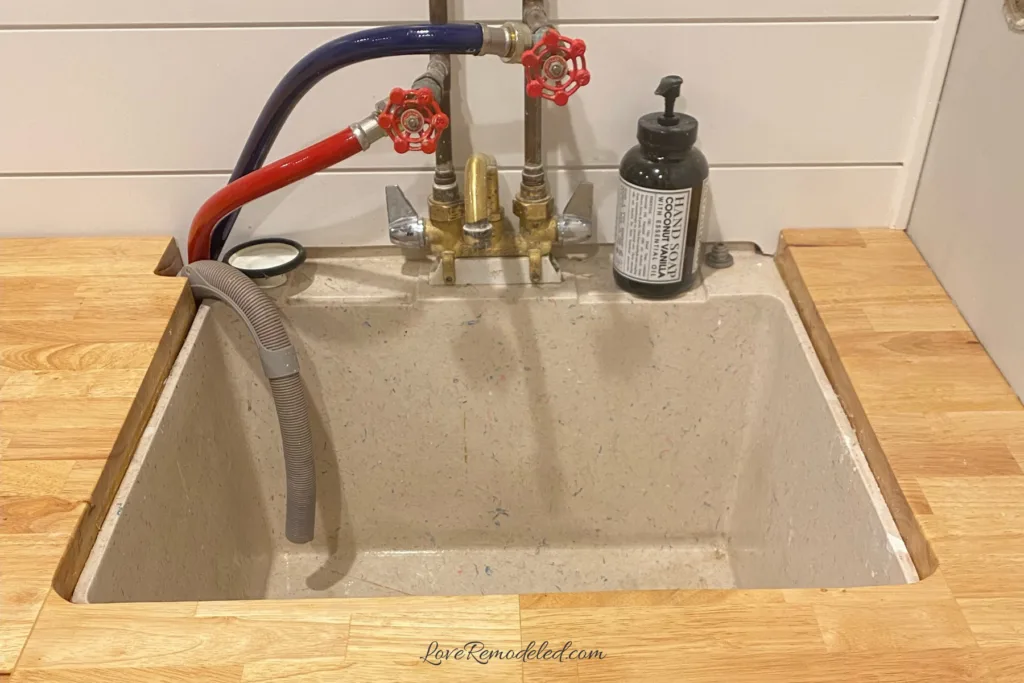
Then, cut out the additional cutouts using a table saw, a circular saw with a rip cut guide on it, or a jig saw (preferable for making curved cutouts). Additional cutouts can include spaces for water lines.
Step Three for Making a Wood Countertop
If you have two adjacent pieces that are going to be put together, use construction adhesive like wood glue to attach the two pieces together. Then clamp the pieces for a few hours until the glue dries.
Step Four for Making a Wood Countertop
Use wood filler to fill in any holes or seams where two pieces are glued together, as necessary.
Step Five for Making a Wood Countertop
Once everything is cut and glued if necessary, sand the top, sides and cutout areas with an orbital sander, mouse sander or belt sander. I’ve had this mouse sander for years and I love it.
Start with a rougher medium grit like 150. Then, use a fine grit like 220, followed by an ultra-fine grit of 320. This will give you a butter-smooth surface for your wood countertop.
Step Six for Making a Wood Countertop
If you want to darken the color of your butcher block, stain comes in a wide range of colors, including all varieties of browns, and even reds, blues, grays and greens.
Follow up your applications of stain with a waterproof sealer such as Thompson’s Water Sealer or Waterlox Wood Finish.
If you like the more natural look, you can just apply the wood sealer directly onto the sanded surface without staining it first.
I used Waterlox, because I had used it in the past on this wood countertop and it help up amazingly.
Be sure to seal the entire thing, including the sides and even the underside to ensure your wood stays water resistant for years to come.
Step Six for Making a Wood Countertop
Attach the countertop to the cabinets or wood supports you created using clear caulk.
This acts as an adhesive, gluing your countertops to the support structure.
Some cabinets will also have metal brackets on the corners for screwing your countertop onto on the inside. If your cabinets have this, you use these as well.
Step Seven for Making a Wood Countertop
Seal the back of the countertop to the back wall by running a bead of clear caulk along the entire back of the wall where it meets the countertop.

This will help prevent water from getting behind the cabinets or under the countertop.
(Alternatively, you can use a small trim piece, or cut a 3-inch wide piece of butcher block to add as a backsplash. But be sure to finish it by staining and sealing it.)
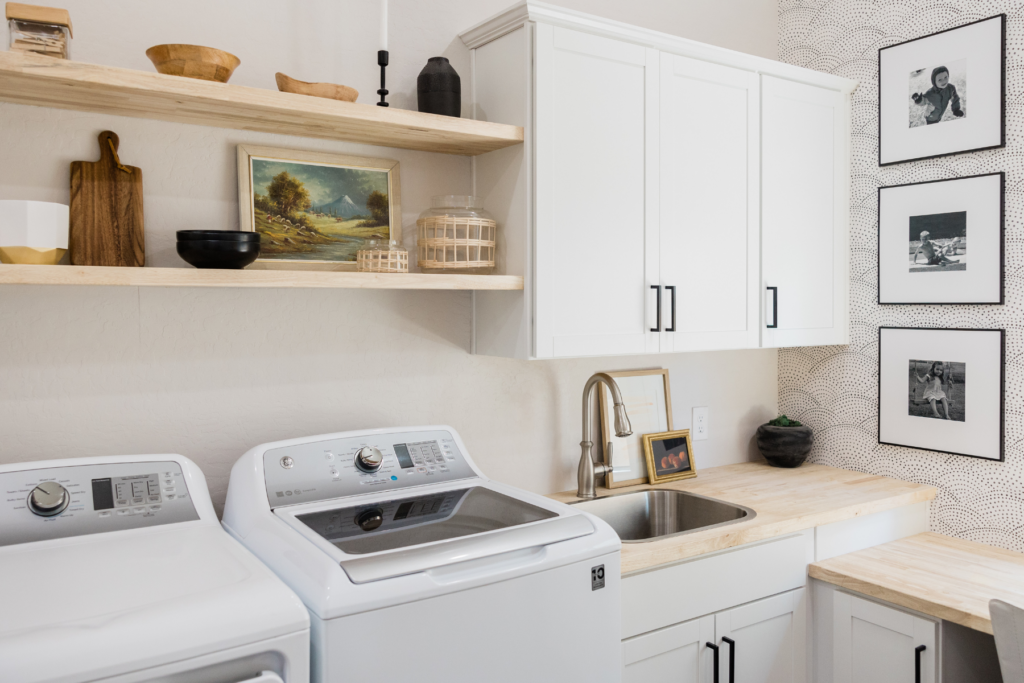
Butcher Block Countertop After Picture
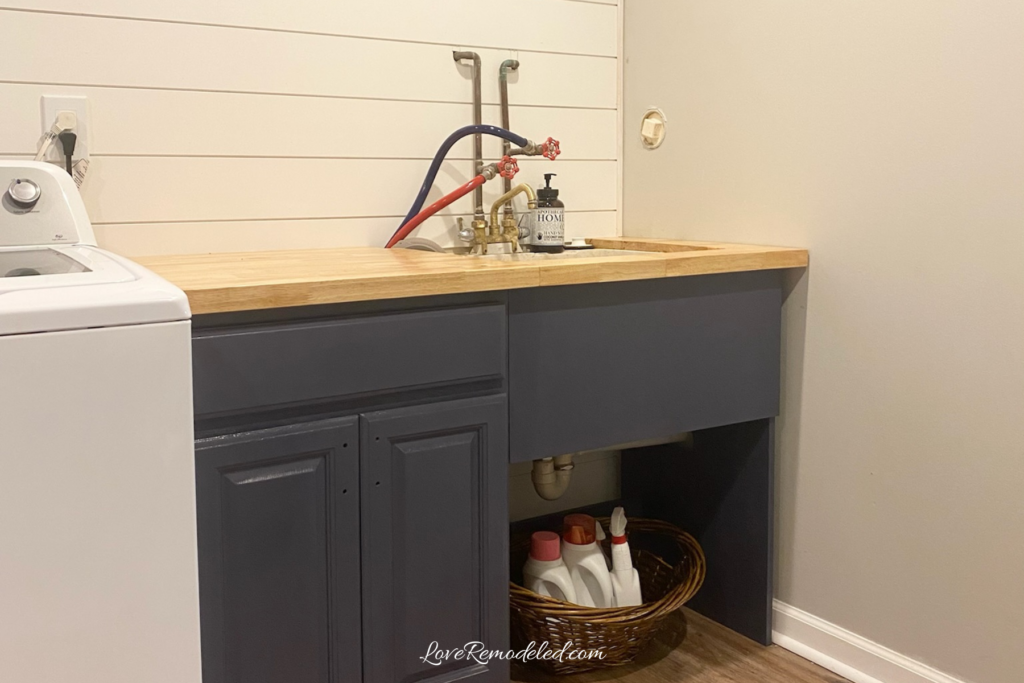

Making a DIY wood countertop was a really easy project and completely transformed the way my laundry room looked.
Final Thoughts on DIY Butcher Block Countertops
Making a butcher block countertop for your laundry room is a great way to increase the work surface in your laundry room.
If you have a front load washer, you can even put it over the top of the washer.
Whether you are doing a whole laundry room makeover, or just looking to increase the functionality of a small laundry room, this DIY project is a great addition to your home.