
If you’re looking for a quick way to add or update a backsplash, peel and stick backsplash tiles are a great solution.
Why I Chose Peel and Stick Backsplash Tile
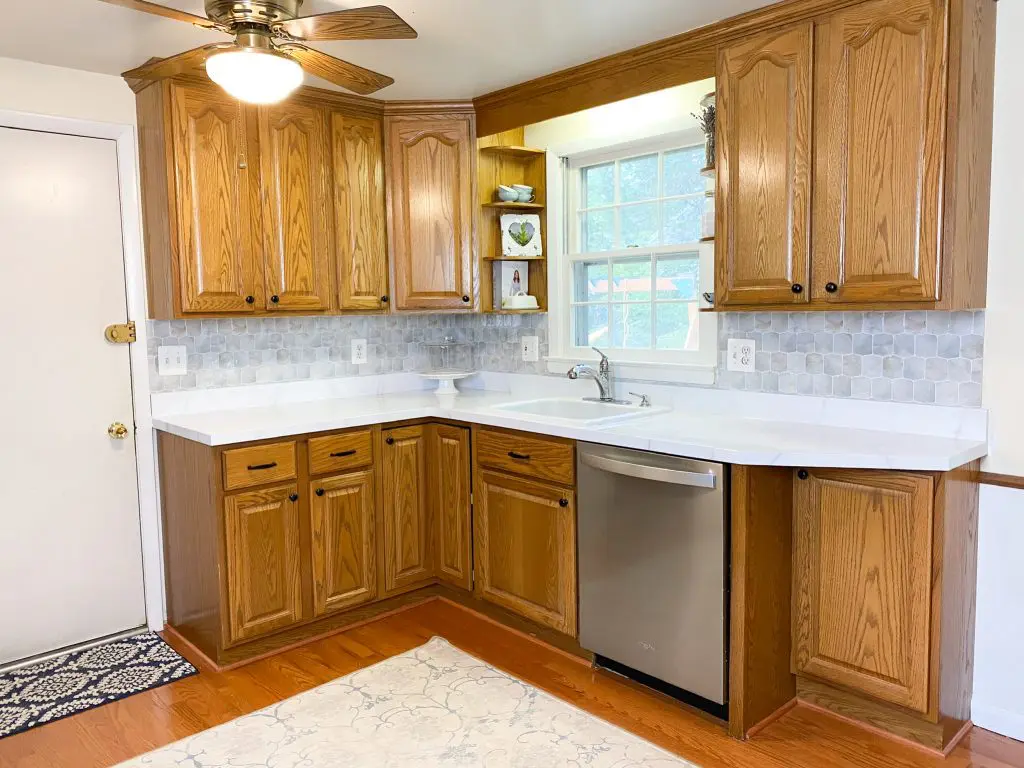
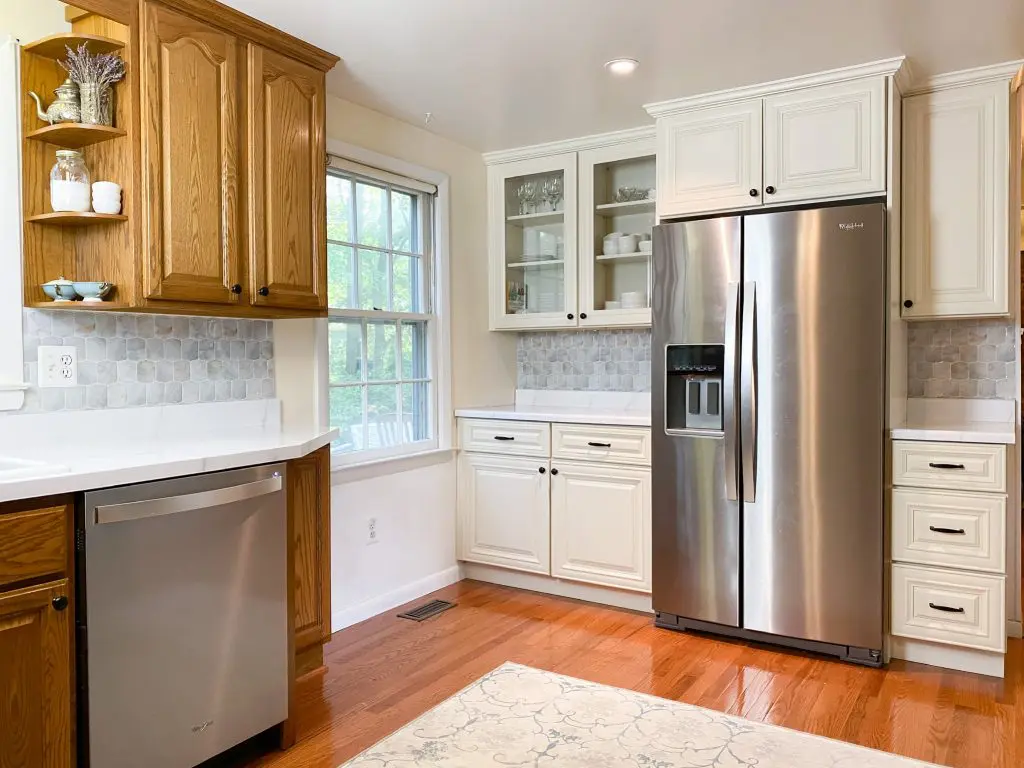
As you may know, I’ve been working on updating my kitchen. I’ve added gorgeous white RTA cabinets to accent the existing wood cabinets, updated the hardware to matte black knobs and pulls, made a pantry out of the space where the fridge had been previously and painted my countertops to look like marble.
The only thing left was to add a backsplash.
I began by starting to remove the existing backsplash, but quickly realized that this was more work than I wanted to undertake at the time. As I chipped away at the ceramic tile, the wall behind it started to get messed up, and I saw that I would have to painstakingly remove all of the tiles, and then would have to fix the wall prior to putting in a new backsplash.
So I began looking for other options. I had recently redone the floor in my basement bathroom with peel and stick floor tiles, and was super impressed with how easy they were to do and how amazing of a difference they made. With that in mind, I decided that peel and stick backsplash tiles, that I could place right on top of my ceramic tile, were the perfect solution.
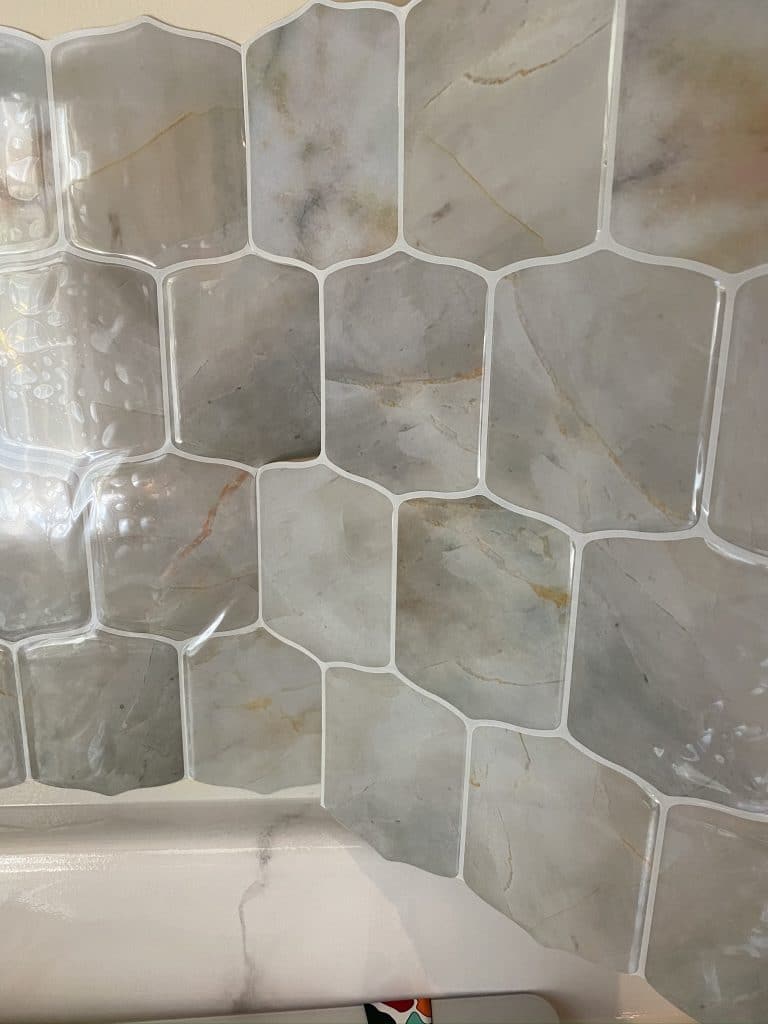
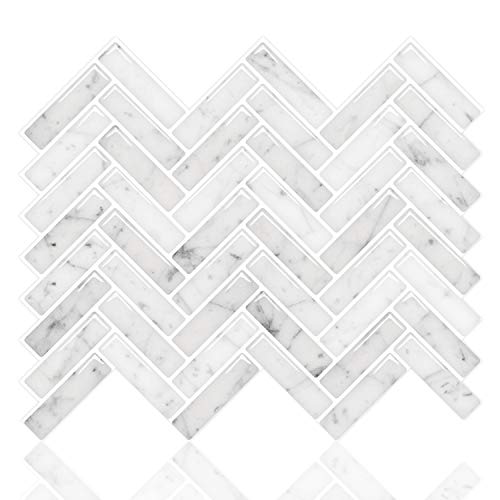
I chose peel and stick backsplash tiles that were in a lantern mosaic pattern in marble, because I wanted a stylish, updated look that would match the “marble” countertops. Plus, this backsplash pattern had hints of brown in the marble, which helped to tie in the wood cabinets.

Installing the peel and stick tile backsplash was quick and easy. Here are the steps you can take to install your own!
How To Install a Mosaic Peel and Stick Backsplash
Step 1: Decide on your pattern and layout.
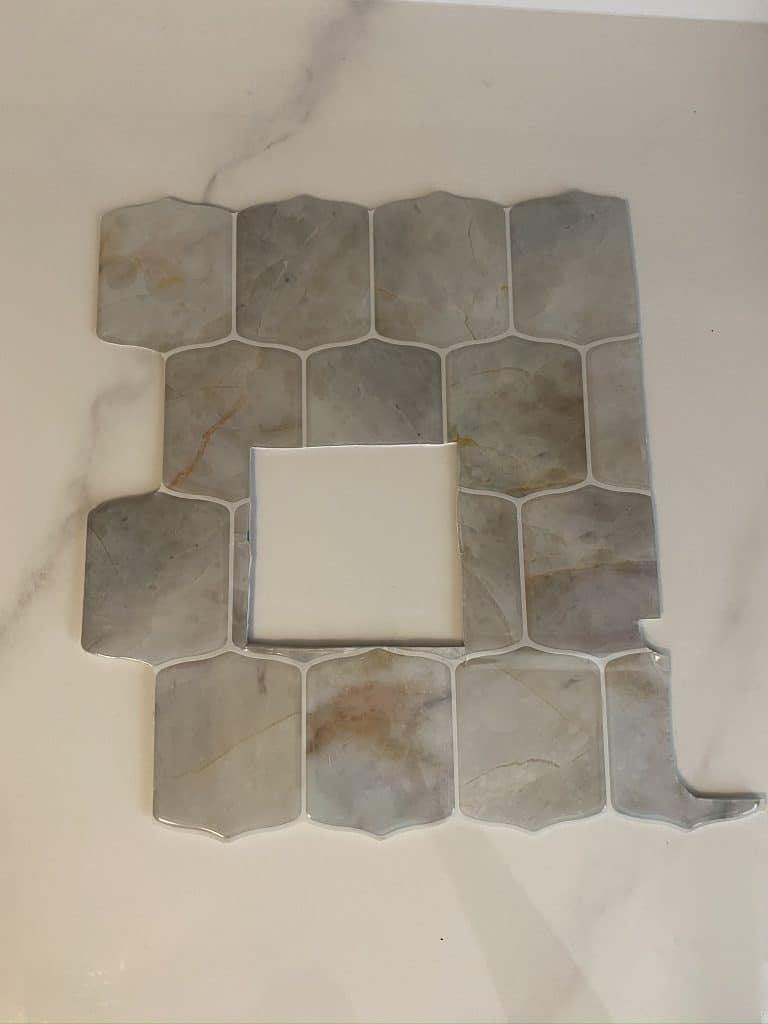
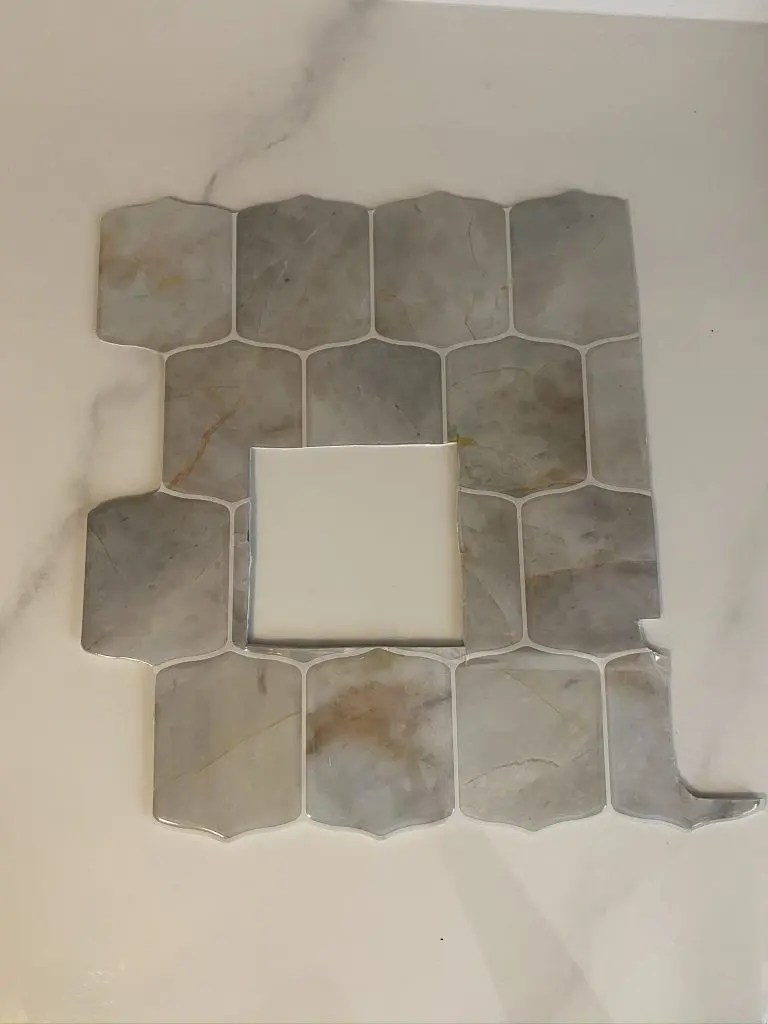
Begin by determining how the backsplash should look. If your backsplash has flat bottoms (such as a rectangular shape or square shape tile), this is pretty easy. But if you choose a backsplash that has a mosaic appearance, you will need to decide how to place the first sheet.
Be sure to consider how hard it will be to cut the rest of the peel and stick tile to go around your main sheets. For example, I laid my peel and stick mosaic in a way that maximixed each sheet.

However, this meant that to finish the bottom edge, I needed to cut a TINY sliver of peel and stick backsplash to fit. While this was a pain to do, it reduced the number of sheets I needed to purchase.
Step 2: Clean the wall or existing tile.
Because the backsplash area typically gets grease or food on it, it is important to clean the area prior to applying the backsplash. This will ensure that backsplash stays put for a long time.
To clean it, you can simply use dish soap and water, as dish soap cuts grease.
Truth be told, I skipped this step, and it worked out fine!
Step 3: Apply the peel and stick backsplash.
Remove the backing on the peel and stick backsplash tile, and place it on the wall or existing tile.
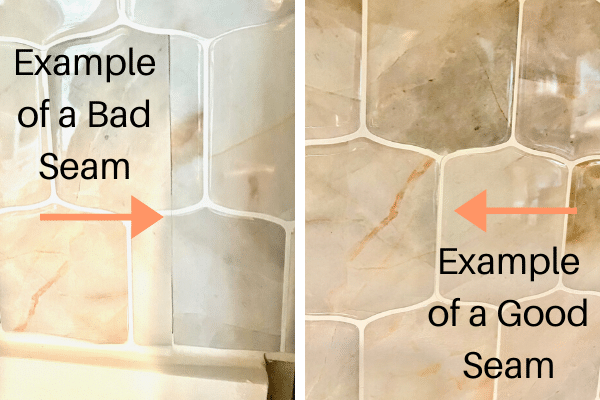
Continue placing backsplash sheets around the original sheet. In order to get the seams tight, start by placing the seams together at an angle, and then lay the tile flat on the wall.

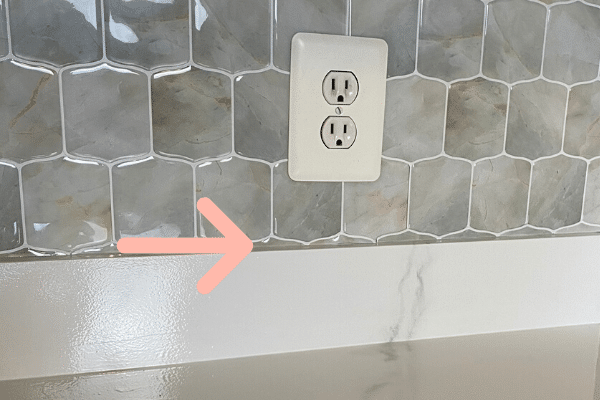
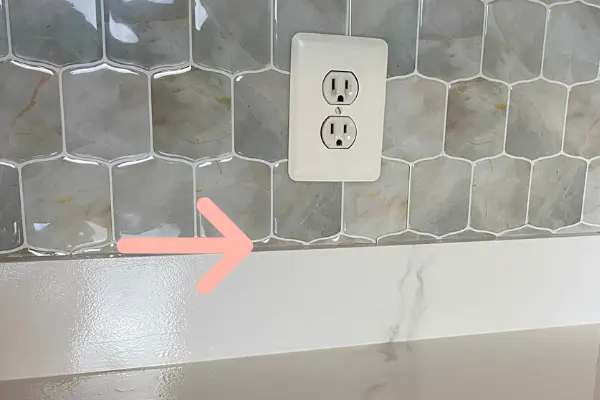
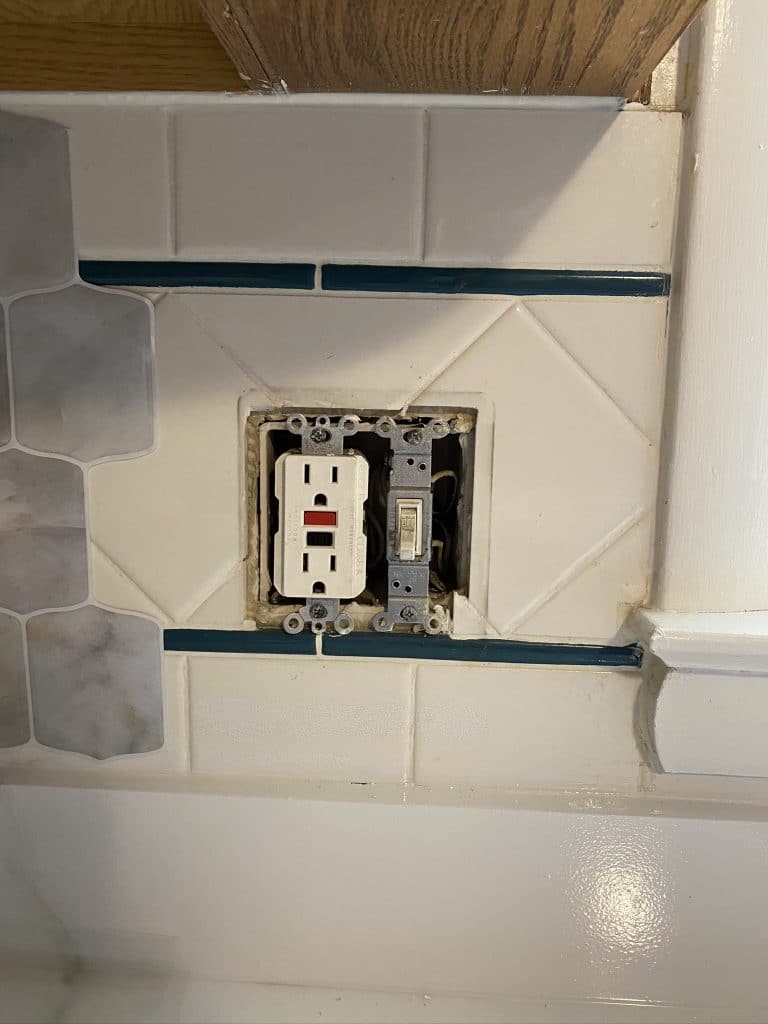
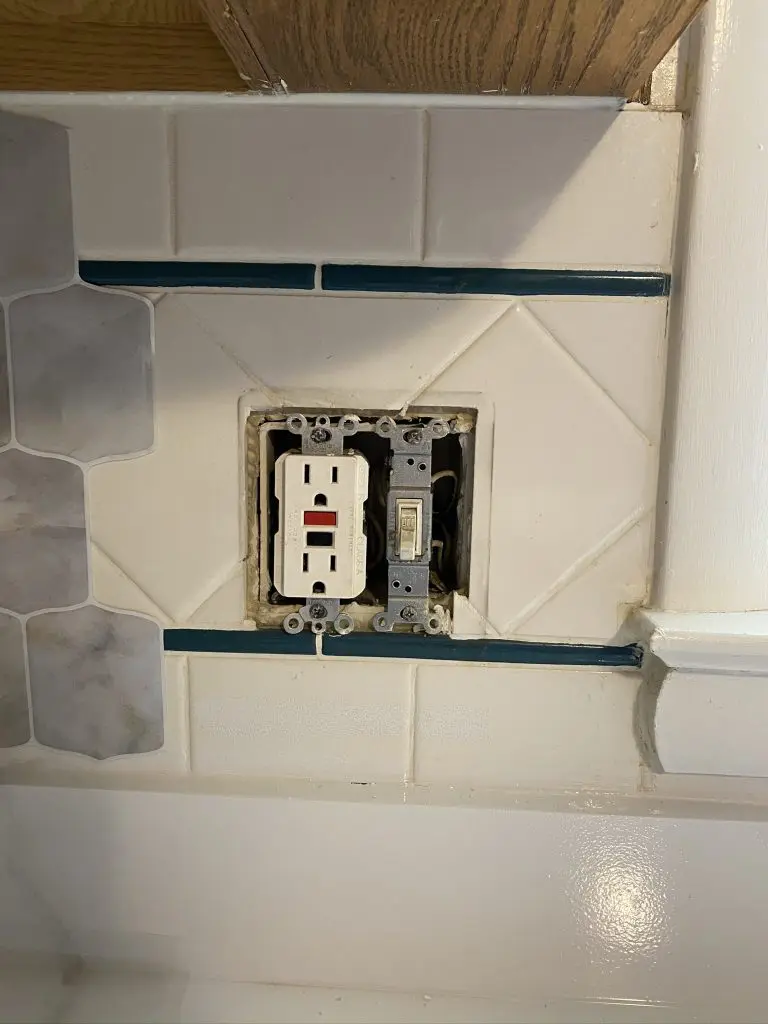
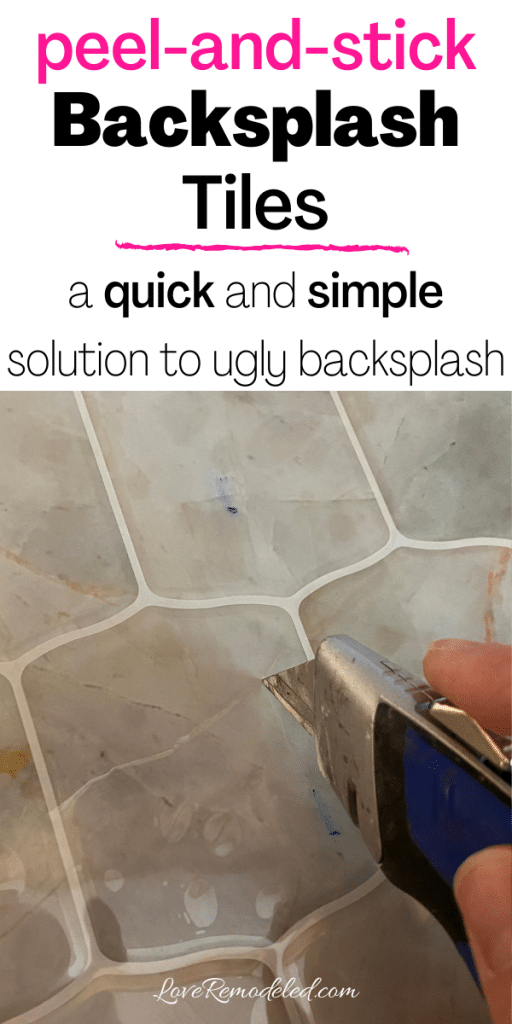
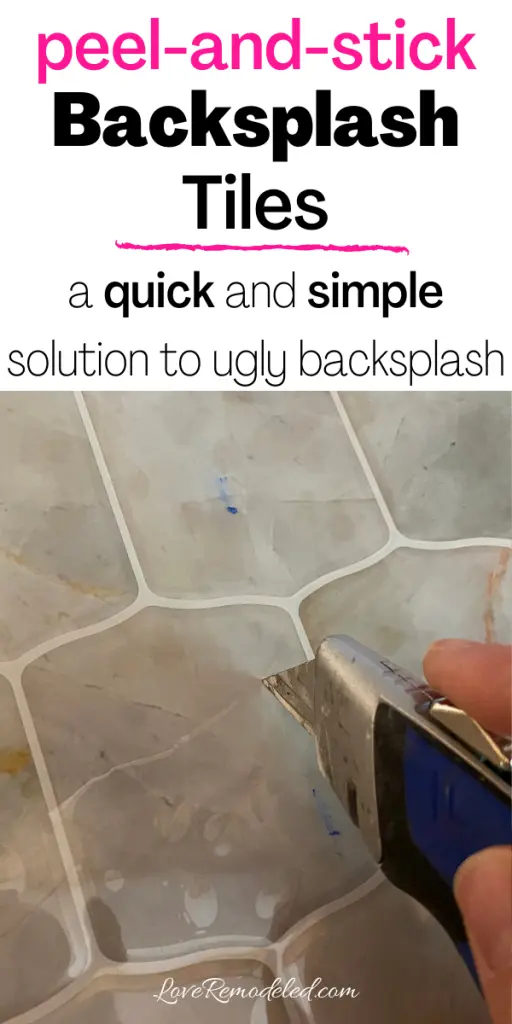
In order to place the tile around outlets or windows, you will need to cut the tile using either scissors or a box cutter. I found scissors to be the easier option for me. Using a measuring tape, determine where the cuts should be made and transfer the measurement to your new tile sheet. Make all of your cuts prior to removing the backing of the peel and stick sheet, so the tile doesn’t stick to your scissors.
Sometimes, you will end up with odd areas to fill. In these instances, be sure to cut along the “caulk” lines of your peel and stick tiles. This will help your pieces to fit together like a puzzle.

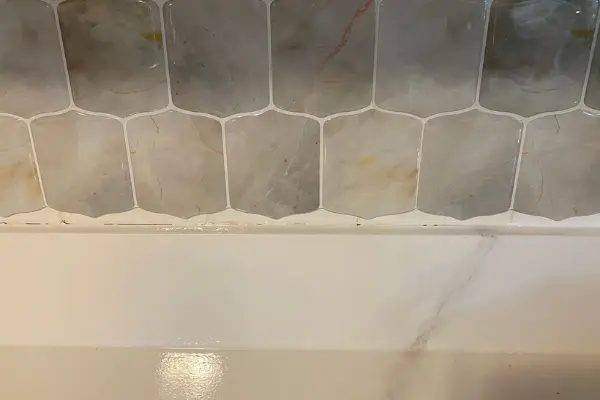
Step 4: Caulk the edges.
To complete your peel and stick tile backsplash, caulk the bottom edge to the countertop. You can also caulk between the seams of the peel and stick tile sheets, if need be.
In the places where I wasn’t able to line the sheets up perfectly, I added caulk to the seams of my peel and stick sheets. It sits in the grout line and makes the backsplash look seamless.
That’s it! Only 4 easy steps for adding a gorgeous backsplash to your kitchen!
Frequently Asked Questions about Peel and Stick Backsplash Tile
You may have some additional questions about putting up a peel and stick backsplash. Here are some FAQs and my answers to help you decide if this DIY project is for you.
Does peel and stick backsplash work?
Peel and stick backsplash works really well. It adheres to ceramic tile or painted walls without peeling off. The adhesive backing is strong, and allows for a long lasting solution to your backsplash needs.
Since a backsplash is intended to not only look nice, but also to protect the walls of the kitchen from splatters and stains, it is important that you can actually clean it. Once your peel and stick backsplash is applied, it can be cleaned by wiping it with a damp rag.
Will using peel and stick tile ruin my walls?
Not likely. Peel and stick tile backsplash comes right off the wall when you’re ready to remove it.
For example, if I applied a tile to the wall and needed to reset it, I was able to easily peel it off the wall and re-adhere it. The adhesion was strong, but not so strong that it pulled off any paint.
If you run into any difficulty, you can use heat to loosen the adhesive by holding a hair dryer over it for a few seconds prior to pulling the tile off.
And as always, refer to the manufacturer’s instructions on how to remove the tile sheets.
Can you install peel and stick backsplash over existing tile?
Yes! I applied my peel and stick tiles to both a painted wall and to an existing ceramic tile backsplash. It worked equally well on both.
Do peel and stick tiles look real?
Peel and stick tiles will look real at a glance. But they have a very shiny appearance, which can be a give away that they are not real tile. However, if a guest was visiting in your kitchen, I doubt that they would know that they were not real ceramic tile unless they really focused on them.
That being said, it is definitely apparent that they are not ceramic tiles if you touch them. Peel and stick backsplash tiles have a rubbery feel, similar to thick stickers, instead of the cool, hard feel of ceramic tiles.
How do you finish a peel and stick backsplash?
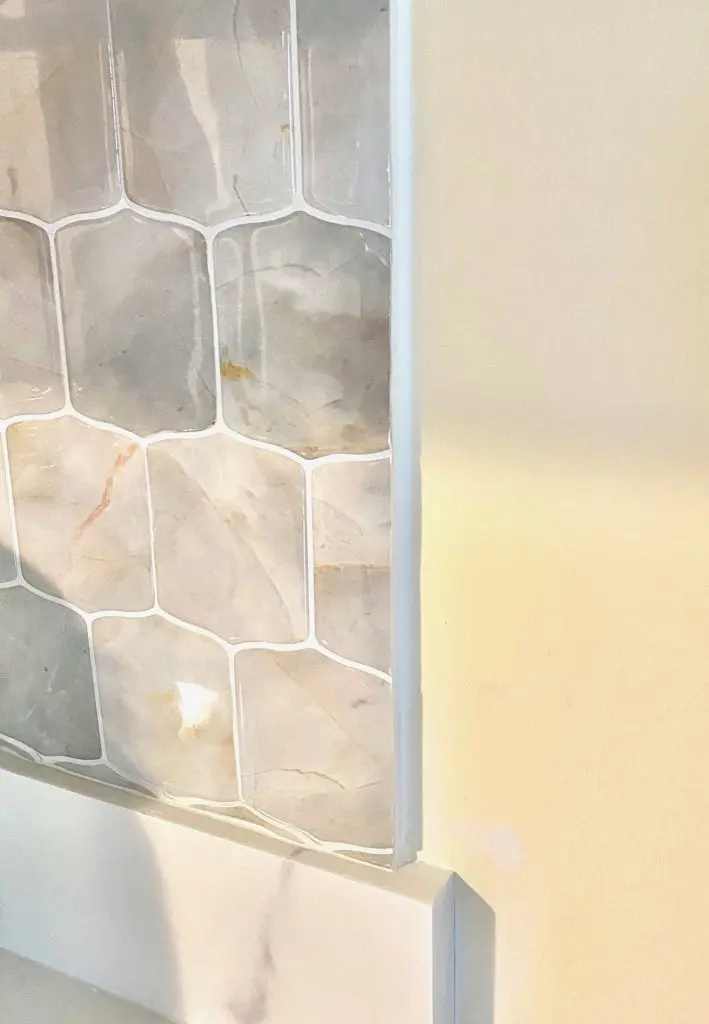
To finish the edges of a peel and stick backsplash, apply caulk. Caulk can be used at the bottom edge of the backsplash where it meets the countertop, and on any side edges where it meets the wall. This helps to make it look more like real ceramic tile. It can also be used on the seam lines (assuming your seams are white).

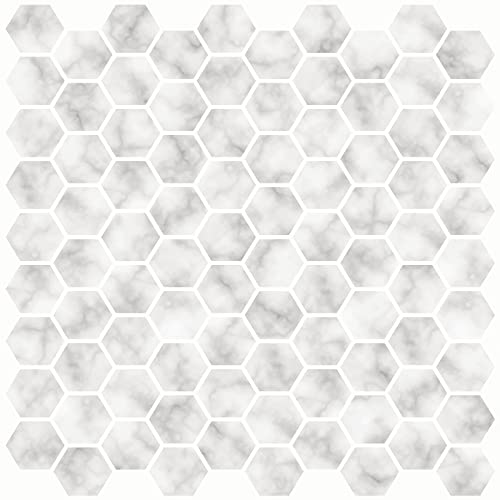
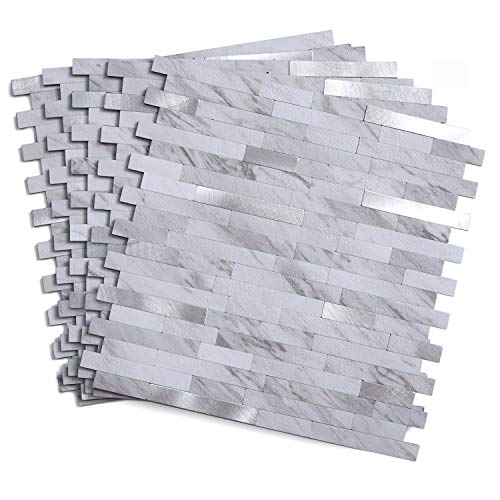
What are the best peel and stick backsplash tiles?
Peel and stick backsplash tiles come in a lot of great patterns. Here are some of my favorites:


Are peel and stick backsplash tiles right for me?
Peel and stick backsplash tiles are not the best choice for a high end kitchen, but are a great solution for someone who is renting a place and wants to update the look of the kitchen or bathroom, or for a homeowner who wants a quick kitchen or bathroom refresh on a budget.
If you like DIY projects, and want a quick update for your kitchen, peel and stick backsplash tiles are an amazing option.
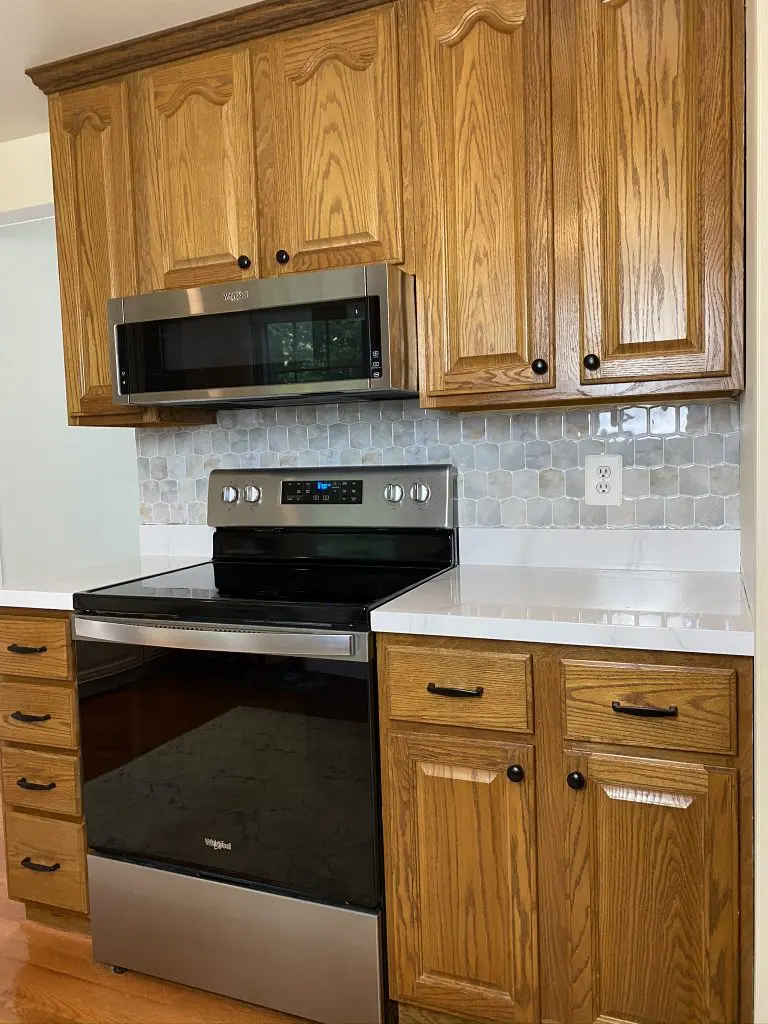
Here is how my kitchen turned out:


For more budget friendly kitchen update ideas, check out these amazing RTA cabinets, how to paint your countertops to look like marble, how to add moulding to upgrade a kitchen island, and how to build a pantry.
Jodi
Monday 4th of November 2024
My peel and stick is a complete failure. It does not stick to laminate cupboards. I wish I could get some with out the adhesive included so that I could used better adhesive.
Lauren
Tuesday 5th of November 2024
Hey Jodi! I'm so sorry that the peel and stick tiles didn't work for you! I imagine that the laminate is too smooth for the adhesive to stick to. I have heard of some people using adhesive on the back of their peel and stick tiles to make them extra sticky - usually on floors. But it may be worth a try. I also wonder if a different brand of peel and stick would be better. I've had some that I had difficulty getting off of smooth tile, so not all peel and stick has the same adhesive properties.
Kathy
Sunday 15th of January 2023
What should I use to fill the lines of my peel & stick tiles I just put up on my backsplash?
Lauren
Sunday 15th of January 2023
Hi Kathy! Most peel and stick tiles have colored lines that are a part of them that don't need filled. If yours do, I would probably use caulk. If you want, join the Love Remodeled Facebook group so I can see how it looks. It'd be easier to make a suggestion if I could see what you're working with. Good luck!
Richard Kortman
Wednesday 29th of June 2022
Should old wall paper be removed from the wall before applying a stick and peel back splash
Lauren
Tuesday 5th of July 2022
Hi Richard! I wouldn't think that you have to remove the old wallpaper first. If it is adhered to the wall well, the peel and stick should stick right on it with no problem. But, it will definitely be ruined when the peel and stick comes off, so don't do it if you ever want to use that wallpaper again. Good luck!
Takara Martin
Tuesday 24th of August 2021
Hi there, Sorry if I missed this but what brand of peel and stick did you use?
Sherion
Saturday 18th of December 2021
Can you put peel and stick on wood?
Lauren
Friday 27th of August 2021
Hi Takara! The brand I used was HomeyMosaics, from Amazon. Here is the link to it.
Miggie
Friday 23rd of July 2021
I enjoyed reviewing your update project. I will be using your ideas for my kitchen update as i do not want to paint my cabinets. I knew their was a way around not having to paint the cabinets!!!!!!!!!!!!!!!!!!!!
Love it , Love it
Miggie
Lauren
Monday 26th of July 2021
Thanks Miggie! I do not want to paint mine ever either!!