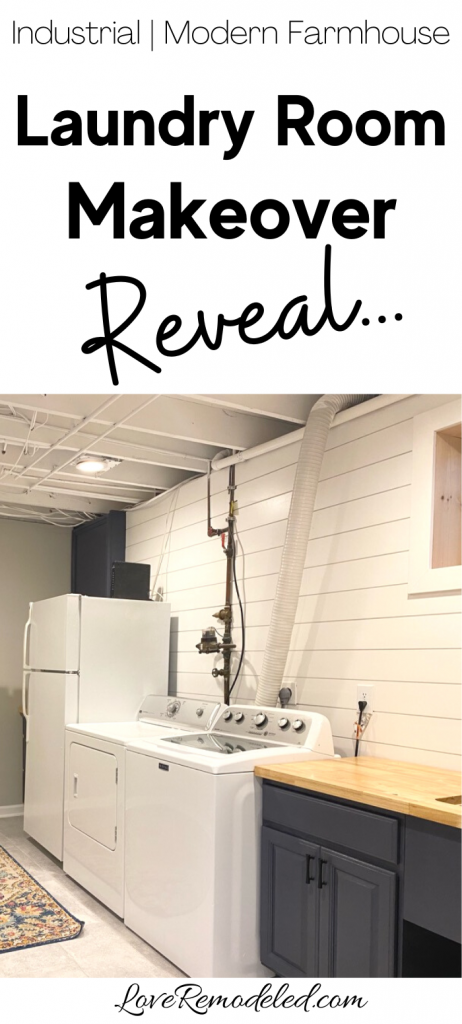
Recently, I decided to remodel my laundry room to make it feel like a clean and functional space. By remodel, I basically mean that I had to build it from the ground up.
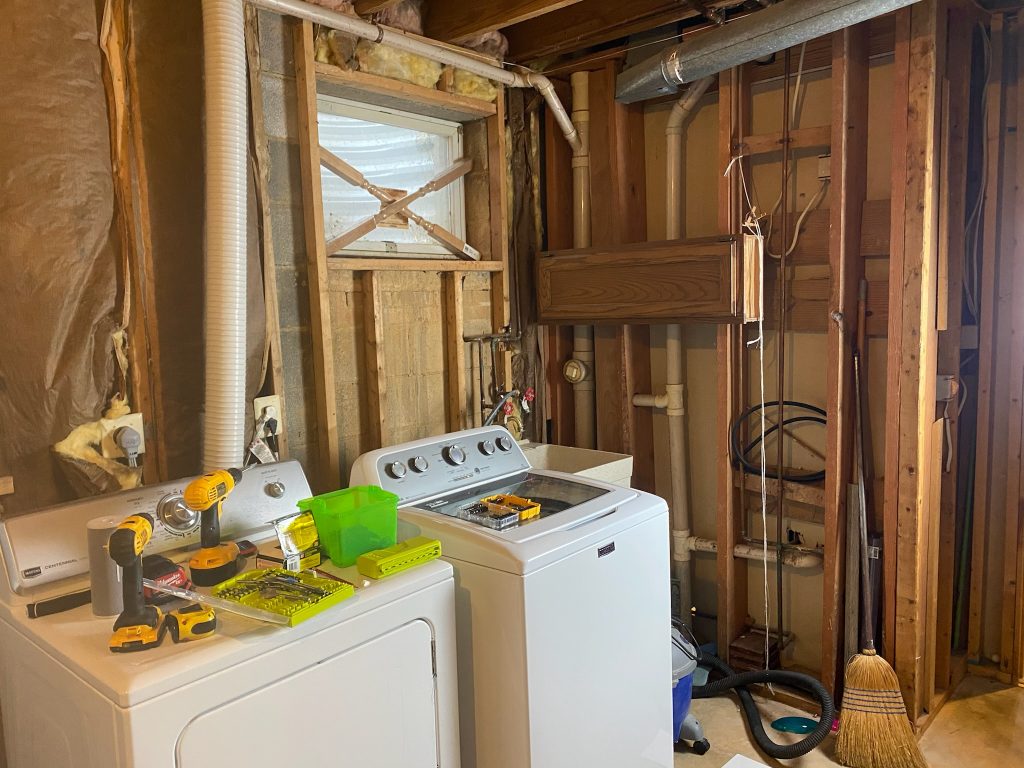
My laundry room is in the basement of my house and was previously an unfinished space.
The space felt dark and dirty – not the best feeling for a place where you clean your clothes.
So, after a lot of work, here is the reveal of my laundry room makeover!
Laundry Room Makeover Vision
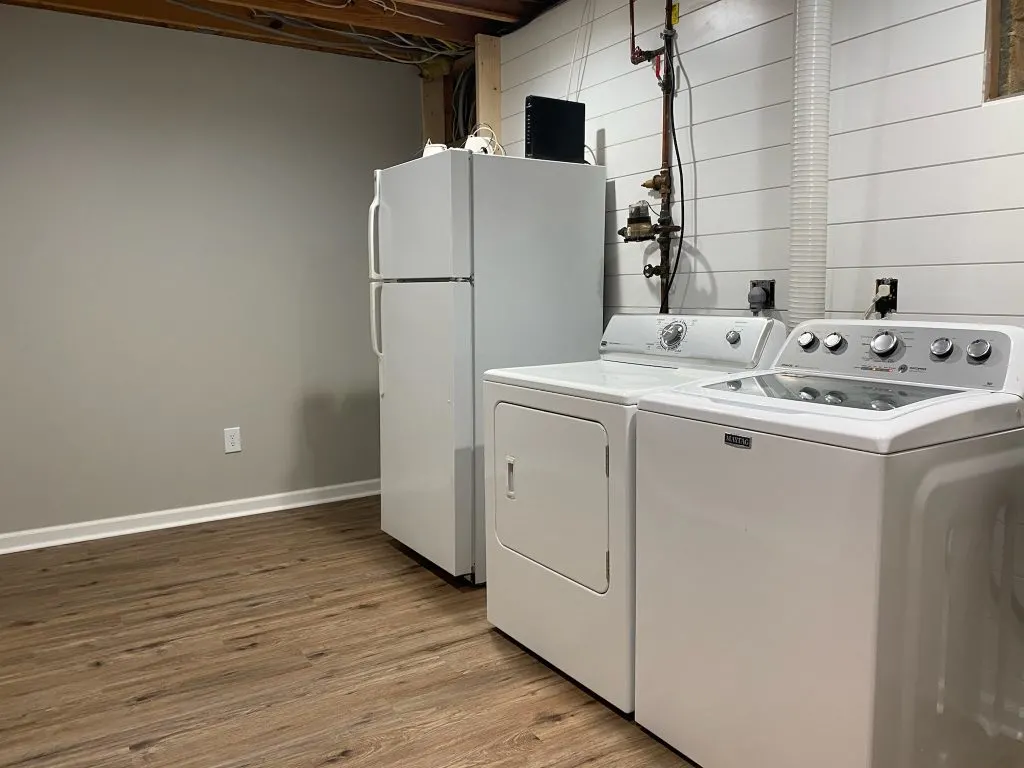
Here is my before picture of my laundry room. As you can see, it was a completely unfinished space!
My vision for the laundry room was to have a space that was modern farmhouse with a good bit of industrial thrown in.
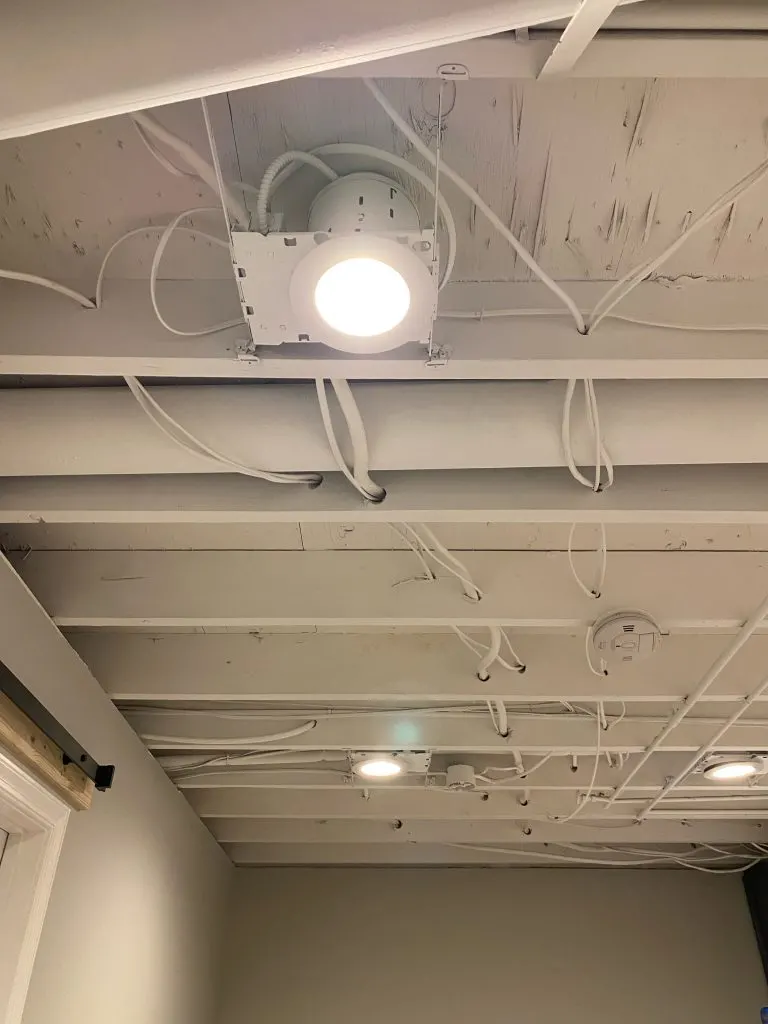
Since I have exposed pipes on the walls and pipes that come down farther than the joists on the ceiling, I knew that I needed to keep the space looking industrial.
But, since I love a welcoming, bright vibe and in order to keep the laundry room in a style that flowed with the rest of the house, I wanted to also play on the modern farmhouse style.
Luckily for me, industrial and modern farmhouse go hand in hand.
Laundry Room Makeover Step 1 – Walls
To start, my laundry room needed walls.
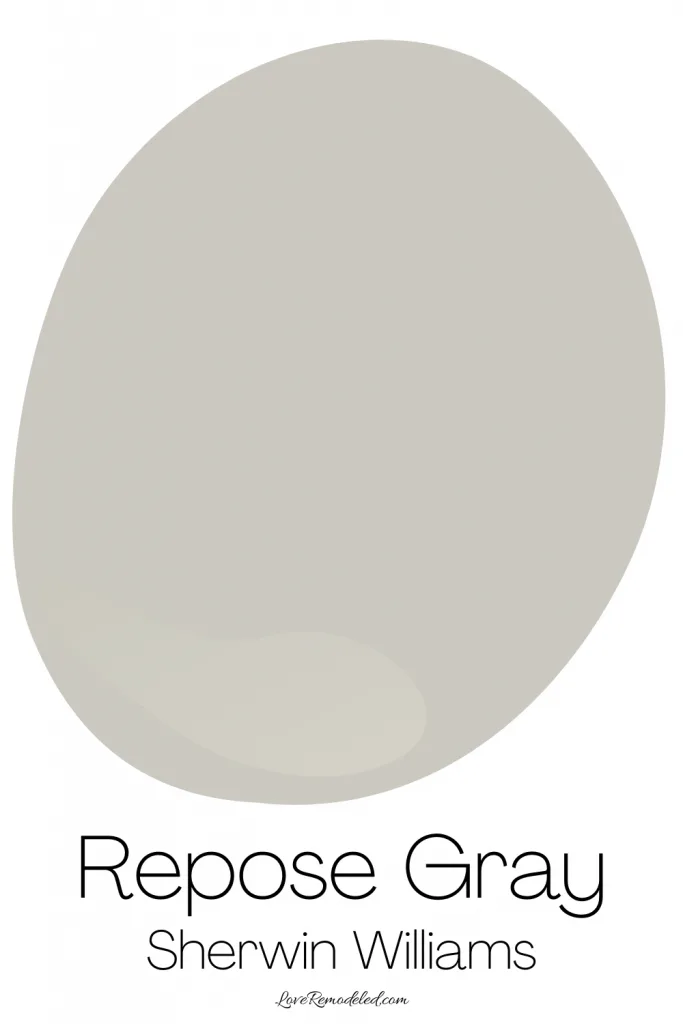
I added drywall to three of the walls, and painted them Repose Gray. Repose Gray is a gorgeous greige paint color – it is a blend of gray and beige.

Since I had already been wanting to try my hand at putting up real shiplap to see how it was to work with, I decided to do an accent wall behind the laundry appliances in shiplap.
I have a whole tutorial on putting up shiplap here – but suffice to say, it went great! Well, it took a lot of work, and making all the cutouts for the pipes and other items that protruded from the walls wasn’t easy, but it looks amazing now.

Laundry Room Makeover Step 2 – Ceiling
To go with the industrial look (and because I have pipes that protrude below the joist line on my ceiling), I decided to spray paint my ceiling. Typically, exposed ceilings are painted white or black.
I went with white because I wanted the space to be as bright as possible.

Laundry Room Makeover Step 3 – Flooring
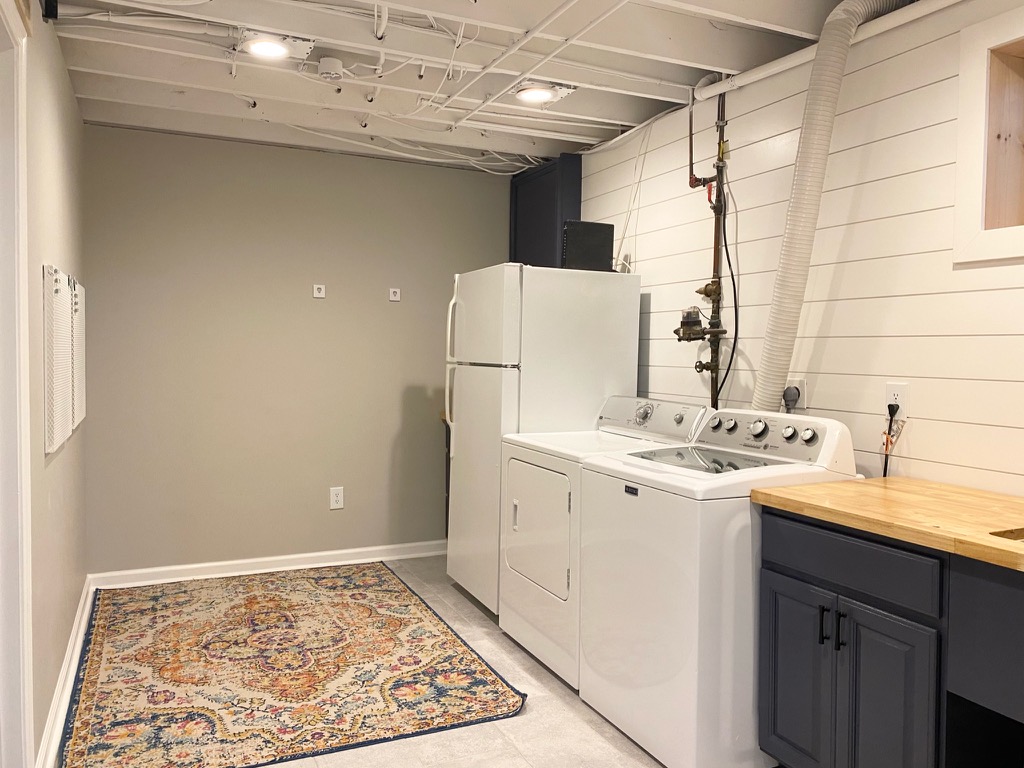
I actually started by putting down luxury vinyl to match the rest of the flooring in the basement. But, a laundry tub mishap meant that water got under the flooring, and I had to take all the flooring up to let it dry out.
Seeing how easily water was able to travel under the flooring, I decided to have the basement tiled with ceramic tile instead of re-laying the luxury vinyl, as it is a much more waterproof solution.
This is why you will see different flooring depending on which picture you look at.
(Truth be told, we didn’t actually lay the tile floor ourselves, because we had too much going on. But, I have tiled before, so you can check out this tutorial if you want some tips on laying ceramic tile).
Laundry Room Makeover Step 4 – Cabinets
After the flooring was completed, I began to work on the cabinets for around the appliances.
I happened to be removing a vanity from my bedroom (why there was a vanity in my bedroom, I’m not sure), and decided to repurpose the cabinets to the laundry area.
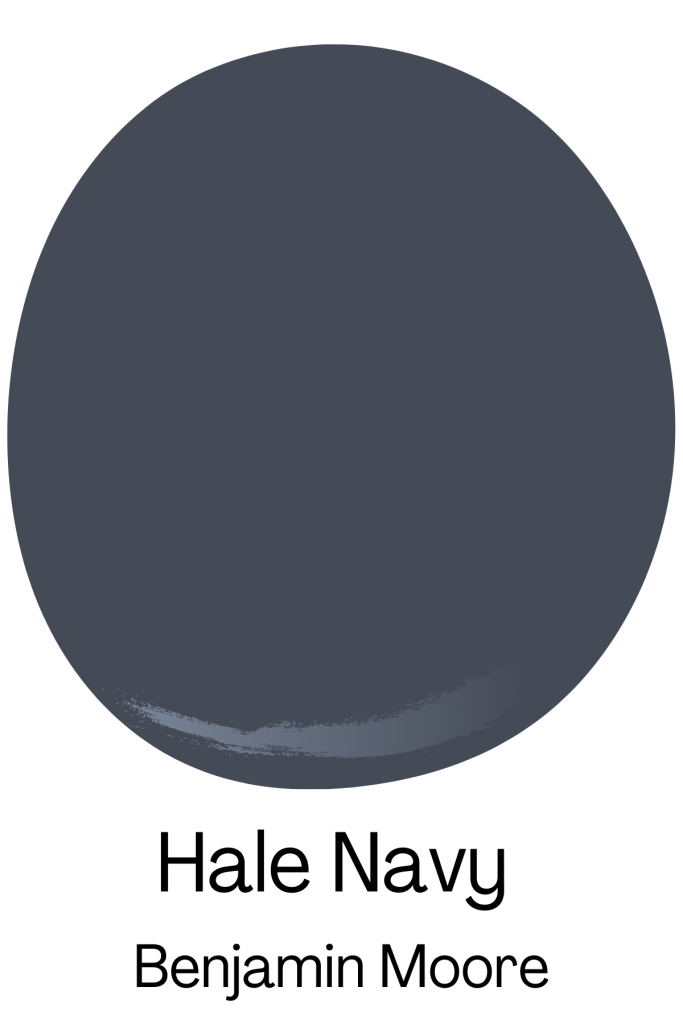
I used my paint sprayer to paint the cabinets Hale Navy – giving them a flawless finish.
Then, I used a few pieces of wood to create a base to fit around my laundry sink.
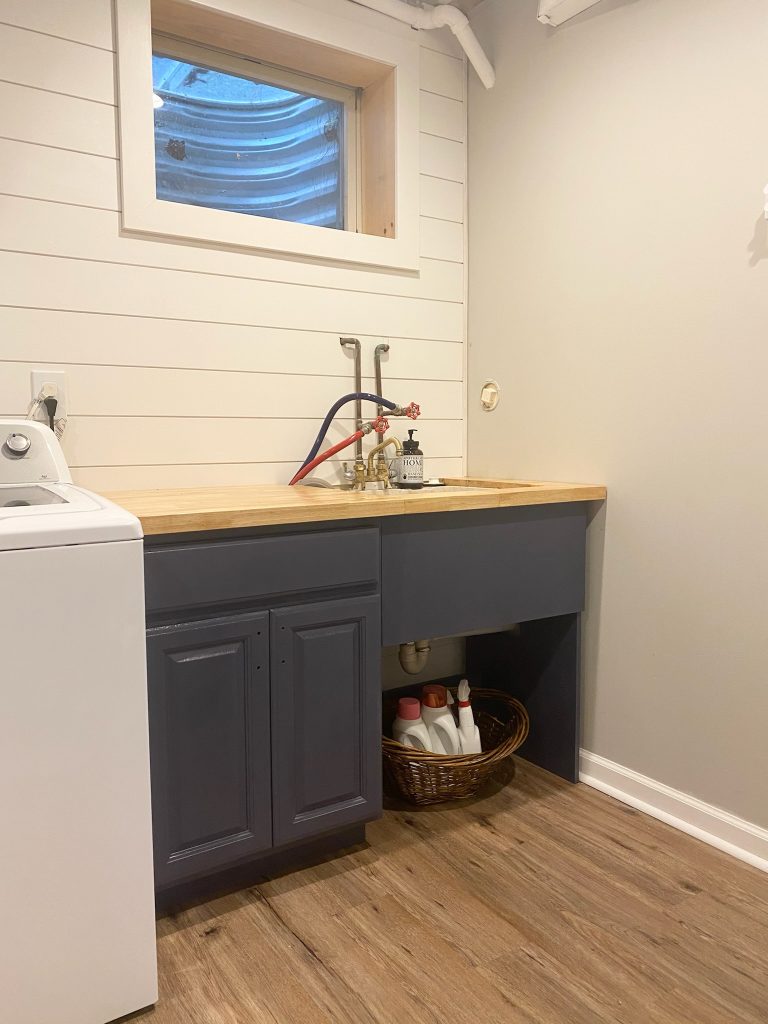

You can find the tutorial for making a faux utility sink cabinet here.
To create an upper cabinet to hide my electrical box, I used a piece of sanded plywood and some trim pieces.
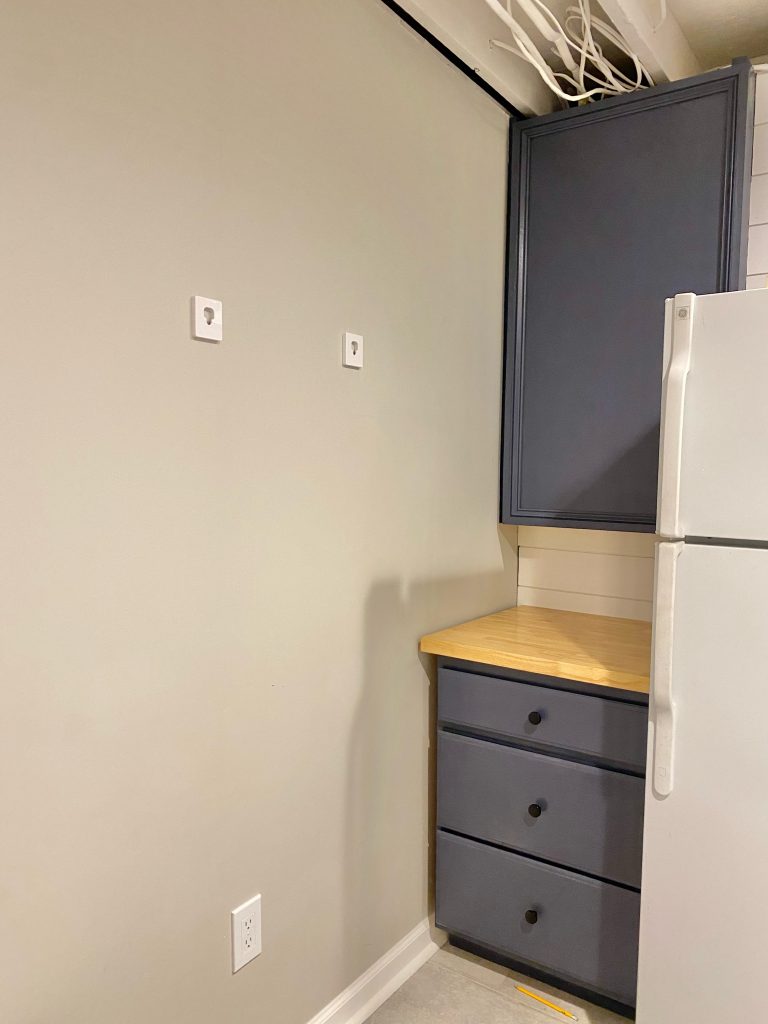
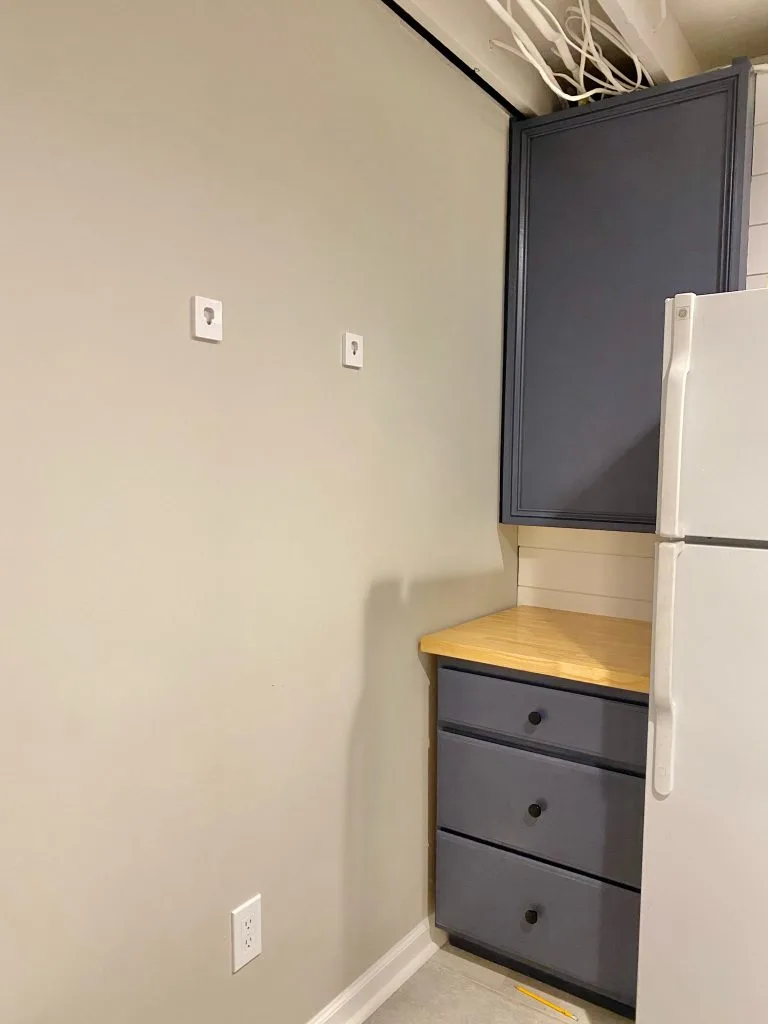
You can find the tutorial on how to make a basic cabinet to hide your electrical box here.
Again, I painted the electrical cabinet and laundry sink base in Hale Navy to match the cabinets, and attached everything together.
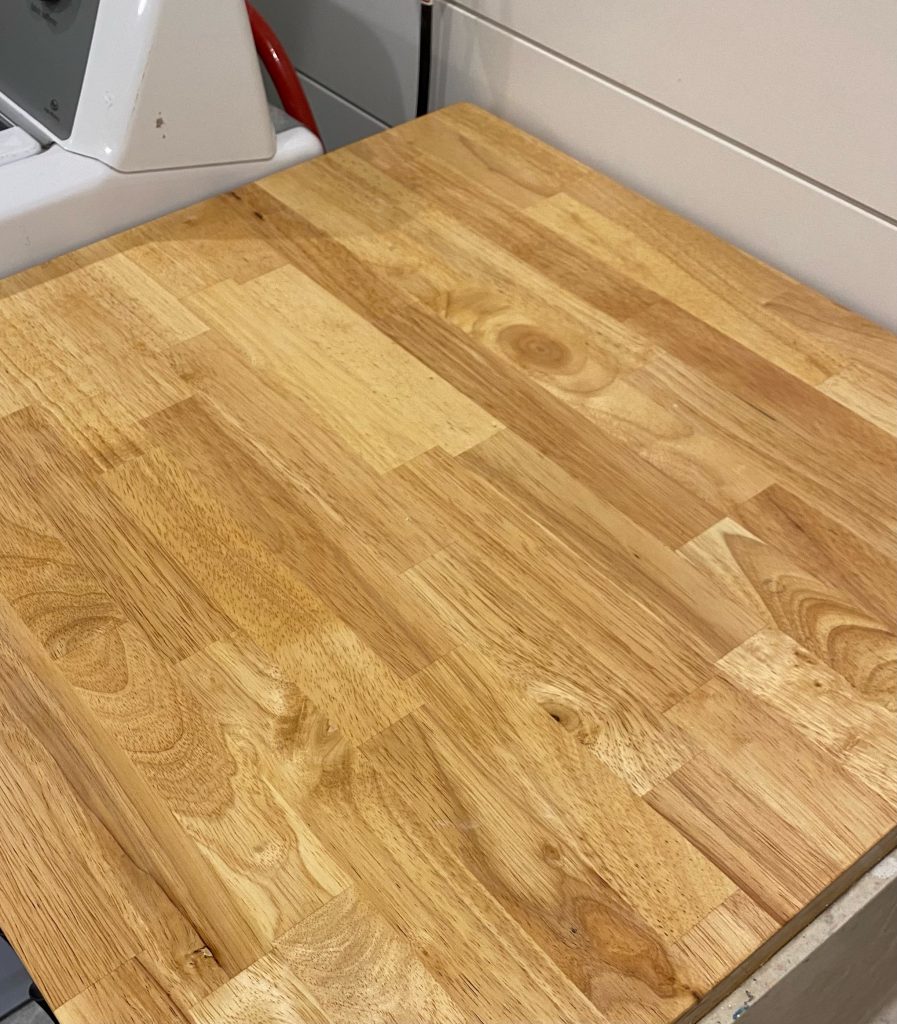
Laundry Room Makeover Step 5 – Countertops
Then, I purchased an unfinished piece of butcher block and used a clear poly to seal it. This created the countertop to go over my cabinets.

Laundry Room Makeover Step 6 – Utility Closet Barn Door
Finally, I needed a door to cover over the spot where my hot water heater and furnace is located. Since I wanted a really wide opening to ensure I could get them serviced in the future, I decided that the easiest way to get a door to fit this custom size was to make it myself.
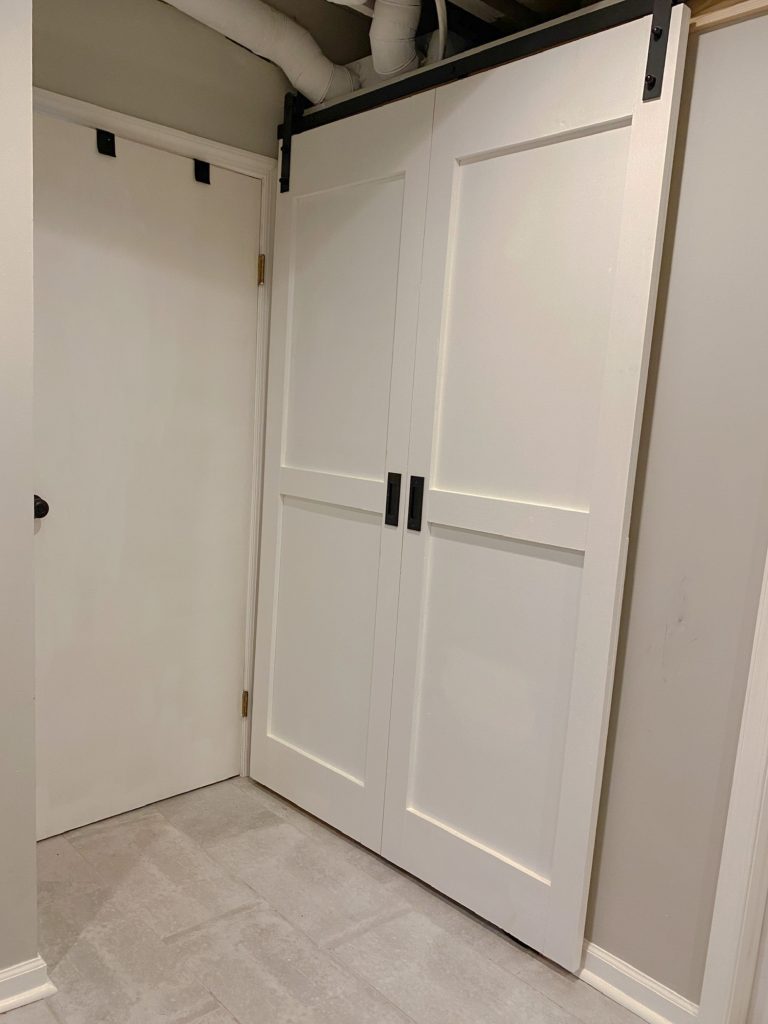
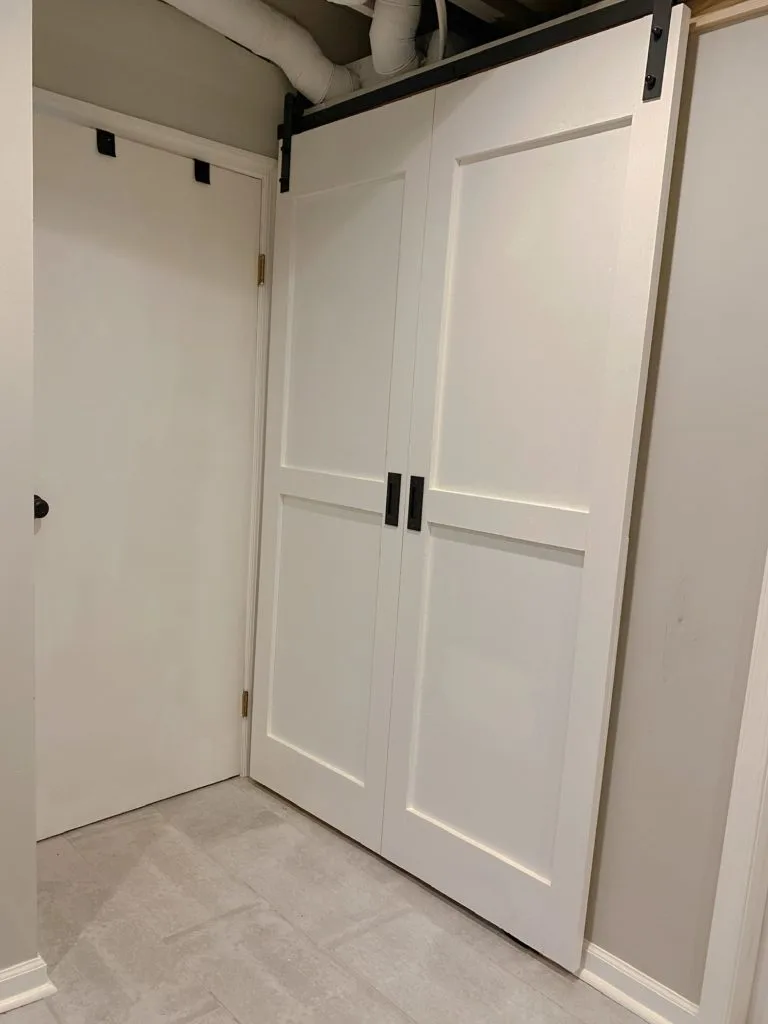
Using sanded plywood and some trim pieces, I made a barn door and attached it to the wall using a barn door hardware kit from Amazon.
This whole door is a unit – it doesn’t open in the middle. Instead, “both” doors go completely to the right to reveal a large door opening.
You can find the whole tutorial on how to make a barn door here.
Laundry Room Makeover Step 6 – Accessories
My laundry room area is a multi-purpose space. I added a rug to one section of it to turn into an art area for my children, followed by a little table and chairs set (not pictured).
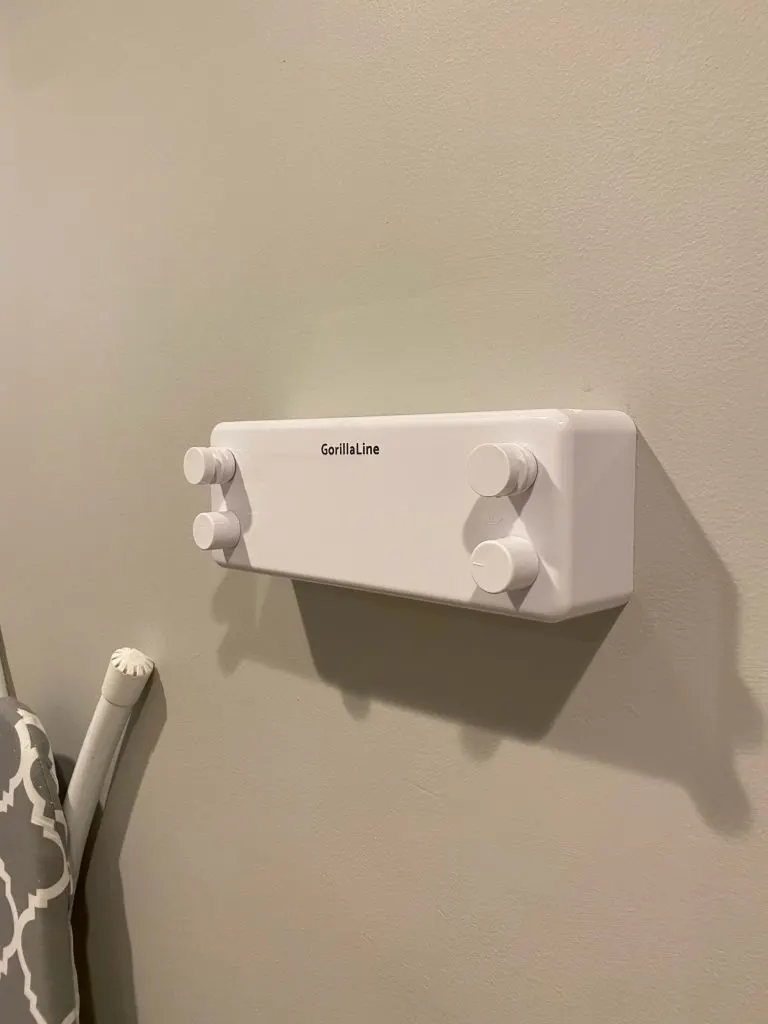
I also wanted to make sure the space had a place where clothes could air dry. Instead of hanging a line that would always be up, I found a great solution that retracts into a base. This means that I can pull the line out and lock it into place when I need it, and then retract it when it isn’t being used.
Because we do a lot of laundry around here, I purchased the unit that has two lines. You can get a retractable clothesline for your laundry room here!

Laundry Room Makeover Final Thoughts

There were a lot of steps involved to completely makeover my laundry room, but I’m so happy with how it turned out. It feels great to see my own style begin to emerge in the house.
If you are looking for ideas on how to update your laundry room, I hope that my laundry room makeover inspires you! Completing a big project like this is much more manageable when you realize that it is just a bunch of smaller steps.